Winshark
Winshark is a Wireshark plugin for controlling ETW, Event Tracing for Windows (ETW) provides a tracking mechanism for event objects created by user-mode applications and kernel-mode drivers. It offers developers a rapid, reliable, and universal set of event tracing features. Microsoft Message Analyzer has long been outdated, and its download package was removed from Microsoft’s official website as of November 25, 2019. Wireshark has established a massive library of network protocol analyzers, and Winshark emerged to assist researchers in better collecting and analyzing various types of network logs.
Winshark is based on libpcap as the backend to capture Event Tracing for Windows (ETW) and provides a generator to create all parsers on the device for known ETWs. Additionally, we have included Tracelogging support to cover the majority of Windows operating system log technologies.
With the powerful capabilities of Winshark and the Windows system, we can capture network and event logs under the same tool.
In terms of tool usage, the emergence of Winshark has significant importance:
- Supports mixing all types of events, including network and system events;
- Supports using Wireshark’s filtering functions for event logs;
- Supports tracking network and system logs by process ID;
- Supports capturing Windows logs and network traces in pacp files;
- Captures named pipes through the NpEtw filesystem filter driver;
Installing the Winshark Tool
Before using Winshark, please install Wireshark.
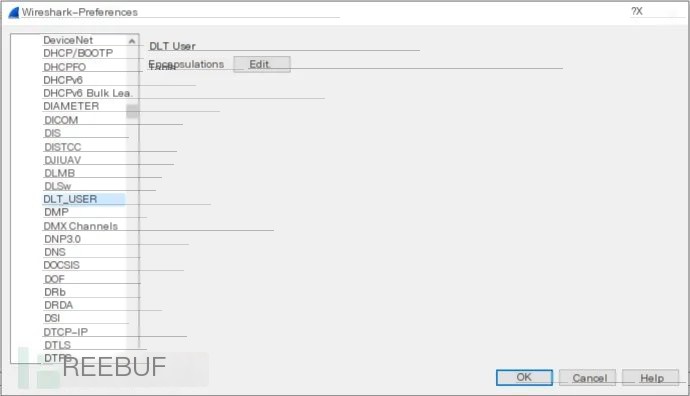
Now, you need to configure Wireshark to interpret DLT_USER 147 as ETW, as we have not yet obtained the actual value from libpcap prior to use, after which we can send a pull request to acquire a dedicated DLT value. Here, we need to open the Preferences tab in the Edit control panel, select the DLT_USER under Protocols, then click Edit and fill in the dialog box information:
 >
>
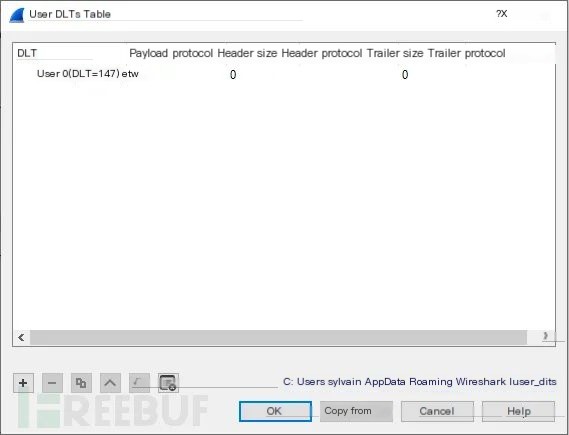
Next, set the etw value to DLT = 147:
 >
>
Winshark Tool Build
Winshark is driven by cmake, and the tool build configuration commands are as follows:
代码语言:javascript复制
git clone https://github.com/airbus-cert/winshark --recursivemkdir build_winsharkcd build_winsharkcmake ..\Winsharkcmake --build . --target package --config releaseCapturing Network Traffic
To use Winshark to capture network traffic, we need to activate network tracking via netsh:
代码语言:javascript复制
netsh.exe trace start capture=yes report=no correlation=noNext, create an ETW session bound to the Microsoft-Windows-NDIS-PacketCapture provider:
代码语言:javascript复制
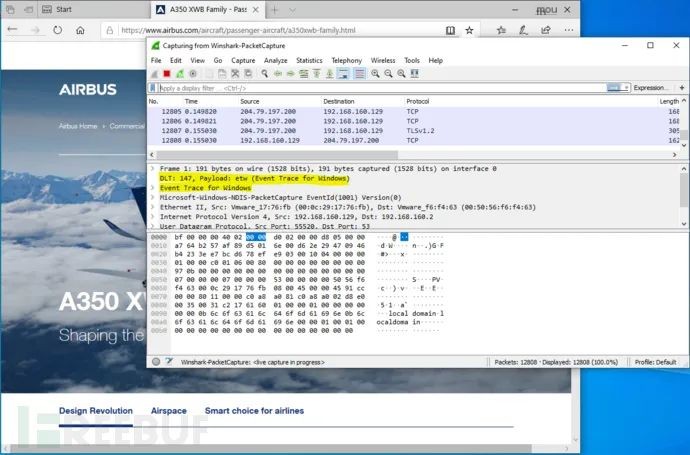
logman start Winshark-PacketCapture -p "Microsoft-Windows-NDIS-PacketCapture" -rt -etsThen start Wireshark with administrative privileges and select the Winshark-PacketCapture interface:
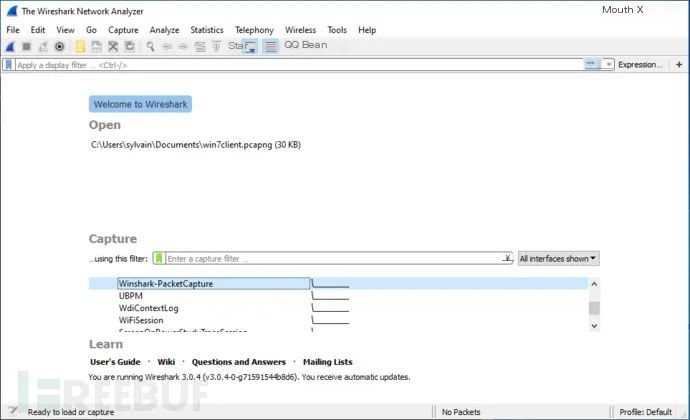
Afterward, we can start capturing network packets:
Process ID-Based Filtering
ETW marks each packet with metadata in its Header, which always includes some metadata about the data sender, with one being the process ID of the sending tool. We can configure Wireshark’s filtering function with the following statement:
代码语言:javascript复制
etw.header.ProcessId == 1234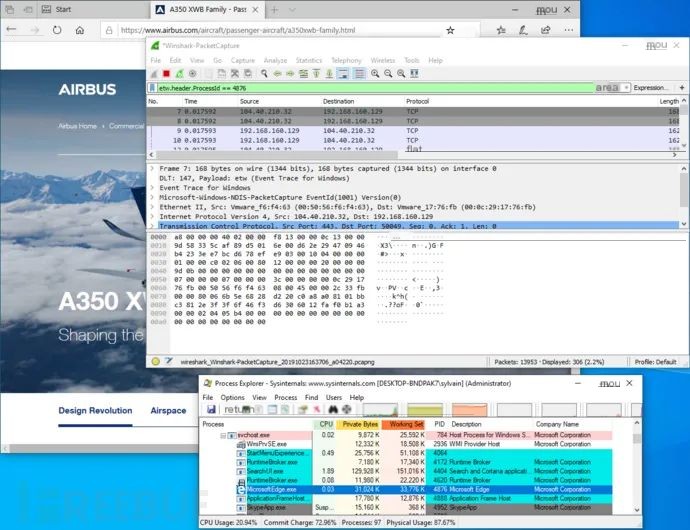
Capturing Named Pipes
Installation
First, we need to use the following command to enable driver signature enforcement in test mode:
代码语言:javascript复制
bcdedit /set testsigning onAfterward, install NpEtwSetup.msi: [Click to Install], then restart the device.
Then run “C:\Program Files\Wireshark\WinsharkUpdate.bat” as an administrator to update the Winshark parsers.
Named Pipe Capture
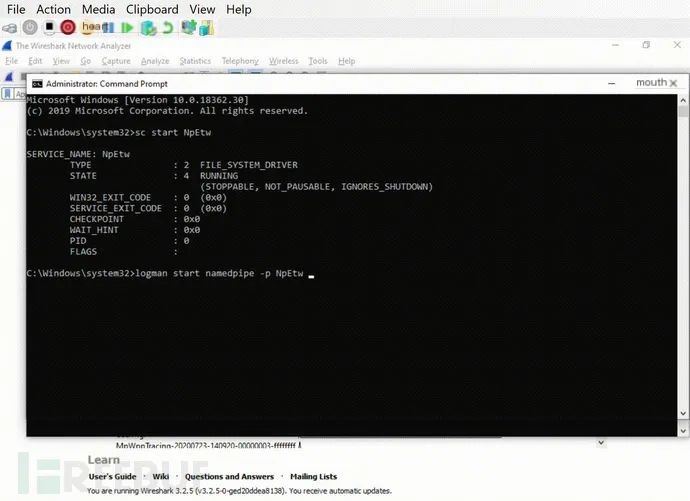
First, open a cmd.exe command line window with administrative rights and enable the driver with the following command:
代码语言:javascript复制
sc start NpEtwNext, create an ETW session:
代码语言:javascript复制
logman start namedpipe -p NpEtw -ets -rtNow, open Wireshark and then select the namedpipe session.
Project Address
Winshark: [GitHub Portal] (Read the original for access)

Exciting Recommendations