
Snort is a robust, multi-platform system for real-time traffic analysis and network IP packet logging, offering features for network intrusion detection and prevention (NIDS/NIPS). It can be integrated into a LAMP stack setup for enhanced security monitoring.
System Installation: Virtual Machine CentOS7
First, install the web service components for LAMP Apache
# Install Apache
yum install httpd httpd-devel

# Start Apache
systemctl start httpd

# Enable Apache to start on boot
systemctl enable httpd

# Configure the firewall to allow traffic on port 80
firewall-cmd --permanent --zone=public --add-service=http
firewall-cmd --permanent --zone=public --add-service=https
firewall-cmd --reload

# Check port 80
yum install lsof
lsof -i:80
Access your server’s IP address. If you see the following page, the installation was successful: 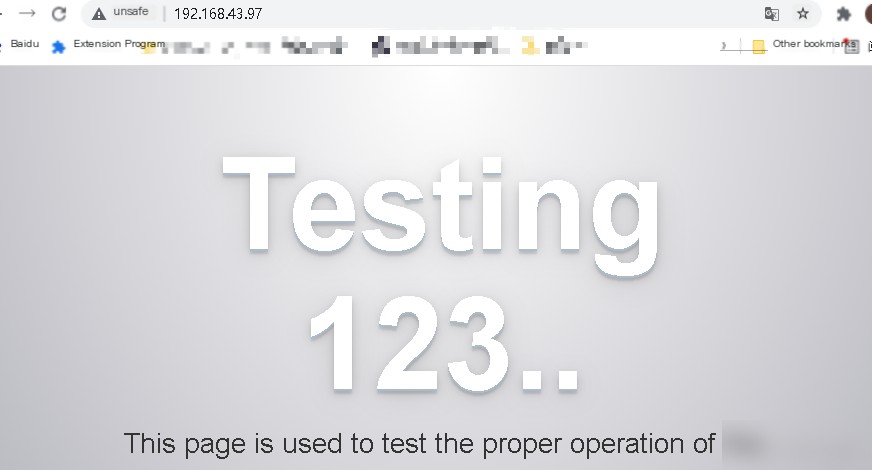
MySQL Installation
yum install wget (If wget is already installed, skip this step)
wget http://repo.mysql.com/mysql-community-release-el7-5.noarch.rpm

# Install the MySQL repository package
rpm -ivh mysql-community-release-el7-5.noarch.rpm

# After installation, two yum repository files (mysql-community.repo and mysql-community-source.repo) will be added to the /etc/yum.repos.d/ directory.

# Install MySQL
yum install mysql-server

# Verify the installation
rpm -qa | grep mysql

# Start the MySQL service
systemctl start mysqld.service
systemctl enable mysqld.service

# Secure MySQL installation
mysql_secure_installation
PHP Installation
yum install php
yum install php-mysql
yum install -y php-gd php-ldap php-odbc php-pear php-xml php-xmlrpc php-mbstring php-snmp php-soap
# Restart Apache to apply PHP changes
systemctl restart httpd.service
# Test PHP: Create an index.php file in the web root directory (/var/www/html/)
Add the following content:
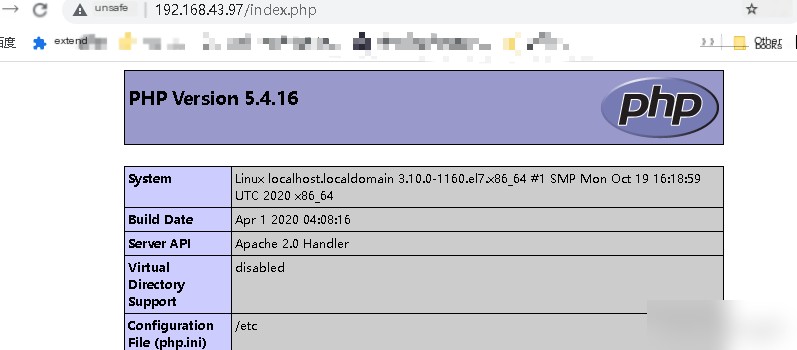
Access http://your-server-ip/index.php. If the PHP info page appears, the installation is complete.
Getting Started: Installing Snort Install dependencies
yum install gcc flex bison zlib zlib-devel libpcap libpcap-devel pcre pcre-devel libdnet libdnet-devel tcpdump
yum -y install epel-release
yum -y install nghttp2
Install DAQ and Snort
yum install https://www.snort.org/downloads/snort/daq-2.0.6-1.centos7.x86_64.rpm
yum install https://www.snort.org/downloads/snort/snort-2.9.9.0-1.centos7.x86_64.rpm
Manual download URL:
https://www.snort.org/downloads
Download these two files: 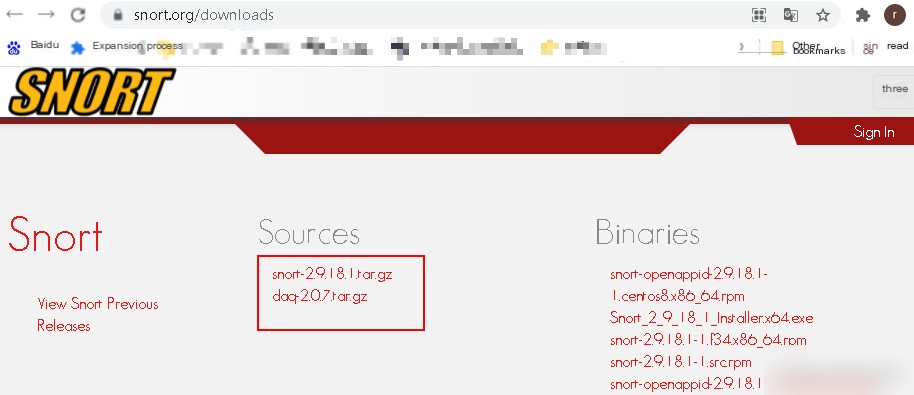

After downloading, extract and compile:
tar -xvzf daq-2.0.7.tar.gz
cd daq-2.0.7
./configure
make && make install
tar -xvzf snort-2.9.18.1.tar.gz
cd snort-2.9.18.1

./configure --enable-sourcefire
make && make install
During ./configure, you might encounter a missing LuaJIT library. Visit the suggested URL to download it: 
Click “Download”: 
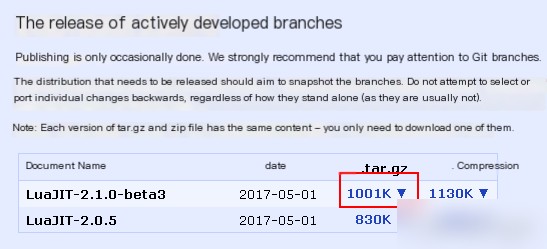
Copy the download link and use wget:
wget https://luajit.org/download/LuaJIT-2.1.0-beta3.tar.gz --no-check-certificate

# Extract
tar -xvzf LuaJIT-2.1.0-beta3.tar.gz

# Navigate to the src directory
cd LuaJIT-2.1.0-beta3/src
make

# Install from the parent directory
cd ..
make install
After completing this, re-enter the Snort directory and run ./configure:
cd snort-2.9.18.1
./configure --enable-sourcefire
make && make install
If prompted about a missing OpenSSL library: 
Install OpenSSL:
yum install openssl
yum install openssl-devel
Re-enter the Snort directory and run ./configure again:
cd snort-2.9.18.1
./configure --enable-sourcefire
make && make install
This time, the compilation should succeed.
Verify the installation:
snort -V
If the following output appears, the installation is complete: 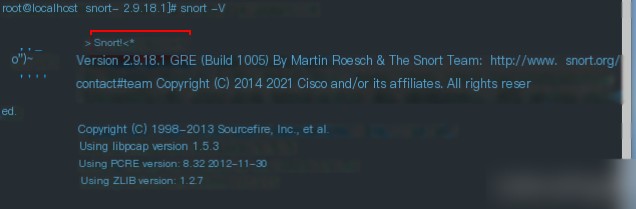 In the next post, we will configure the Snort environment.