1. Introduction to Snort: How to Install Snort
Snort is an open-source network intrusion detection system used mainly for monitoring network traffic and detecting possible attack behaviors. It can analyze network traffic in real-time, identify various types of network attacks such as port scans, DoS attacks, intrusion attempts, and provide alerts or block these attacks.
1. Working Principle of Snort: Snort uses a rule engine to detect attacks within network traffic. It can operate in three different modes: sniffer mode, packet logging mode, and network intrusion detection mode.
2. Snort Configuration File: Snort’s configuration file includes global settings, preprocessor options, output options, and rule sets. Users can adjust these options as needed to meet their requirements.
3. Snort Rules: Snort uses rules to detect attack behaviors in network traffic. Rules typically consist of multiple fields, including protocol type, source IP address, destination IP address, and port number. Users can write custom rules or use existing rule sets.
4. Snort Output Options: Snort can send detected packets to log files, the console, databases, or other third-party applications. Users can choose their desired output method.
5. Snort Preprocessors: Snort includes multiple preprocessors to preprocess and analyze network traffic. These preprocessors can detect behaviors such as IP spoofing.
2. Install Centos7 Minimal System
1. Select “Custom (Advanced)” -> Next
2. Default next step
3. Select the image file
4. Create virtual machine name, choose installation path
5. Adjust processor size as needed -> Next
- Adjust memory size as needed -> Next
- Select network as Bridged -> Next
8. Default next step
9. Default next step
- Adjust disk size to 20GB as needed -> Next
11. Specify disk file location
12. Click finish
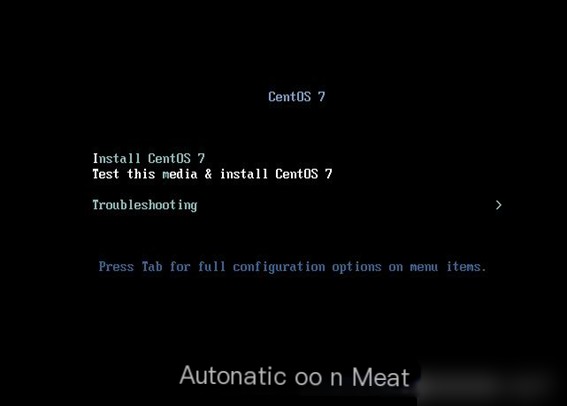
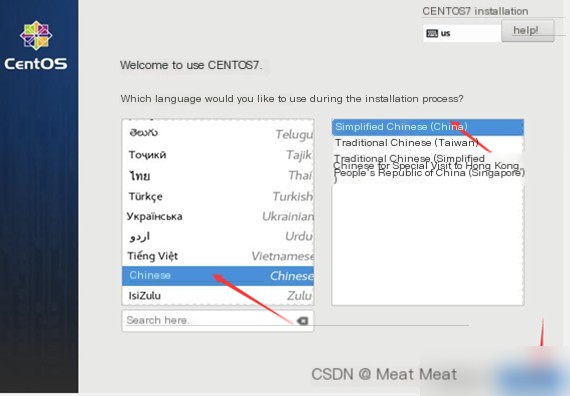
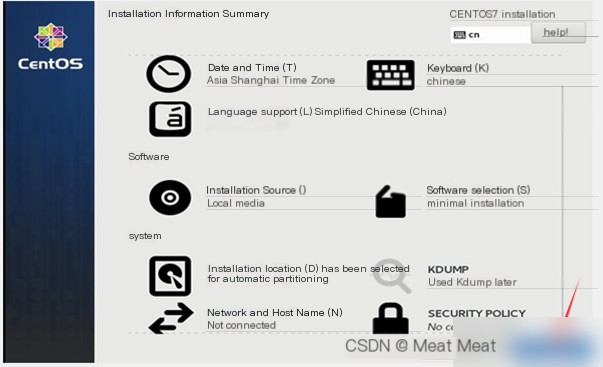
13. Start the virtual machine and follow the prompts to install
The following interface will appear:
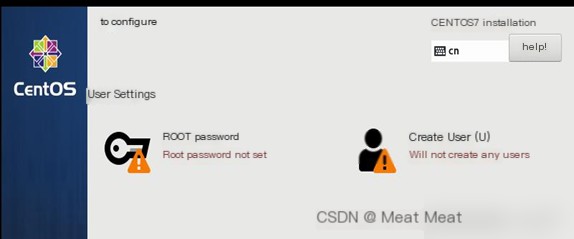
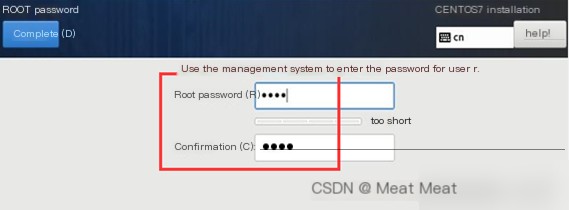
Set root password:
3. Basic Environment Configuration
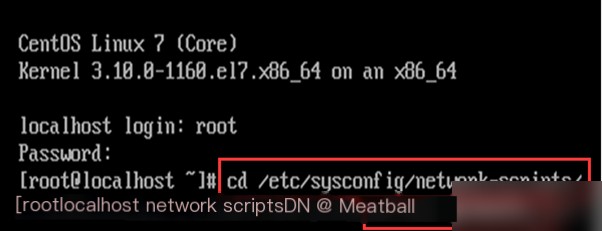
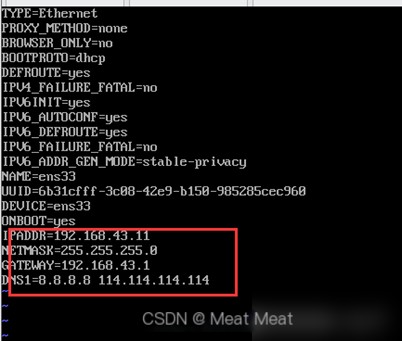
Configure network card information according to the actual network connection status to allow the virtual machine to connect to the network. Enter the virtual machine in /etc/sysconfig/network-script/
vi /ifcfg-ens33 (restart the virtual machine after configuration)
Find the location of the ifconfig script
find / -name ifconfig -print

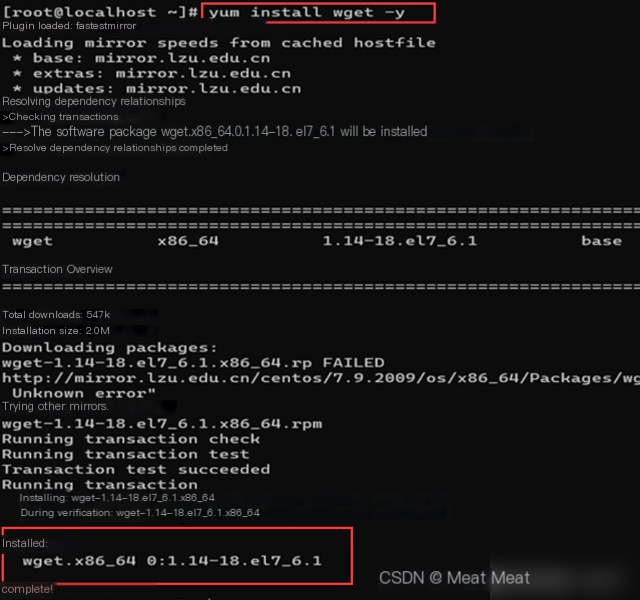
Install Wget, prepare to download resources via the network:
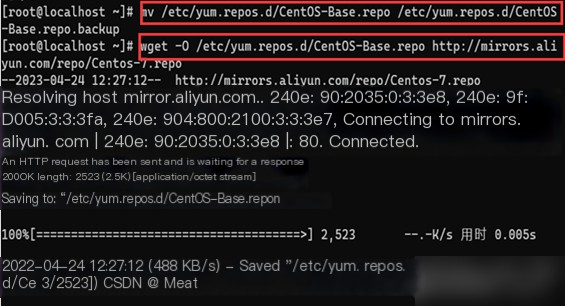
Backup the file Centos-Base.repo as Centos-Base.repo.backup, then use Wget to download Alibaba’s Yum source file Centos-7.repo:
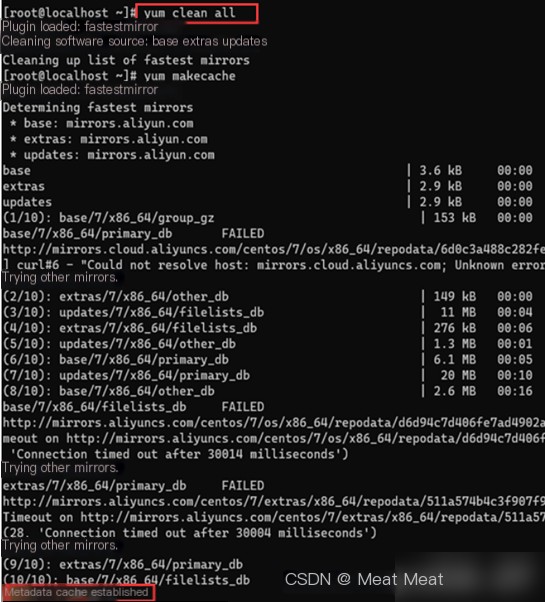
Update the Yum source and cache:
4. Install Snort
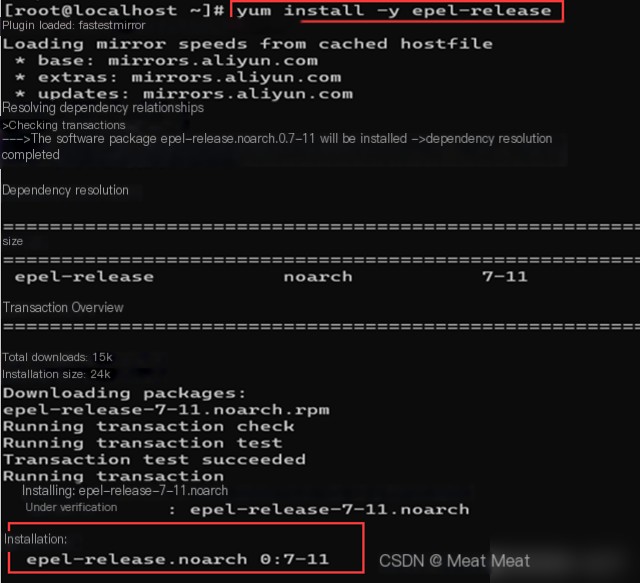
Install epel source:
After the previous settings and source updates, installation should proceed smoothly.
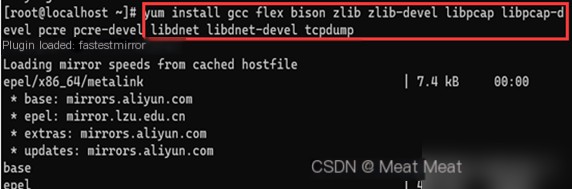
Install Snort & daq: Network source can be used:
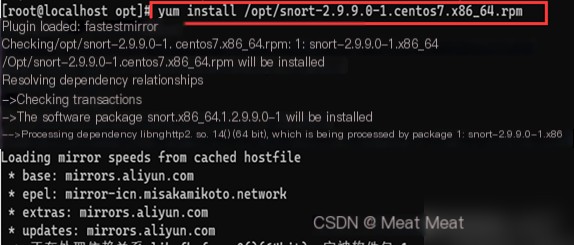
Download the installation package from the webpage and upload it to the virtual machine:

5. Download Rules
Three types of rules provided by Snort official: Community rules, Registered rules, Subscriber rules. The first type doesn’t require registration or purchasing; the second requires registration but not purchasing; the third requires purchasing. Here, we use the first type, Community rules.
Download the compressed file from the webpage and upload it to the virtual machine, placing it in the rules directory:
Move into the rules directory:
Then extract the file, ensuring the file path matches the location of the stored compressed file: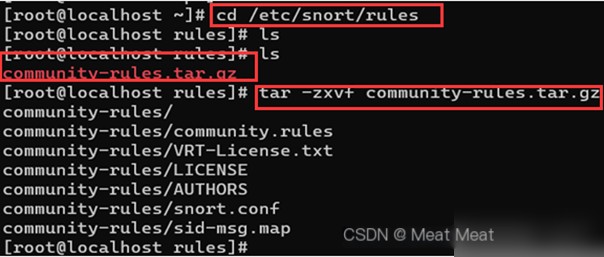
6. Configure Snort
Create necessary files and directories, some directories have been automatically created in previous operations.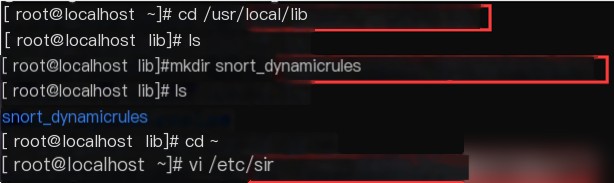
Edit the configuration file: #vi /etc/snort/snort.conf.
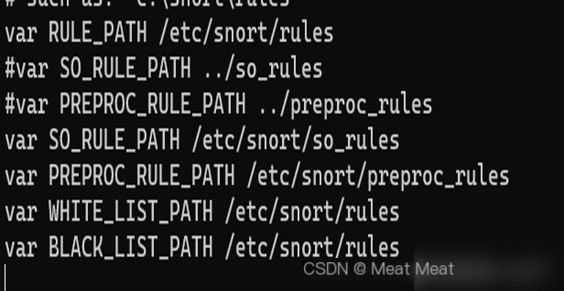
Find var RULE_PATH ../rules and the adjacent four configuration lines,
Modify the path variables to:
Set the log directory, find #config logdir:
Modify to config logdir:/var/log/snort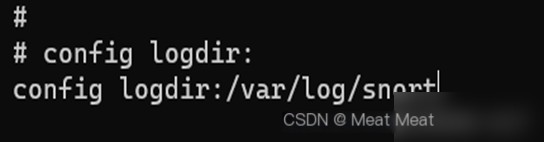
Configure output plugin, find the keyword #output unified2:filename, change the entire line to:
output unified2:filename snort.log, limit 128
Save and exit.
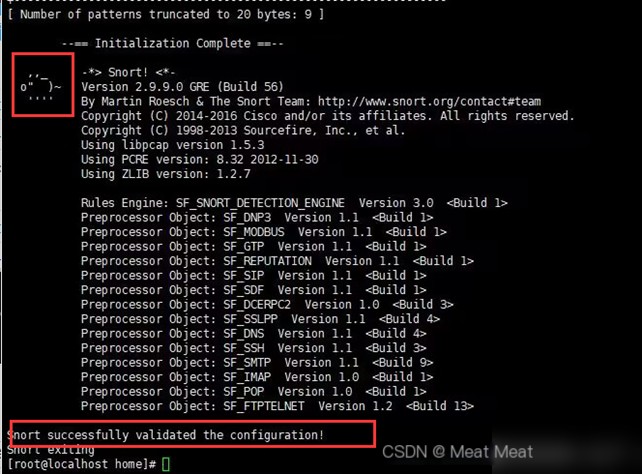
7. Test Snort
#snort -T -i ens33 -c /etc/snort/snort.conf
The message “Snort successfully validated the configuration!” indicates the configuration is successful!