
1. libdnet-1.12.tgz Installation
Navigate to the /root/snort directory, then extract libdnet-1.12.tgz using the command tar zxf libdnet-1.12.tgz. Move into the libdnet-1.12 directory and run ./configure && make && make install to install and compile.
2. libdnet-1.12.tgz and Libpcap Installation
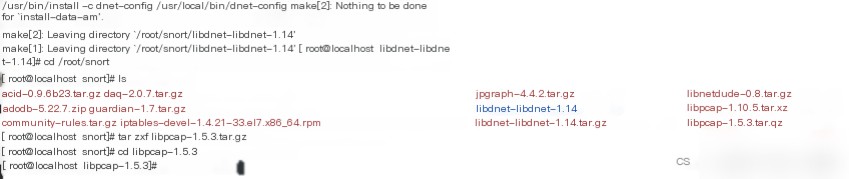
Enter the /root/snort directory, extract libpcap-1.5.3.tar.gz, enter the libpcap-1.5.3 directory, and run ./configure && make && make install to complete the compilation and installation of libpcap.
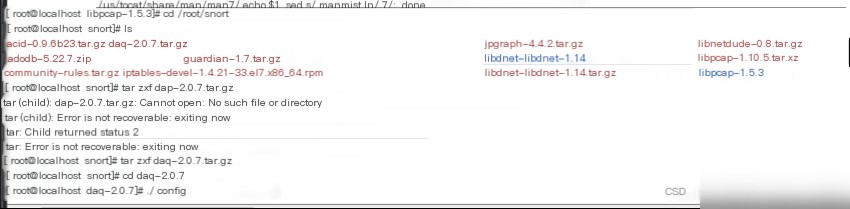
3. Daq Installation
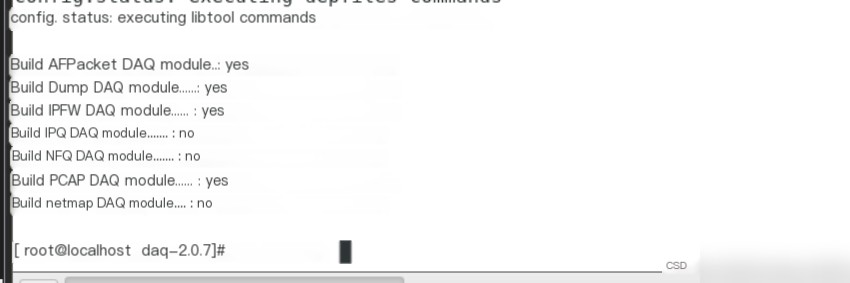
Go to the /root/snort directory and extract daq-2.0.4.tar.gz using the command tar zxf daq-2.0.4.tar.gz. Use the cd command to navigate to the daq-2.0.4 directory. Execute the command “./configure” to configure daq-2.0.4.
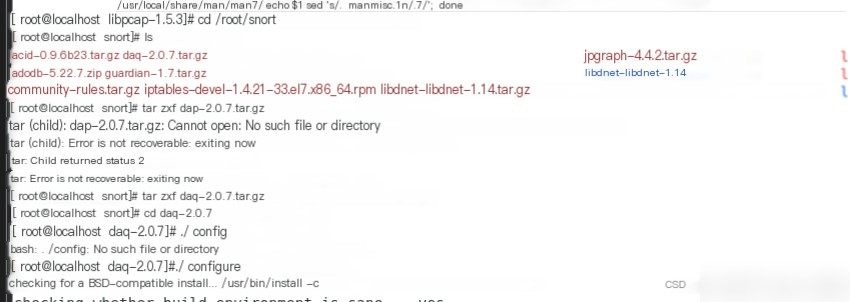
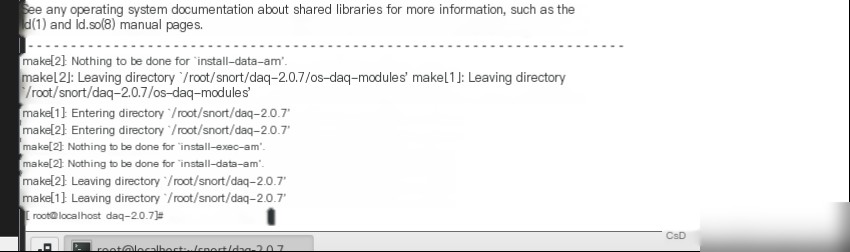
The feedback received indicates that the installation was successful.
Run the command make && make install to proceed with the installation. The feedback received indicates successful installation.
4. Snort
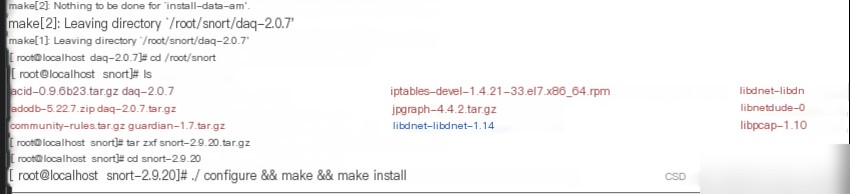
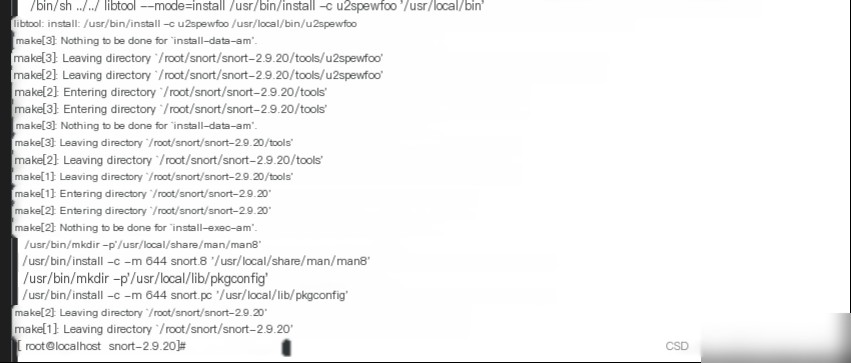
Similar to the other software installation methods, first go to the /root/snort directory, then extract Snort and use the command cd snort-2.9.7.0 to enter the Snort directory, and execute the command “./configure && make && make install” to install it. The installation completes as shown below.
The configuration completion shows below.
5. Snort Configuration
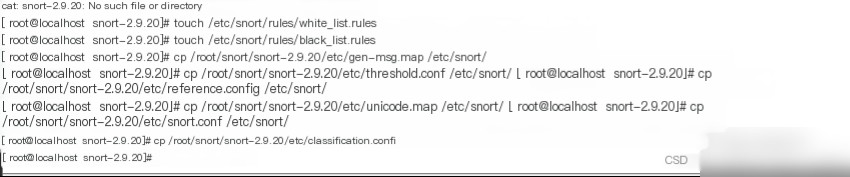
Execute the following commands successively to create some folders required by Snort.

Then create a whitelist and a blacklist file for Snort.

Copy the required configuration files into the corresponding folders.
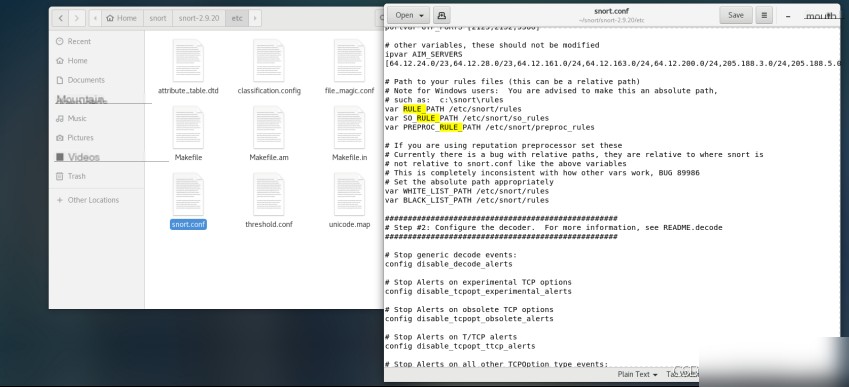
Edit Snort’s configuration file to change the path variables to the path where the rules are stored.
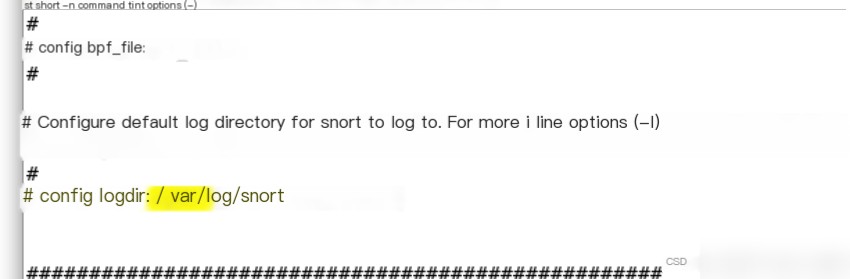
Set the log directory config logdir:/var/log/snort.
Add configuration output plugin output unified2:filename snort.log, limit 128.

Extract the rules file in /root/snort to /etc/snort/. After extraction, copy the sid-msg.map file to the /etc/snort directory.

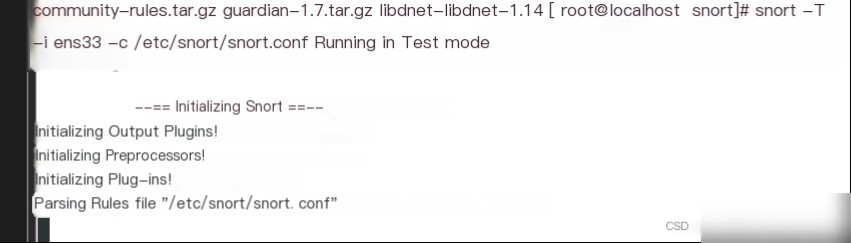
Run the command snort -T -i eth0 -c /etc/snort/snort.conf to test. The -T parameter means test, -i specifies the interface, and -c specifies the configuration file.
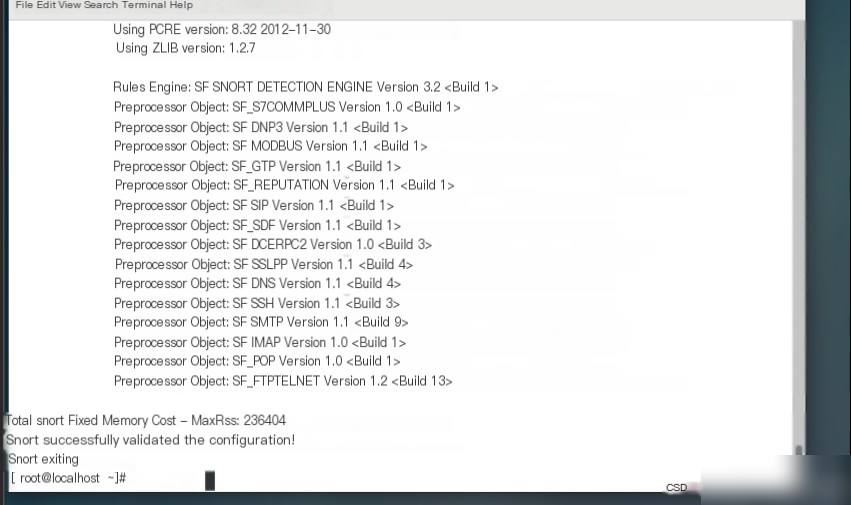
The feedback “successful” indicates that the installation and configuration were successful.
6. Sniffer and Packet Logger
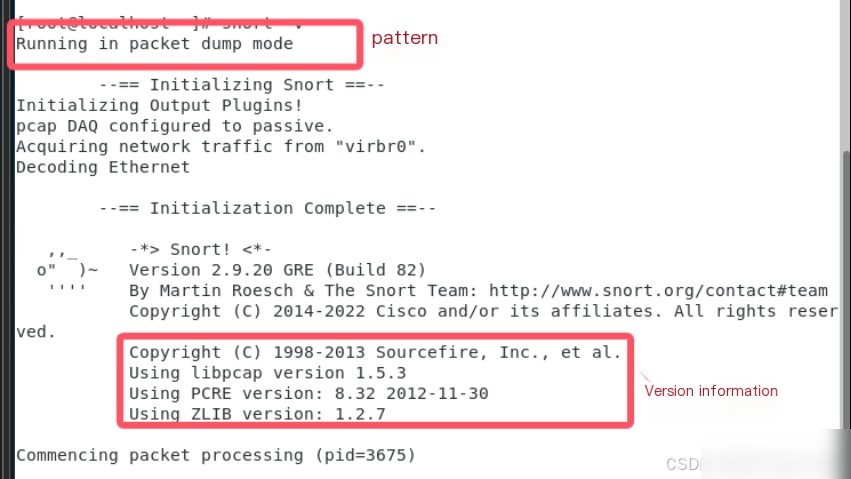
After logging in to the virtual machine, execute snort -v to start Snort. When Snort starts, you will receive an echo. The part in the red frame shows the current operating mode and the Snort version and copyright information.
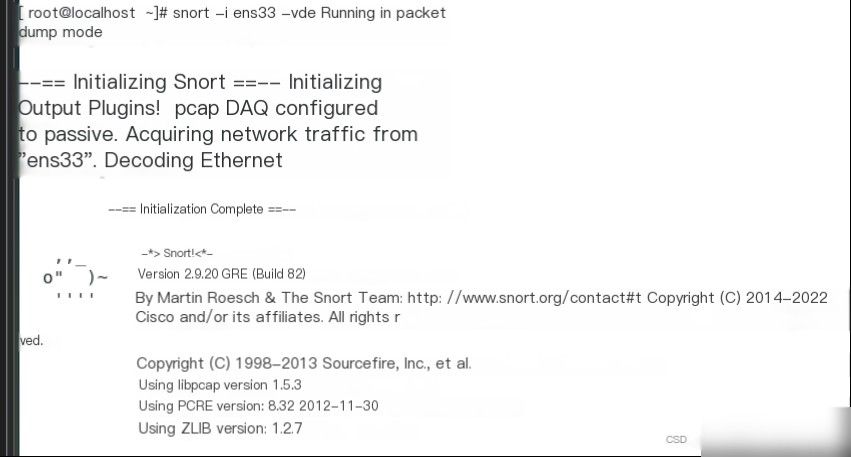
Open the terminal and enter snort -i ens33 -vde to monitor the ens33 network card.
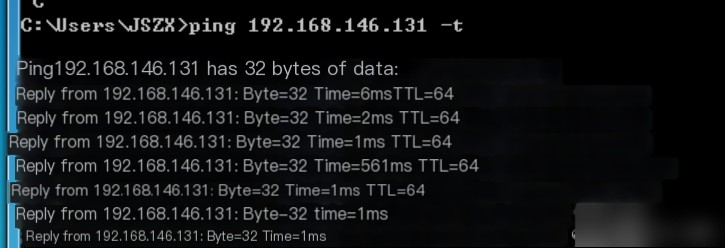
Then switch to the Windows 7 client, click Start, type cmd to open the command line terminal, and execute ping 192.168.146.131 -t.
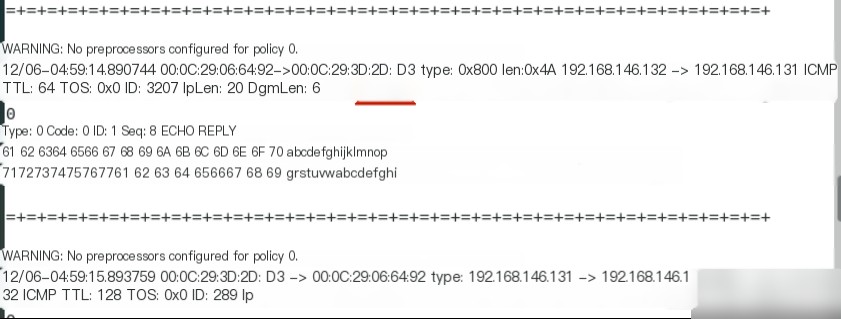
Switch back to the CentOS 7 machine, and use Ctrl+C to stop the Snort monitoring. Review the complete packet and analyze it. The packet information includes the packet capture time. The packet reveals the source MAC address and the destination MAC address.
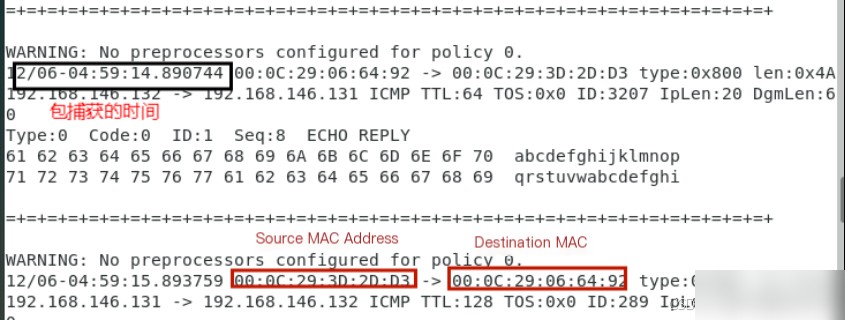
It shows the source IP address as 192.168.146.132 and the destination address as 192.168.146.131.
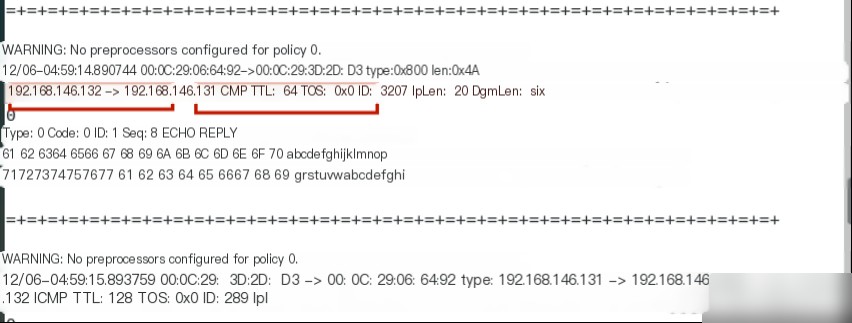
It reveals the higher-level protocol type for the data frame is IP (0x800) with a total length of (0x4A). The packet’s IP header TTL is 128, and the TOS is 0. The IP header length is 20, and the IP payload is 60 bytes.
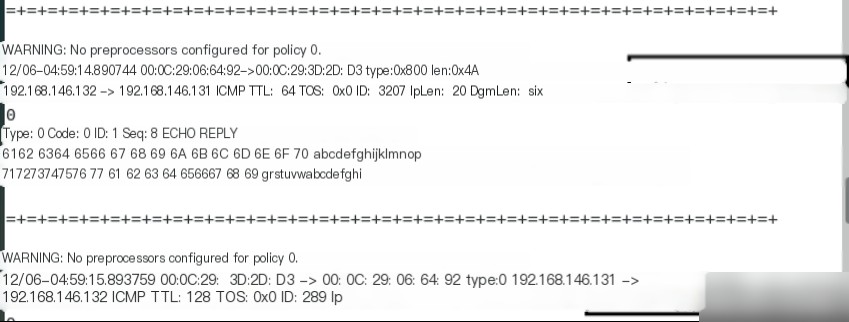
The transport protocol for the packet is ICMP.
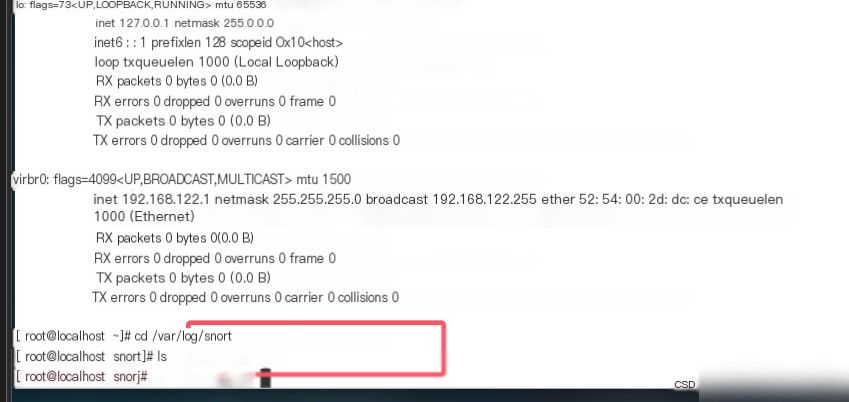
Enter the command cd /var/log/snort and use ls to view the current directory’s file contents.
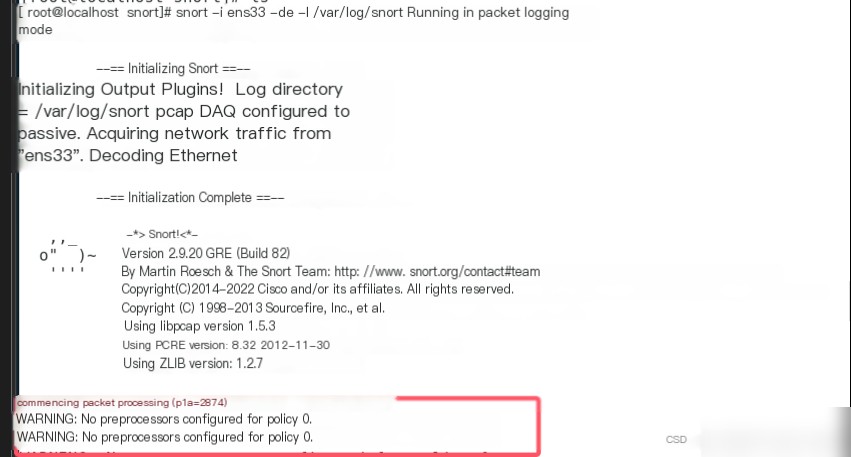
In the terminal, execute snort -i ens33 -de -l /var/log/snort, which starts Snort and logs detailed information saved to /var/log/snort.
Switch back to the CentOS 7 host, and observe that the terminal displays warning information. Without the -v parameter, packet information will not display in the terminal.
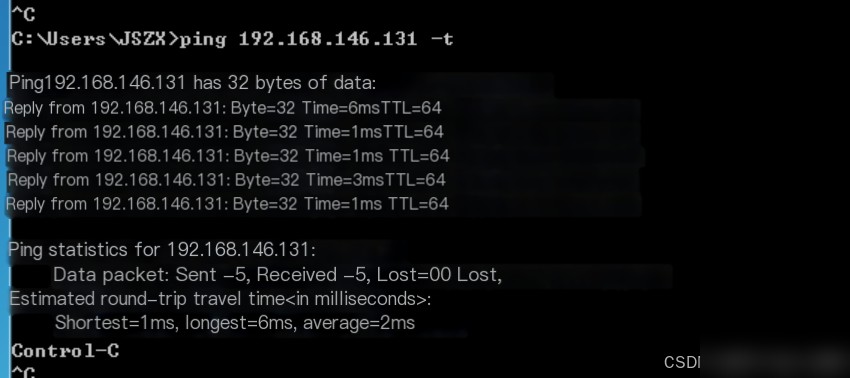
Switch to the host at 192.168.146.132, click Start, type cmd, open the command line, and execute ping 192.168.146.131 -t.
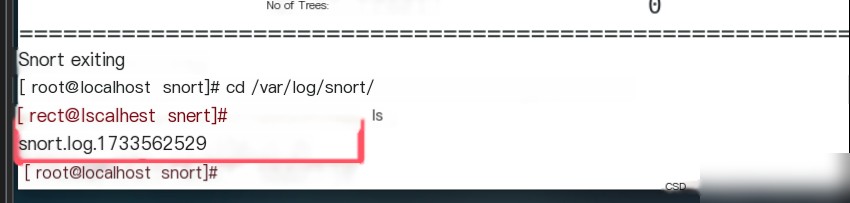
Use the ctrl+c keys to end the Snort process. Then enter the /var/log/snort directory and use ls -l to view files. Successfully save Snort’s records to a file, which is a binary file.
Since the system records are in binary format, converting to ASCII format would increase system load, so Snort uses binary format for IDS, making it unreadable with the cat command.
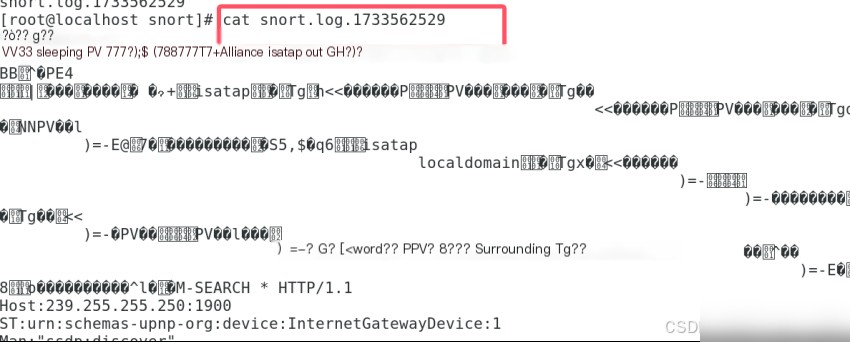
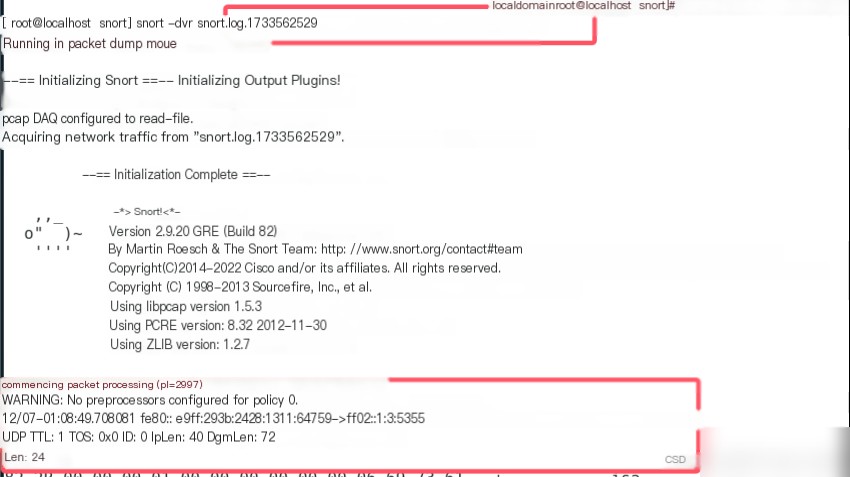
To view logged data, use Snort’s -r parameter. Use the snort command to view log files with the command snort -dvr snort.log.1733562529 to see the captured packet information.
7. Issues Encountered
Issue 1:
ERROR! LuaJIT library not found. Go get it from http://www.luajit.org/ (or)

Try compiling without openAppId using ‘--disable-open-appid’

configure: error: “Fatal!”
Solution:
./configure --disable-open-appidIssue 2:
In CentOS, entering ifconfig, ens33 disappears, and Windows 7 cannot ping the target host.
Solution:
Method 1: ifconfig ens33 192.168.146.131 (replace with your desired IP address) up
Method 2: Enter the following commands in the terminal
systemctl stop NetworkManager
systemctl disable NetworkManager
systemctl restart network
Solution to no ens33 network card after virtual machine startup: Common BUGs – 1. No ens33 network card after virtual machine startup – Alibaba Cloud Developer Community
Issue 3:
Executing snort -de -l /var/log/snort in the terminal is ineffective.
Solution:
Execute the command snort -i ens33 -de -l /var/log/snort in the terminal.