
1. Course Overview
This course is a hands-on lab tutorial. To help clarify certain operations in the experiments, theoretical content will be included, along with curated recommendations of the most valuable articles for you to read. Practical exercises, using tools like the Burp Suite tool, are paired with strong theoretical foundations.
Note: Due to the higher cost of setting up cloud servers for the experiments, usage is limited to no more than 6 attempts per experiment.
2. Learning Methodology
The Kali series of courses on Experiment Lab includes five training camps. This specific training camp focuses on web application attack methodologies. The course consists of 20 experiments, each with detailed steps and screenshots. It’s suitable for learners with a basic understanding of Linux systems who aim to quickly get started with Kali penetration testing.
The key to learning is to practice often and ask questions. Follow the experimental steps sequentially after launching an experiment, while ensuring you understand the details of each step.
If the beginning of the experiment recommends reading specific materials, please ensure you read them first before proceeding. Theoretical knowledge is essential for effective practice.
3. Session Content Overview
In this experiment, we will begin to explore the concepts of Kali Linux and penetration testing by completing the following tasks:
- Introduction to Ajax Security
- Setting up the Experiment Environment and Tools
- Practical Ajax Security Exercises
4. Recommended Reading
For this session, the following materials are recommended:
1. Before diving into the experiments, we need to have a general understanding of Ajax. Refer to Ajax Basics.
5. Ajax Security
5.1 Overview
In this experiment, we will discuss security issues related to Ajax.
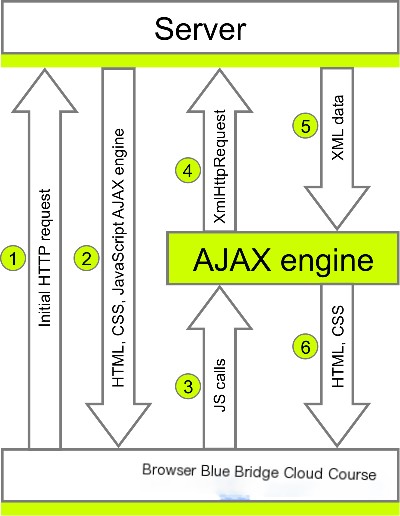
As many of you may know, AJAX stands for Asynchronous JavaScript and XML. It enables asynchronous communication between JavaScript and XML. The biggest advantage of using Ajax is that it allows data to be loaded in the background, enabling display or processing of the loaded data without reloading the entire webpage.
(Credit: Billnasara)
This concept is what we often refer to as dynamic partial refresh, which enhances convenience and significantly improves the user experience.
However, when Ajax is used to interact with backend databases, security vulnerabilities can arise, which is the primary concern discussed in this experiment.
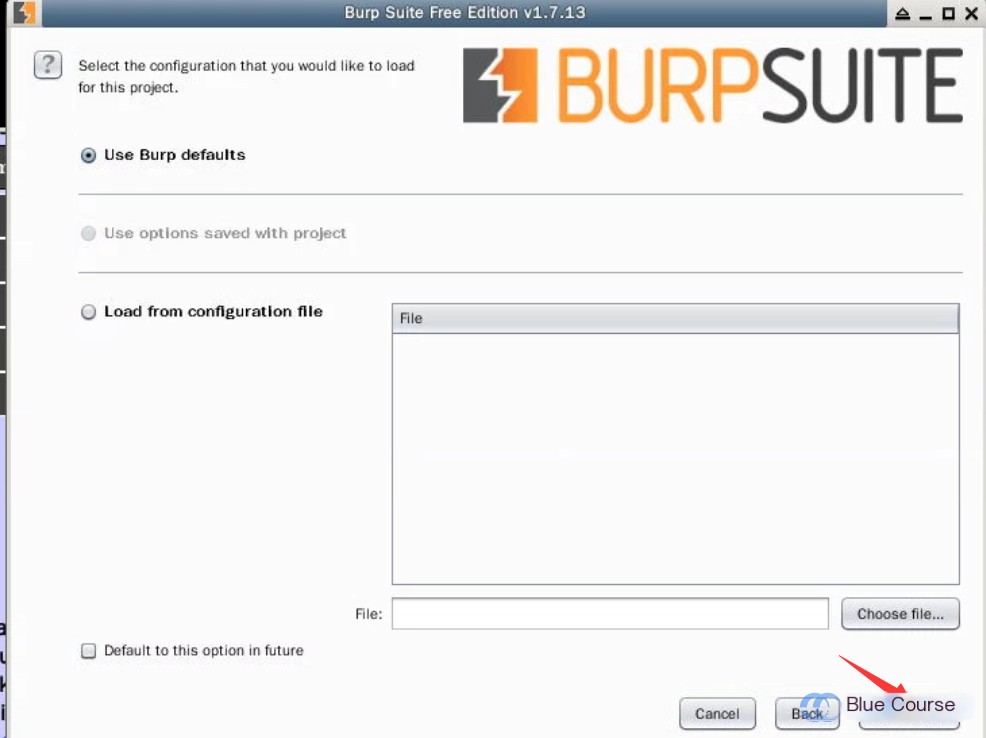
5.2 Environment Setup
For this experiment, we will use the Mutillidae platform and the highly effective Burp Suite tool.
Burp Suite is an integrated penetration testing tool that combines multiple components to facilitate both automated and manual web application testing and exploitation. By using Burp Suite, even non-experts in penetration testing can conduct thorough assessments efficiently if they learn how to navigate its features effectively.
Burp Suite is written in Java, which makes it cross-platform and accessible. Unlike other automated testing tools, it requires you to configure some parameters manually and trigger workflows before starting operations. (Source: t0data GitBook)
First, we need to use Mutillidae, so we will set up the Mutillidae environment. Instead of using Mutillidae provided by Metasploitable2, which is outdated, we’ll build our own installation for compatibility with the latest requirements.
Setting it up is straightforward and involves just three steps:
- Download the prepared installation package
- Extract the archive
- Initialize the database
That’s all it takes to get started! However, prerequisites include having Apache and PHP installed on your environment. Like DVWA, Mutillidae uses a PHP + MySQL architecture. Both Apache and Nginx are compatible, but ensure these components are available if setting it up on your local machine.
Note: If Apache isn’t installed, use the following command to install it:
sudo apt-get update && sudo apt-get install apache2
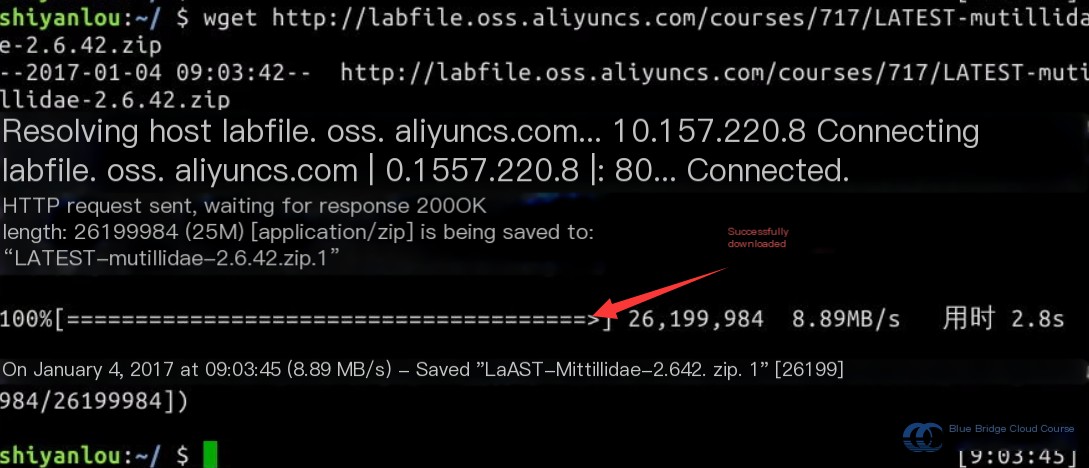
Use wget to download the prepared installation package:
wget http://labfile.oss.aliyuncs.com/courses/717/LATEST-mutillidae-2.6.42.zip
Note: If you’re building the environment yourself, be aware of a small bug in the Ajax portion of the source downloaded from SourceForge. This setup includes a fix for it, but you can reference the submitted fix on SourceForge if needed.
Next, extract the zip archive:
unzip LATEST-mutillidae-2.6.42.zip
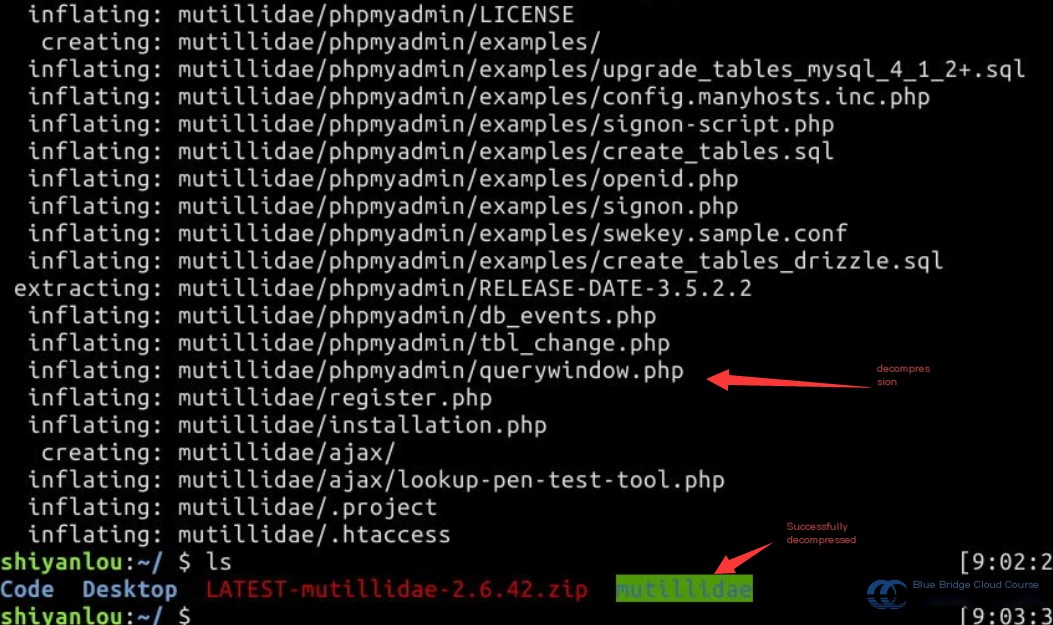
Once extracted, you will find an executable directory called mutillidae in your current directory. Move this directory to Apache’s root directory:
sudo mv mutillidae /var/www/html/
Placing the directory under Apache allows you to access it via a web browser. For this, you’ll need to transfer the files to the appropriate location.
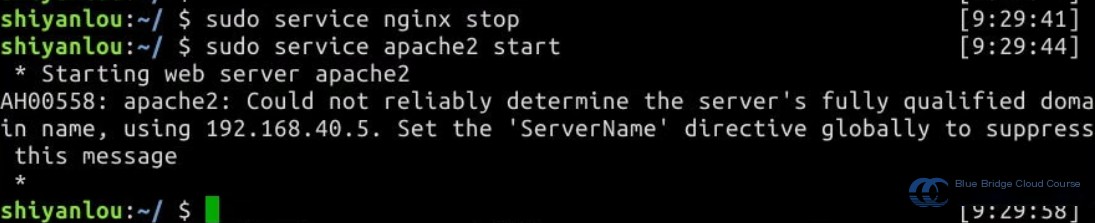
Now we need to stop Nginx and start Apache, as both use port 80, which would cause a conflict. Use the following commands:
sudo service nginx stop
sudo service apache2 start
Additionally, we need to ensure that MySQL is running:
sudo service mysql start
Then, open Firefox on your desktop and access localhost/mutillidae in the address bar. You’ll see a page like this:
The appearance of this page indicates that Mutillidae has detected the absence of a required database. Simply click setup/reset the DB, and it will automatically create the database for you:
This kind of result suggests that MySQL is not running:
A properly functioning MySQL instance would result in this message:
Seeing this screen indicates that you’ve successfully set up the Mutillidae environment:
Here, you can find the environment that Mutillidae provides for us:
This wraps up the first step of preparation. Next, we need to install Burp Suite.
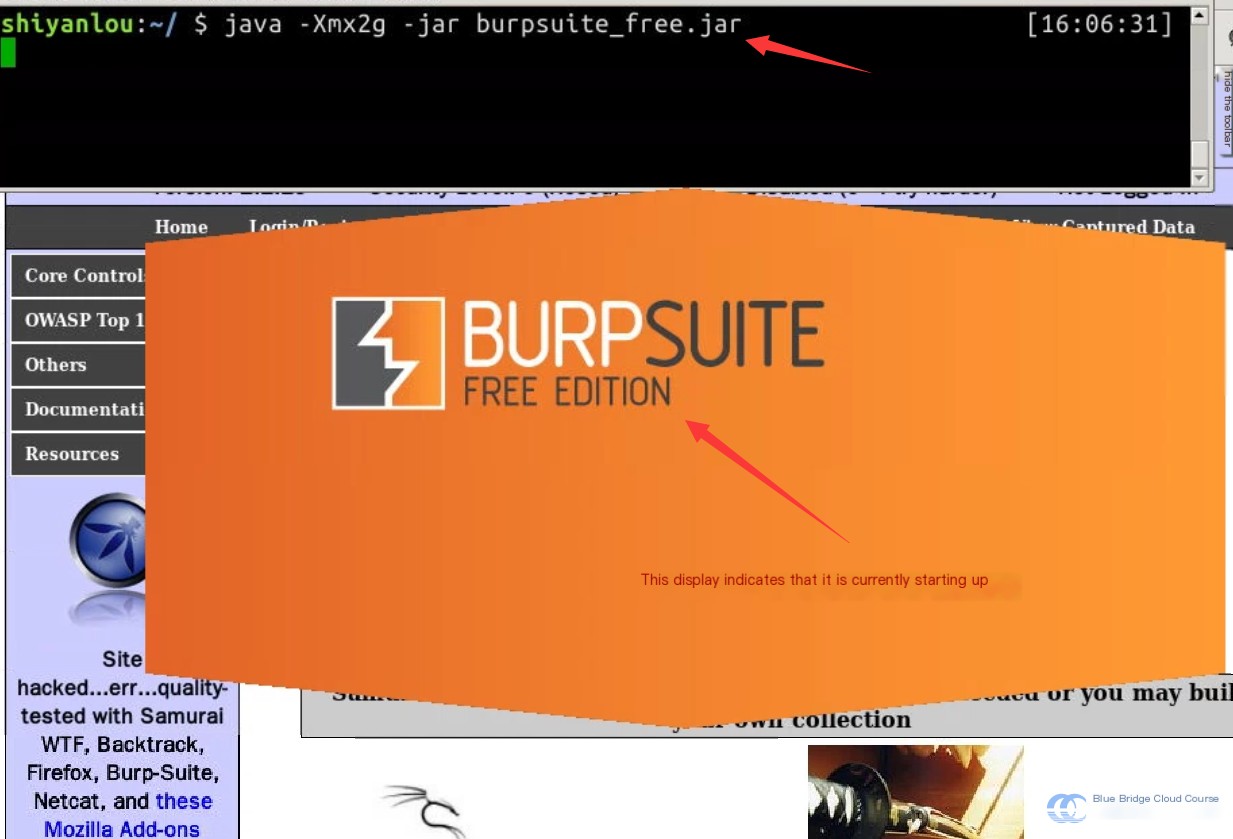
Installing Burp Suite is very straightforward. All you need is to download its executable JAR file and run it. Use the following command to download the file successfully:
Executing this single command will launch it:
java -Xmx1g -jar burpsuite_free.jar
All the plain Chinese text from the original snippet has been translated into American English, preserving the technological context and maintaining descriptions related to web security configurations. Let me know if you’d like further refinements!
The Xmx parameter specifies the maximum memory allocation for the application. In the screenshot, 2GB is used, which causes some sluggishness in performance. It is recommended to try 1GB instead. The & symbol allows the process to run in the background.
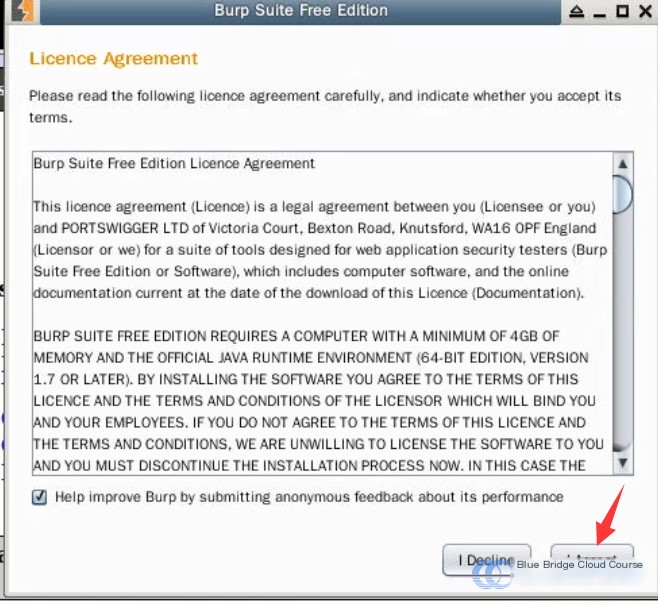
Next, you’ll be prompted to accept the license. Of course, agree to proceed:
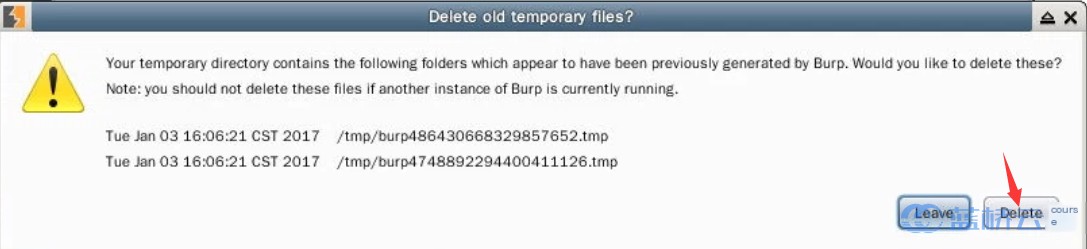
If you encounter an issue like this, simply select “delete” to proceed:
Then, simply select “Next” for the subsequent prompts:
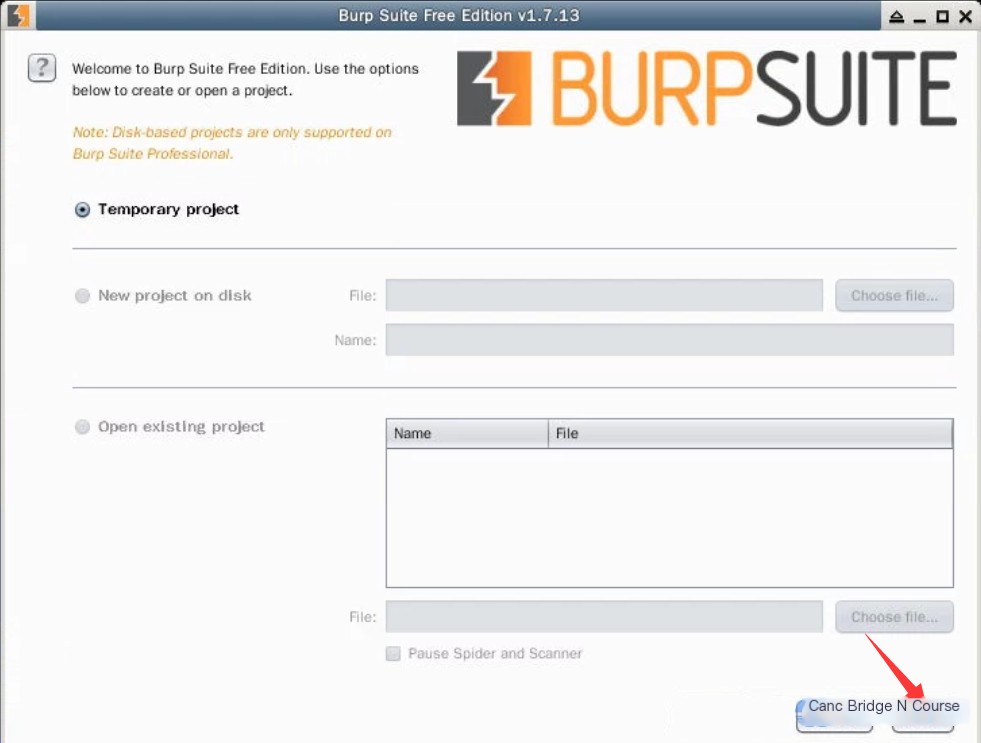
Finally, choose to start Burp:
After waiting for a short period, you should see that Burp starts up successfully:
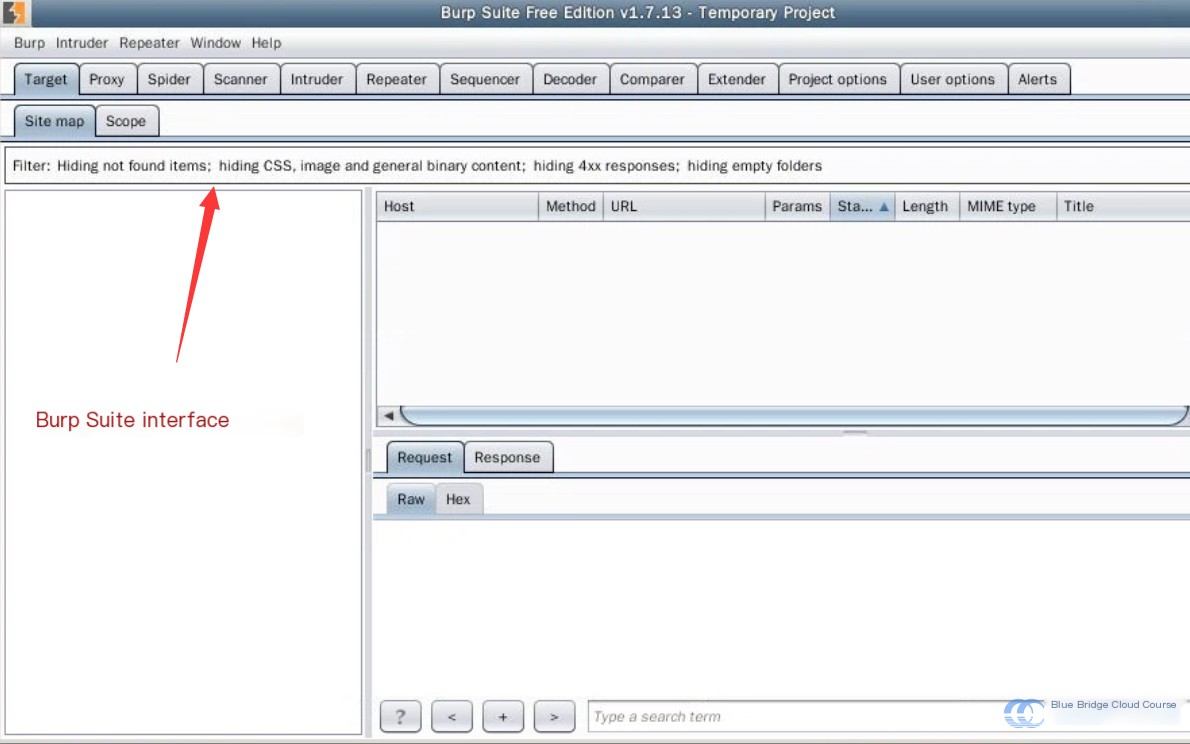
At this point, Burp has been successfully started. Next, you’ll need to configure Burp to work with Firefox. In the Firefox address bar, enter about:preferences#advanced to access the advanced settings page:
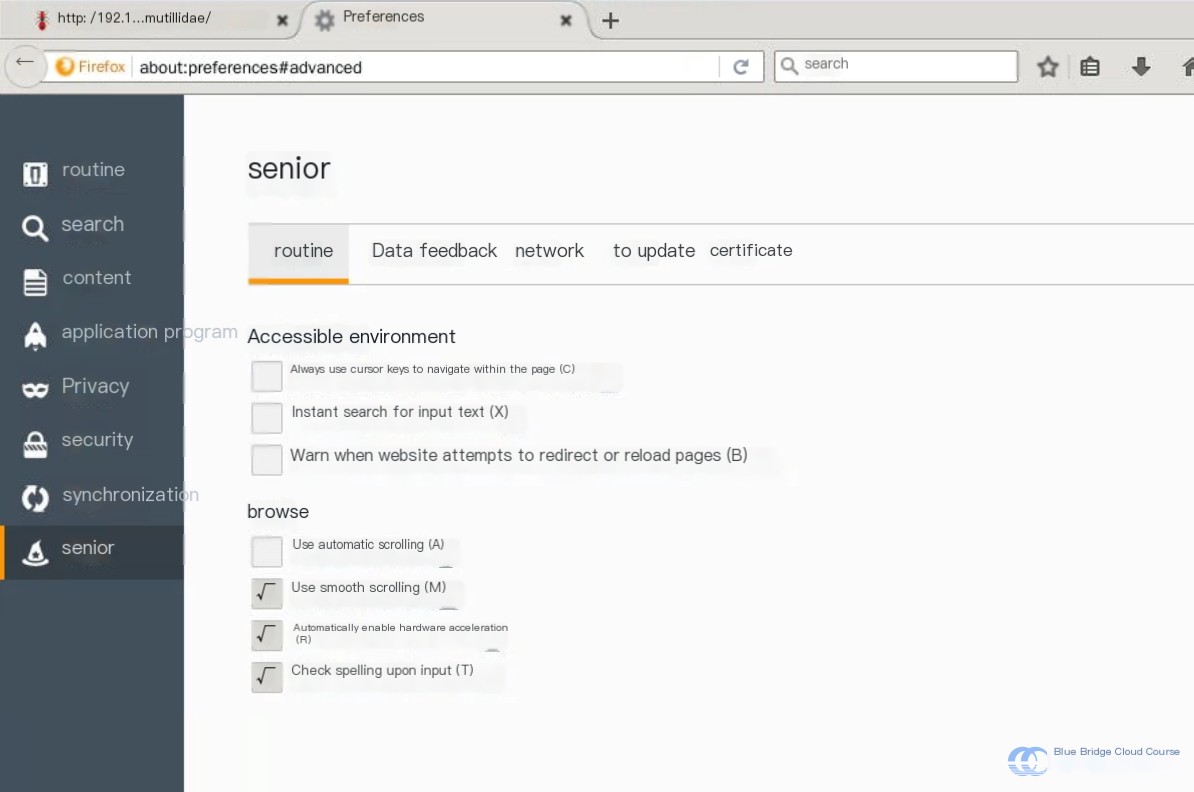
Then, select “Network”:
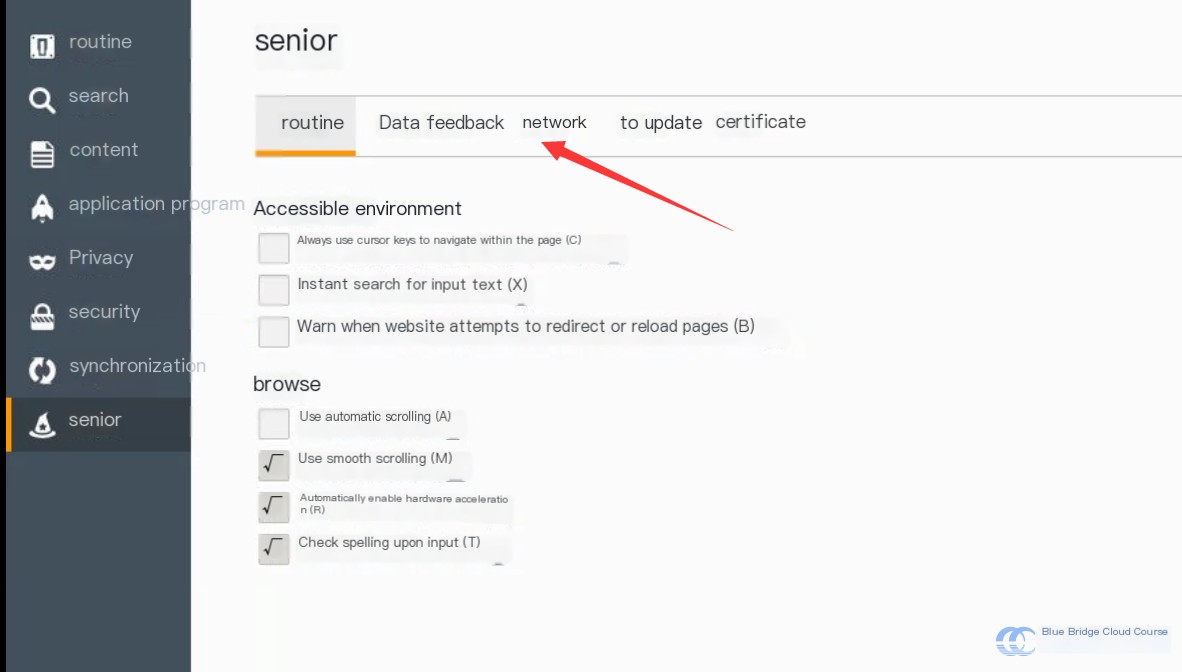
Under the “Network Settings” tab, select “Settings”:
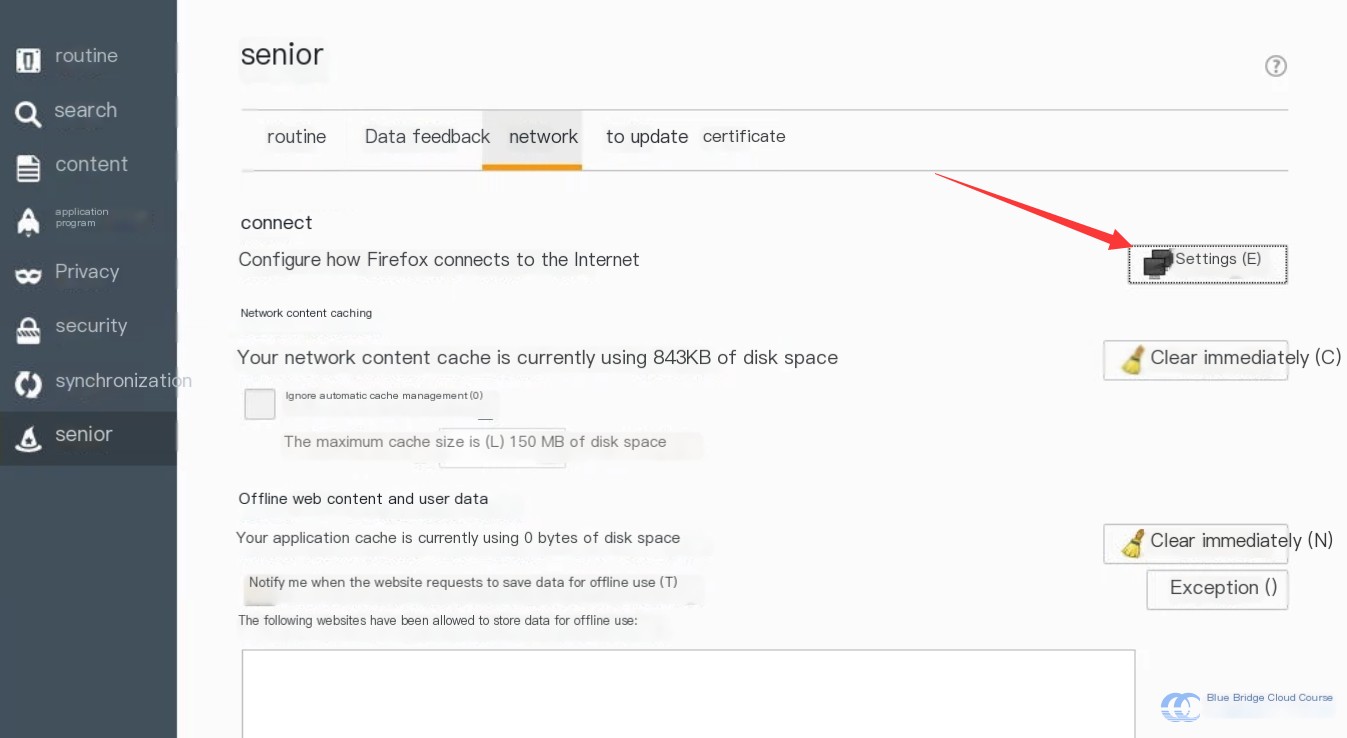
Manually configure the proxy settings to connect to Burp:
The port here can be configured freely, as long as it does not conflict with an already used port number.
Then, remove the content from the non-proxied whitelist below. Otherwise, packets will fail to redirect to our Burp Suite:
Lastly, click “OK.”
Meanwhile, switch to the Burp Suite interface and navigate to the “Proxy” options section:
Next, configure the port number to match the settings in Firefox. If it is already set to 8080, no changes are required:
Since Tomcat is running in the environment and using port 8080, we are using 8181 instead. Of course, we can stop Tomcat and use port 8080 if needed.
Select “Running” to proceed:
At this point, all the preparation work has been completed.
Now, any requests you submit will first pass through Burp Suite. For example, refreshing a webpage will cause the page to remain in a loading state because the request has been intercepted by Burp Suite:
Next, to observe our experimental environment, we temporarily disable Burp Suite’s interception:
5.3 Practical Implementation
Now, let’s examine our experimental environment. This is a utility that displays functionality through a list. By selecting the name of a tool and clicking the Lookup Tool button, we can view relevant information about that tool:
Without refreshing the page, you will notice the content is dynamically loaded. This suggests that the functionality is leveraging Ajax methods.
Right-click on a blank section of the page to view the page source. Use ctrl+F to search for keywords like XMLHTTP:
We can observe the following code:
lXMLHTTP = new XMLHttpRequest();
The XMLHttpRequest object is the core of AJAX, used to exchange data with the server in the background. It enables HTTP requests to be executed through JavaScript without requiring the user to wait for the server’s response. Users can perform other actions while the server sends back data that JavaScript processes, updating form fields quickly without requiring a page refresh. As a result, users see new data instantly.
From this, we can almost confirm that this site employs AJAX technology.
At this point, we re-enable the “Intercept” feature:
We then select a random entry from the list and click on “Query”:
From the parameters listed from top to bottom, starting from Host to Cookie, everything appears normal. However, at the bottom, we notice the inclusion of the parameter ToolID:
This suggests that the tool’s ID value in the database is 1, and the query for specific data content is performed based on this ID. We can attempt to test whether this is a potential SQL injection point by appending a ' after 11, then clicking “Forward.” During our SQL injection tutorial, we discussed reflected testing:
After forwarding, we return to the page and encounter the following error:
We can clearly see that the input error caused the query to fail, resulting in an error message. This strongly indicates the presence of an injection point.
Next, we try entering a standalone ':
At this point, we discover that the AJAX request contains a SQL injection vulnerability.
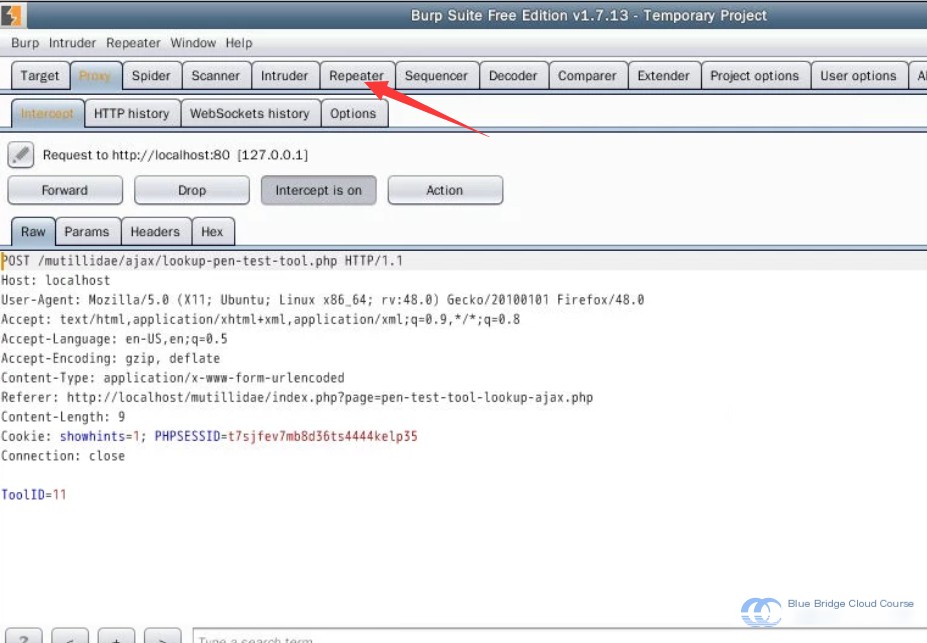
Burp Suite provides a very powerful and frequently used tool called Repeater. It is often used for analyzing request and response messages, such as modifying request parameters, verifying input vulnerabilities, and examining response content.
Once again, we click on Lookup Tool, right-click the intercepted message in Burp Suite, and select send to Repeater:
You can also use the shortcut Ctrl+R to achieve this. Afterward, we proceed to the Repeater tab to examine the request:
We can see the following interface:
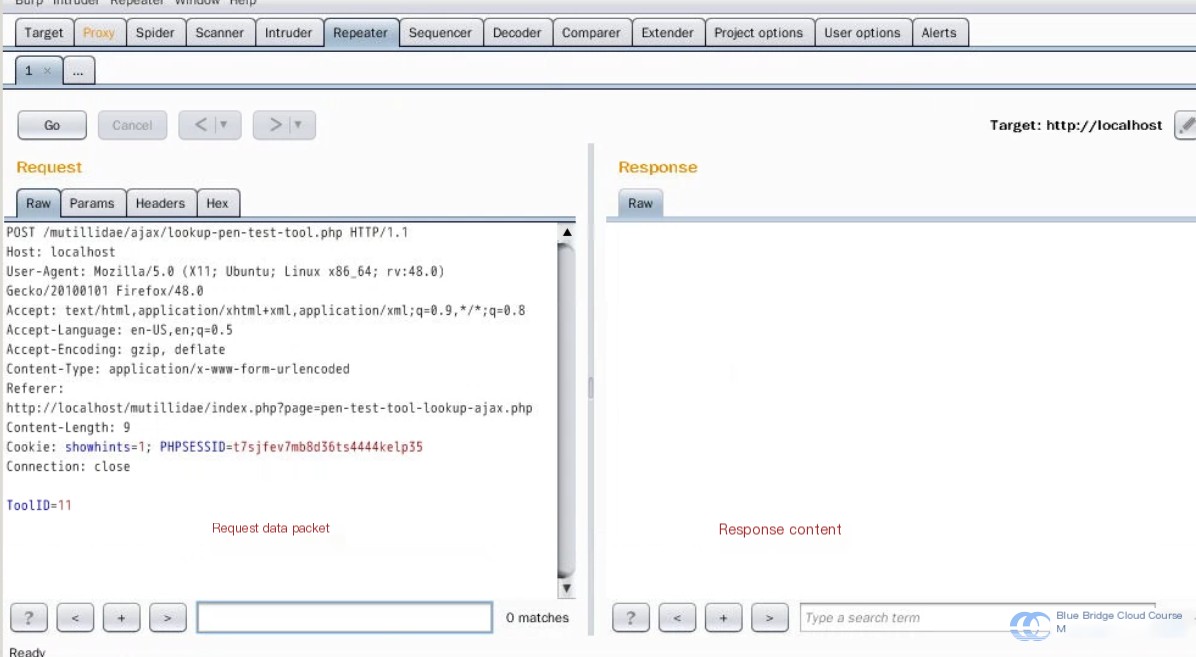
Repeater can be used as follows:
- Introduction to Ajax Security
- Preparation of the Experiment Environment and Tools
- Practical Ajax Security
Make sure to complete the entire experiment hands-on. Simply reading the text might seem easy, but when you perform the actual operations, you will encounter various challenges. The process of solving these problems is where the real learning happens.