0x00 Summary
In reverse engineering and mobile development, there is always a need to monitor and test the network behavior of an app. This article summarizes some packet capture strategies and demonstrates their usage.
In the realm of packet capturing, Wireshark stands out as the top tool overall (actually, the command-line tool tshark that comes with Wireshark is even more powerful).
This article documents five methods of packet capturing. Mastering any one of them allows for practical application. We welcome everyone to share and exchange their experiences.
0x01 Based on Wireshark
Experiment Steps:
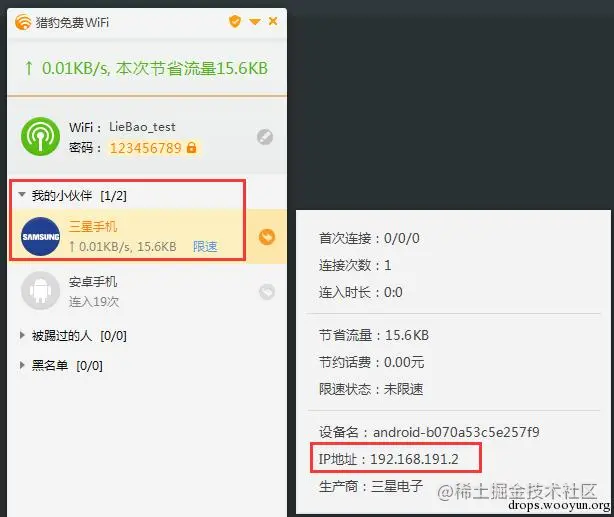
1.1 Use tools like Cheetah WiFi on your computer to start a hotspot, connect the phone you want to test to this hotspot, and note its IP address.
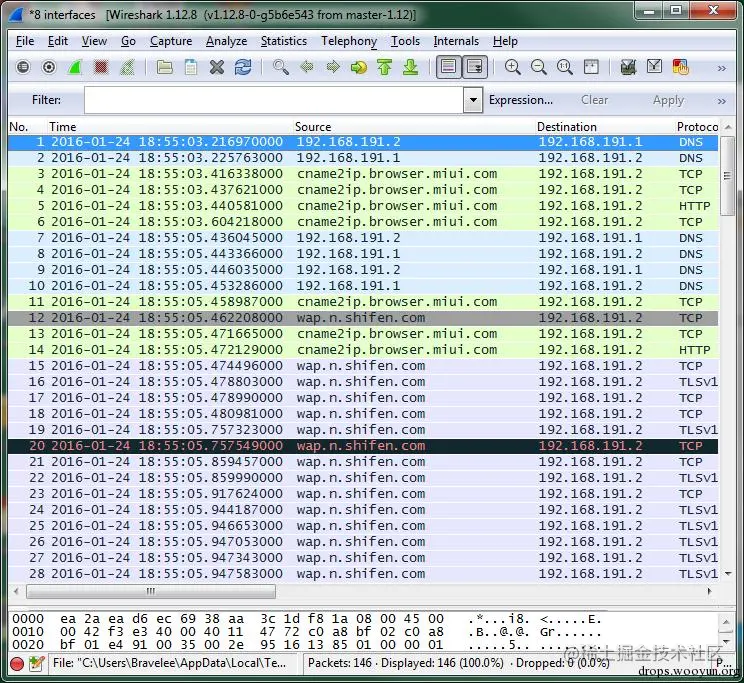
1.2 Use Wireshark to capture data for the above IP address.
Capture——Options

1.3 Summary
This method is simple, direct, and efficient. The captured packets can be saved at any time for subsequent analysis or PCAP visual analysis.
This article will not delve into the command-line tool tshark here. Interested readers can explore it on their own.
0x02 Based on tcpdump
Experiment Environment:
Install the Genymotion Android emulator, and conduct practice operations in this simulated environment (same for physical phones, provided the phone must be ROOTed).
The author has only tested on Android systems and not on iOS systems.
Experiment Steps:
The tcpdump tool embedded in the emulator is located in the /system/xbin/ directory.
You can connect to the emulator in CMD mode through commands, su to root mode for packet capture.
Parameter Explanation:
If you want to specify the length of the captured packets, you can use the -c parameter (e.g., -c 128). To end the capture, simply press Ctrl + C.
Drag the captured packets to your local computer and use Wireshark to view them:
TIPS: The command to push the packet file to a phone is
0x03 Based on Fiddler 4
Experiment Steps:
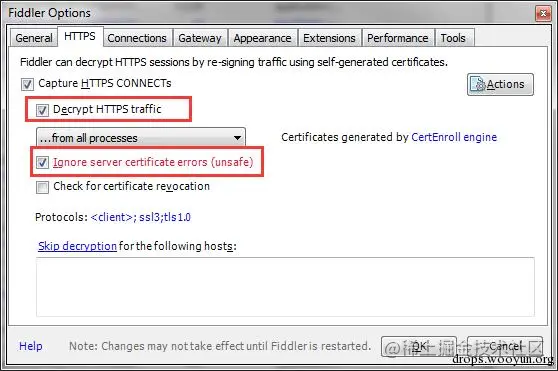
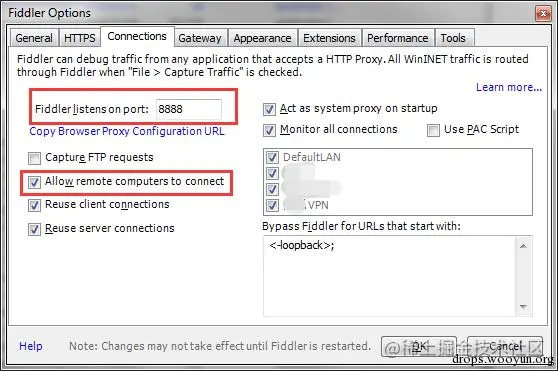
Open Fiddler, Tools -> Fiddler Options (Remember to restart Fiddler after configuring).
First, get the IP address corresponding to the PC where Fiddler 4 is installed (ipconfig):
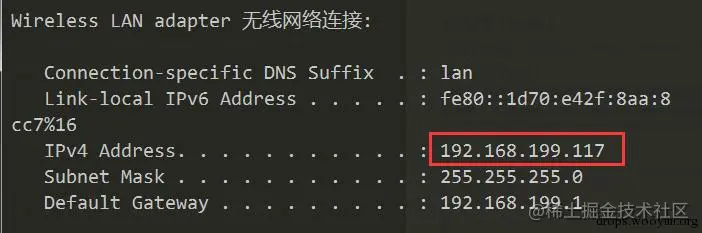
Ensure that the phone and PC are connected to the same local network!
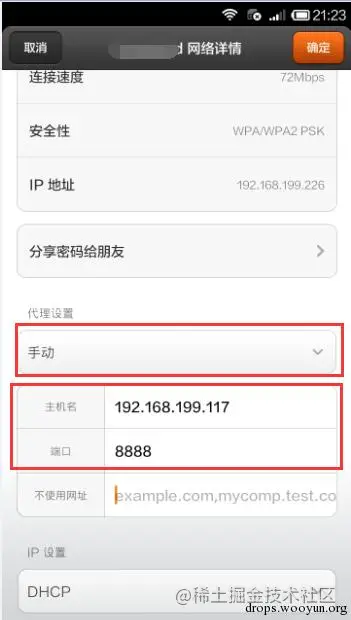
Next, set the phone (the author uses a Xiaomi test device): Go to “Settings” on the phone — Wi-Fi — select the connected WiFi — change proxy settings to manual.

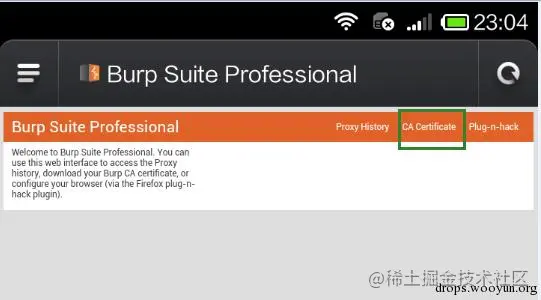
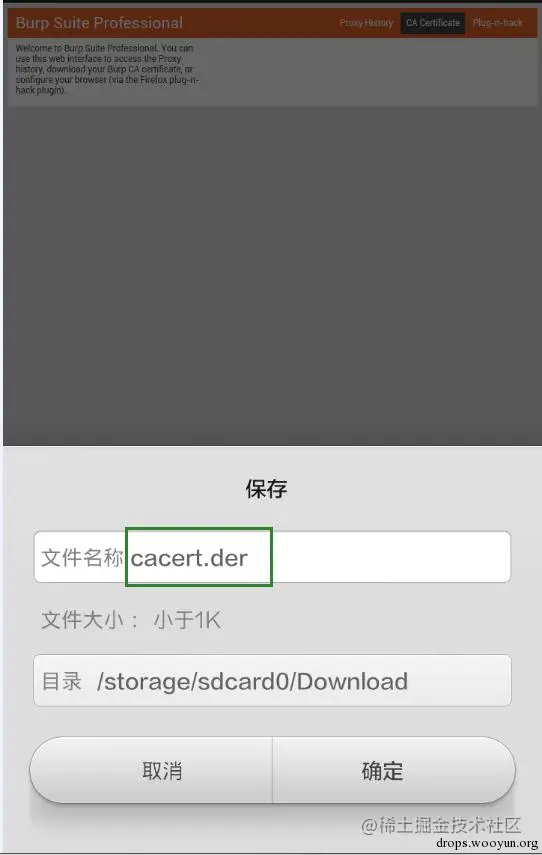
Download the Fiddler security certificate.
Access via the phone browser: “certificate”, and then install the certificate.
All settings are now complete.
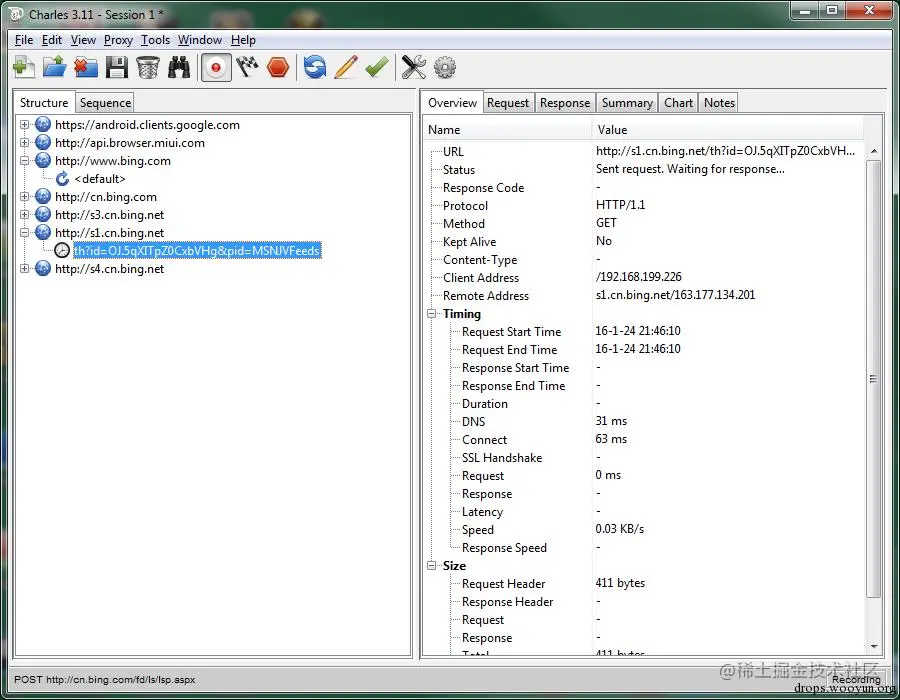
Reopen Fiddler 4, then open the browser on your phone, and visit any website. The Fiddler packet capture information is as follows:
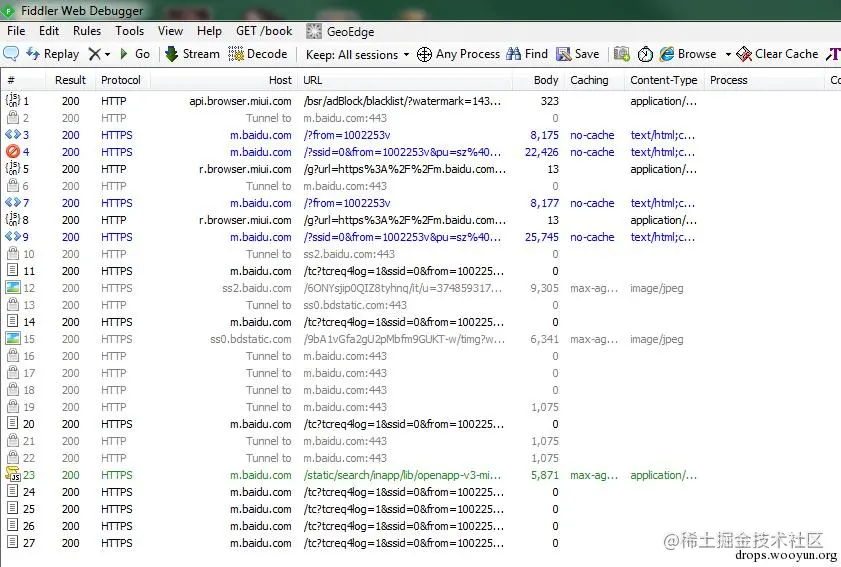
Enjoy!
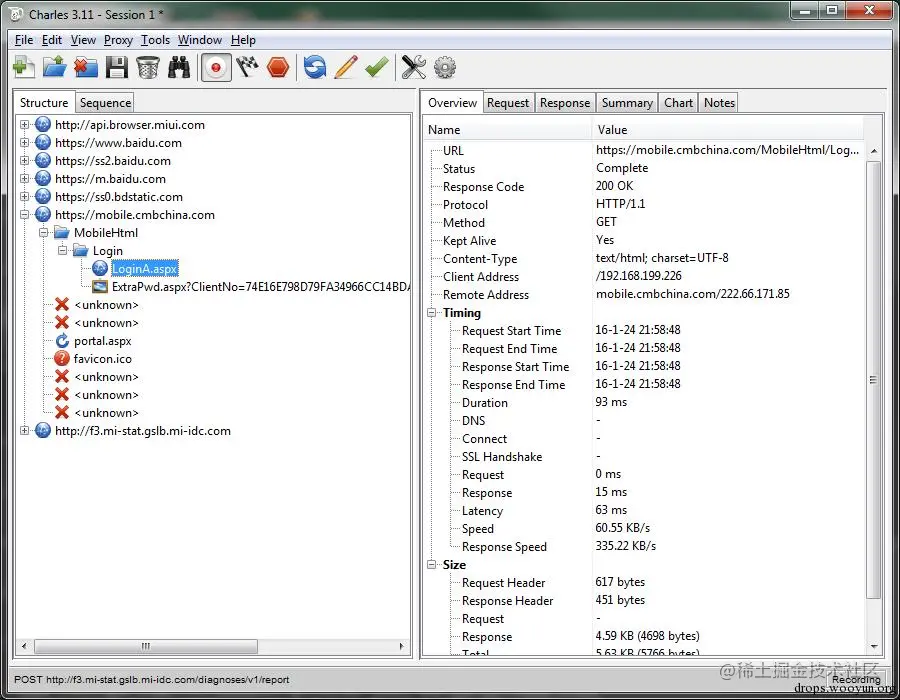
0x04 Based on Charles
Experiment Environment:
win7 + Charles v3.11
Charles is generally used based on MAC OS. The author tested it on both mac and windows platforms. The operation process and strategies are basically the same, so this article uses win7 as the test environment.
Experiment Steps:
Phone proxy settings:
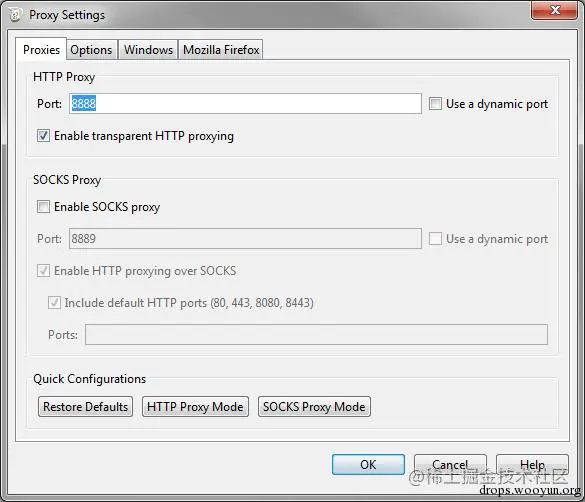
Open Charles to capture packets (Proxy —— Proxy Settings):
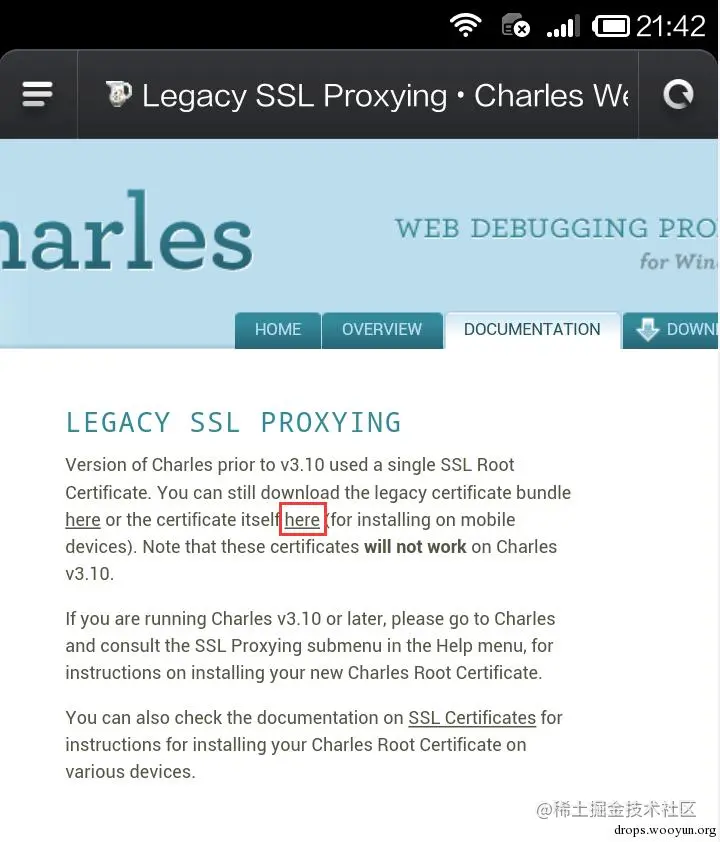
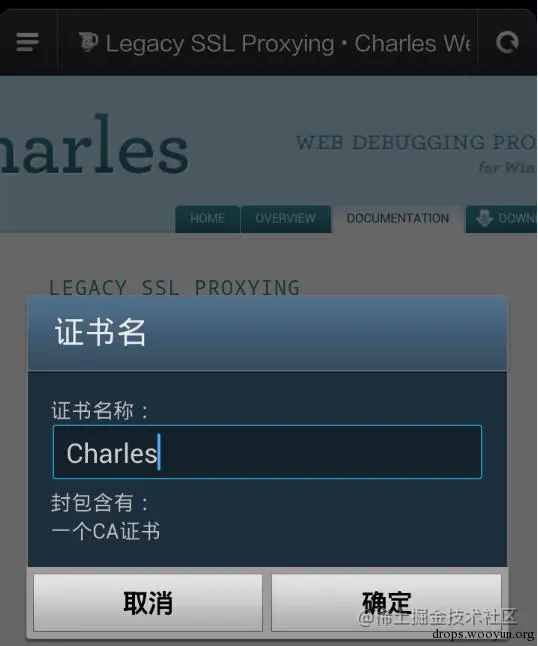
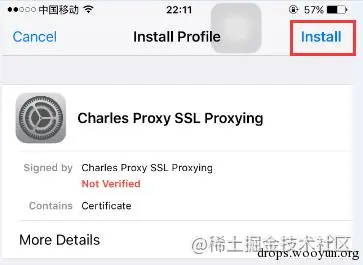
Install the certificate on the phone:
Both Android phones and iPhones can directly access this site, then click the certificate installation as instructed.
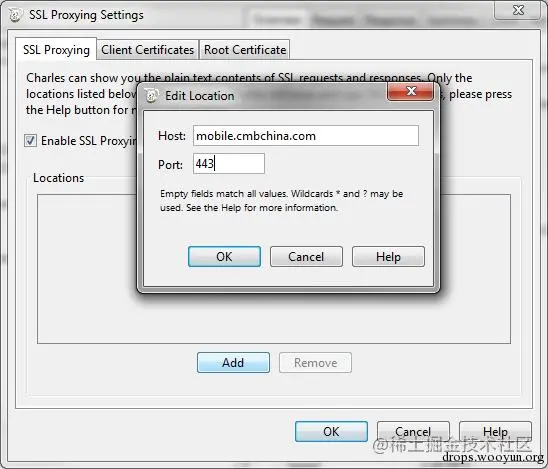
Select Proxy —— SSL Proxying Settings —— Locations —— Add
Fill the Host domain name (the hostname you want to capture packets for) and the corresponding Port in the pop-up form (acting as a filter here).
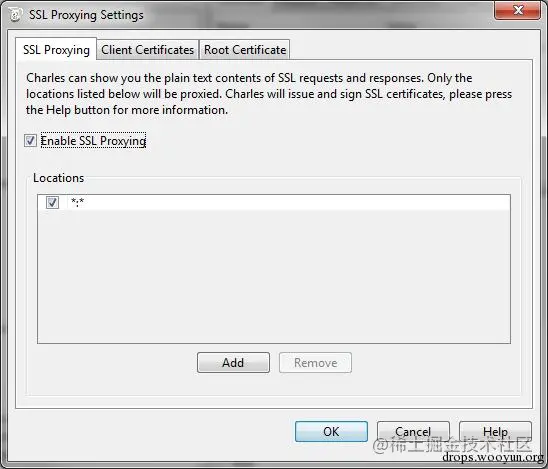
Of course, you can take a more direct approach: use wildcards. For example, if you want to capture all https packets, you can leave them all blank, indicating capturing all hosts and ports; or fill in “*” asterisk for all, matching all characters and capturing all https.
0x05 Based on Burpsuite
Experiment Steps:
PC-side Burpsuite settings:

Phone-side proxy settings, same as above 3.3 4.1
Open Burpsuite to capture HTTP packets:
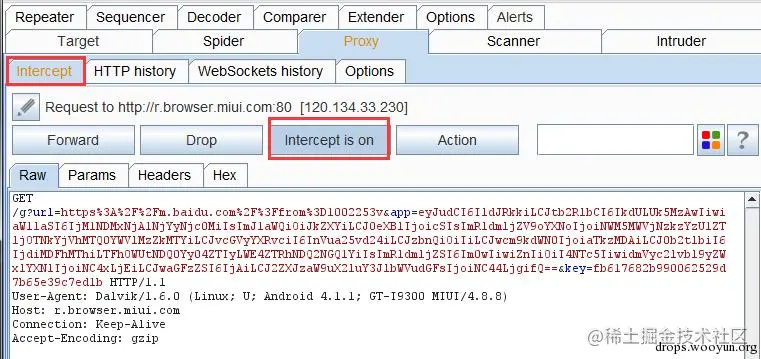
After configuring the proxy on the phone, use the browser to visit: