

Hello, everyone, happy Saturday~ including the keyword curl command.
Having not updated for over a month, I’m a workaholic this week.
As expected, everyone isn’t interested in programming, haha.
Today, let’s check out a web access tool called curl on Linux~
Part.1
The Curl Tool
What is curl?
In Linux, besides using a browser to access web services, we can also use the curl tool.
curl is a command-line tool that uploads or downloads data by specifying a URL and displays the data.
With curl, we can send custom get, post requests.
Basic Usage of curl
First, we write a simple PHP code on the server side, curl.php, to test the basic functions of curl, as follows:
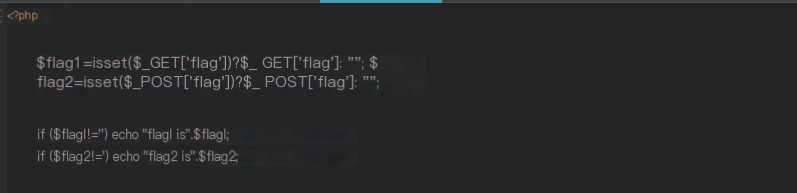
Explanation as follows:
- The flag parameter received via the Get method is assigned to the variable flag1
- The flag parameter received via the POST method is assigned to the variable flag2
- If either flag1 or flag2 is not empty, print the value of the respective parameter
(1) Access via Get Method
Directly use the curl method to access the specified URL; by default, it uses the Get method, as follows:
 >
>
Wireshark capture results:
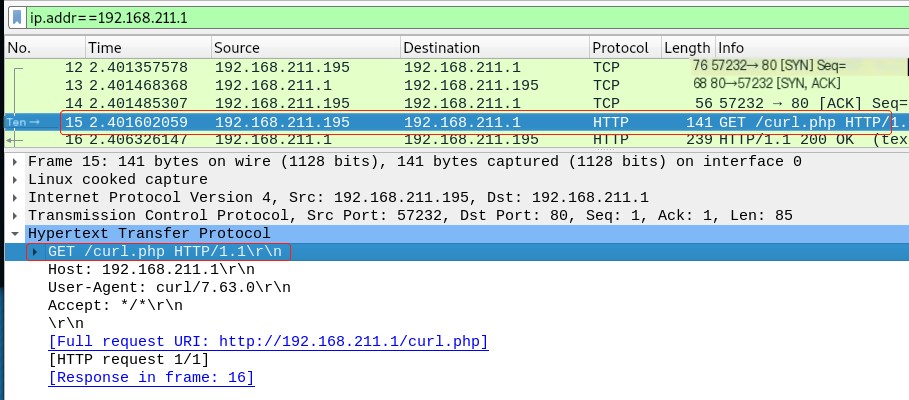
The way Get method passes parameters is the same as a browser. After ?, follow with the respective parameters. The reply received is flag1 is 123:

With the -i option, you can display detailed information about the request header:

With the -v option, you can display request header and response message information:

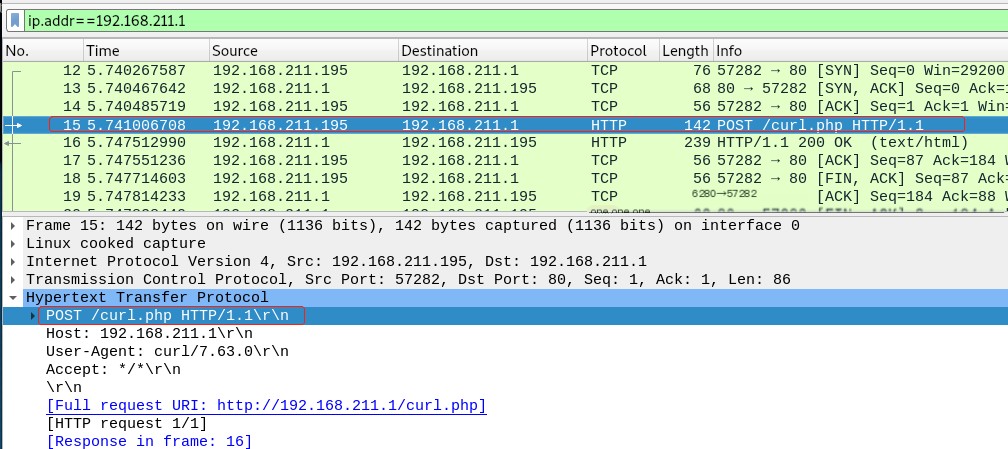
(2) Access via Post Method
To send a Post request, use the -X parameter, as follows:

Wireshark capture as follows:
With the -d option, you can specify the parameters to pass:

curl Modifying Request Header Information
Using the curl -H option, we can add or modify request header information. Use the following PHP code for testing:
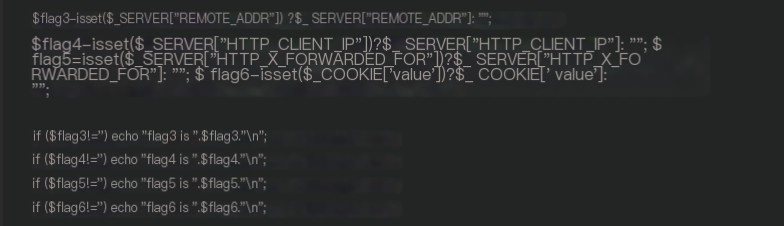
Explanation as follows:
- Using $_SERVER[“REMOTE_ADDR”] you can receive the source IP address when establishing a TCP connection
- Using $_SERVER[“HTTP_CLIENT_IP”] you can receive the parameter passed by the HTTP header Client-ip
- Using $_SERVER[“HTTP_X_FORWARDED_FOR”] you can receive the parameter passed in the XFF header of the HTTP header
- Using $_COOKIE[‘value’] you can receive the value from the cookie field in the HTTP header
- If these parameters are not empty, print them out
(1) Comparison of Several IP Parameter Passing Methods
First, $_SERVER is a global variable, just like $_GET and $_POST, which can be used to get client information.
$_SERVER[“REMOTE_ADDR”] gets the source IP used when the client establishes a connection with the server during the TCP three-way handshake. This does not belong to the HTTP header parameter and cannot be forged.
However, $_SERVER[“HTTP_CLIENT_IP”] and $_SERVER[“HTTP_X_FORWARDED_FOR”] are used to receive the values passed by the Client-ip field and x-forwarded-for field in the HTTP headers respectively, used to identify the client’s source IP address. The information they pass can both be forged.
Additionally, since $_SERVER[“REMOTE_ADDR”] receives the source IP address of the IP layer, after NAT or proxy environments, the source IP will change, and it won’t be the real client IP.
Client-ip and x-forwarded-for can include the real source IP of the client in the HTTP header during packet sending so that the server can identify it. Those are the differences between the three.
(2) IP Parameter Passing
First, without passing parameters, directly access, REMOTE_ADDR can receive a value, and print flag3:

By adding the client_ip header, pass any value, and print flag4:

By adding an XFF header, you can also pass any value, and print flag5:

Note: The difference between client-ip and XFF is that client-ip does not belong to standard request header information, and some servers may not recognize it, so XFF is used more often.
(3) Cookie Parameter Passing
Through the Cookie field, you can pass a specified Cookie value:

Other request header information can also be set via the methods above.
Part.2
Conclusion
Alright, that’s the basic use of the curl tool.
This article was also written because the next step is to write a Python script to send custom Get and Post requests, making it convenient for everyone to learn comparatively. (Bet you didn’t see that coming, let’s learn Python!)
Peace!