 sudo apt-get install -y build-essential
sudo apt-get install -y libpcap-dev libpcre3-dev libdumbnet-dev
sudo apt-get install -y bison flex
mkdir ~/snort_src
cd ~/snort_src

wget http://ftp.gnu.org/gnu/automake/automake-1.15.tar.gz
tar -xvzf automake-1.15.tar.gz
cd automake-1.15./configure --docdir=/usr/share/doc/automake-1.15
make
sudo make install

wget http://ftp.gnu.org/gnu/autoconf/autoconf-2.68.tar.gz
tar xzf autoconf-2.68.tar.gz
cd autoconf-2.68./configure
make
sudo make install

sudo wget http://luajit.org/download/LuaJIT-2.0.5.tar.gz
sudo tar -zxvf LuaJIT-2.0.5.tar.gz
cd LuaJIT-2.0.5/
make
sudo make install
Install DAQ
 cd ~/snort_src
wget https://snort.org/downloads/snort/daq-2.0.7.tar.gz
tar -xvzf daq-2.0.7.tar.gz
cd daq-2.0.7./configure
make
sudo make install

sudo apt-get install -y autoconf libtool pkg-config
cd ~/snort_src
wget https://github.com/nghttp2/nghttp2/releases/download/v1.17.0/nghttp2-1.17.0.tar.gz
tar -xzvf nghttp2-1.17.0.tar.gz
cd nghttp2-1.17.0
autoreconf -i --force
automake
autoconf
./configure --enable-lib-only
make
sudo make install
Install Snort
 cd ~/snort_src
wget https://snort.org/downloads/snort/snort-2.9.15.1.tar.gz
tar -xvzf snort-2.9.15.1.tar.gz
cd snort-2.9.15.1./configure --enable-sourcefire
make
sudo make install
Install Snort Rules
 # First, create Snort configuration (and rules) directory
mkdir -p /etc/snort/rules
# Create directories needed for operation
mkdir /usr/local/lib/snort_dynamicrules

# Copy the default configuration files from the etc directory from extraction of version 2.3 to Snort configuration directory
cp etc/*.conf /etc/snort
cp etc/*.map /etc/snort

# Download community rules and extract to rules directory
wget https://www.snort.org/downloads/community/community-rules.tar.gz
tar -zxf community-rules.tar.gz -C /etc/snort/rules

# Comment out all default rule files to be loaded
sudo sed -i 's/include \$RULE\_PATH/#include \$RULE\_PATH/' /etc/snort/snort.conf

# Enable community rule file
echo ''>> /etc/snort/snort.conf
echo '# enable community rule'>> /etc/snort/snort.conf
echo 'include $RULE_PATH/community-rules/community.rules'>> /etc/snort/snort.conf

# Reset variable values in snort.conf
sed -i 's/var RULE_PATH ..\/rules/var RULE_PATH .\/rules/' /etc/snort/snort.conf
sed -i 's/var WHITE_LIST_PATH ..\/rules/var WHITE_LIST_PATH .\/rules/' /etc/snort/snort.conf
sed -i 's/var BLACK_LIST_PATH ..\/rules/var BLACK_LIST_PATH .\/rules/' /etc/snort/snort.conf

# Create default whitelist file
touch /etc/snort/rules/white_list.rules
# Create default blacklist file
touch /etc/snort/rules/black_list.rules
# Create default user-defined rules file
touch /etc/snort/rules/local.rules

# Test the configuration file for errors
snort -T -c /etc/snort/snort.conf
After installation, simply test the command snort -v rule config detect mode summary
Code Flow Chart
Created with Raphaël 2.2.0
Snort System Entry Point SnortMain():
1.Determine the operating system and working mode
System Initialization Phase SnortInit():
1.Including the initialization of preprocessors
2.Request PacketCount memory
3.Command-line parsing
4.Establish and initialize the SnortConfig structure
5.Configure output plugins and dynamic loading plugins, etc.
Decoding Preparation Work SetPktProcessor()
1.Call different parsing functions according to different protocol types of packets:
For example, DecodeEthPkt(), DecodeIP(), DecodeICMP()
Call the packet capture function library and start capturing packets DAQ_Start()
1.Capture network card packets using libpcap/winpcap library functions
Enter packet capture loop PacketLoop()
1.After starting packet capture, parse packets step-by-step from the data link layer -> Ethernet -> transport layer and store them
2.HTTP/Telnet/RPC decoding
3.PortScan check
4.ARPspoof check
5.Eval Packet start single packet matching
6.Eval Header matching options
7.Eval Opts matching options
8.Logging and alert plugins template
Features Use Report
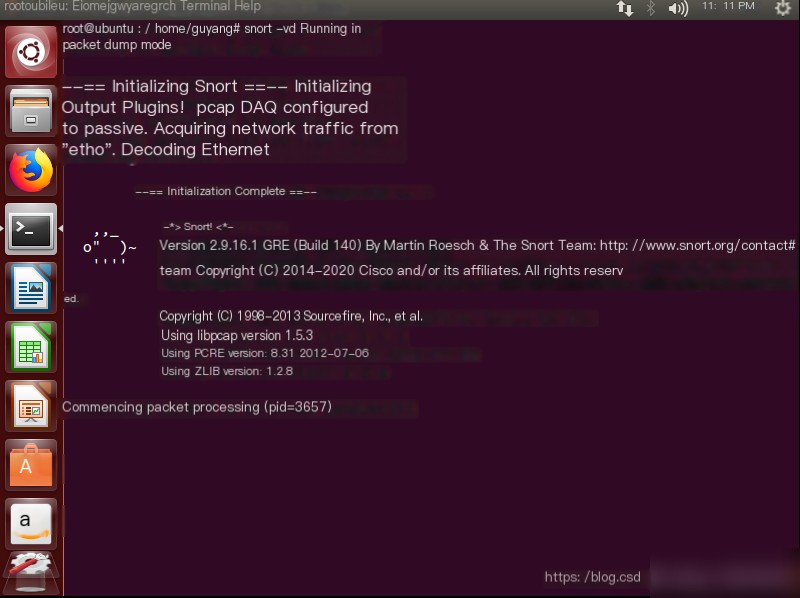
Sniffer Mode (snort -dev)
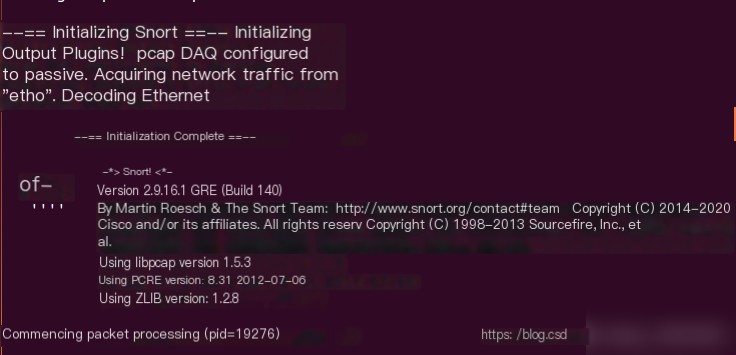
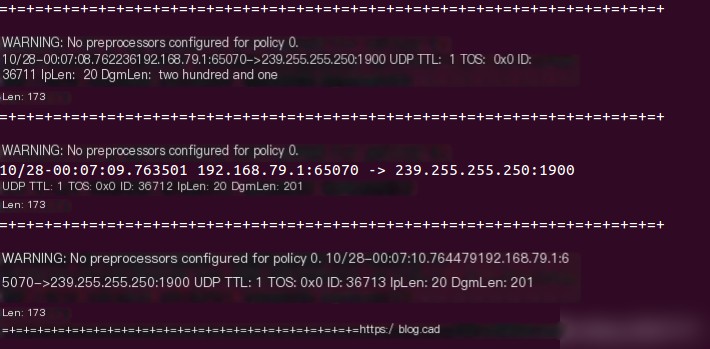
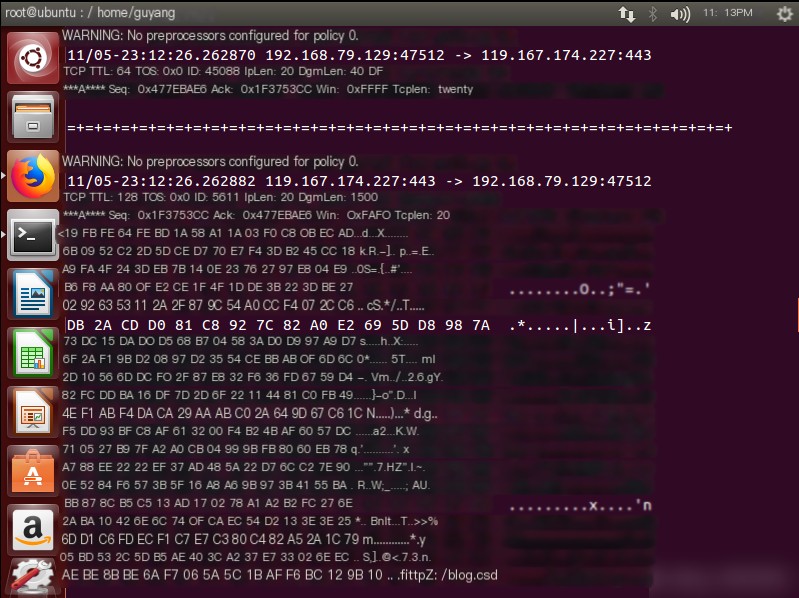
The so-called sniffer mode is when Snort reads packets from the network and displays them on your console. The snort -vd command outputs packet headers and displays data information:
After visiting www.baidu.com, the TCP/IP data detection is as follows:
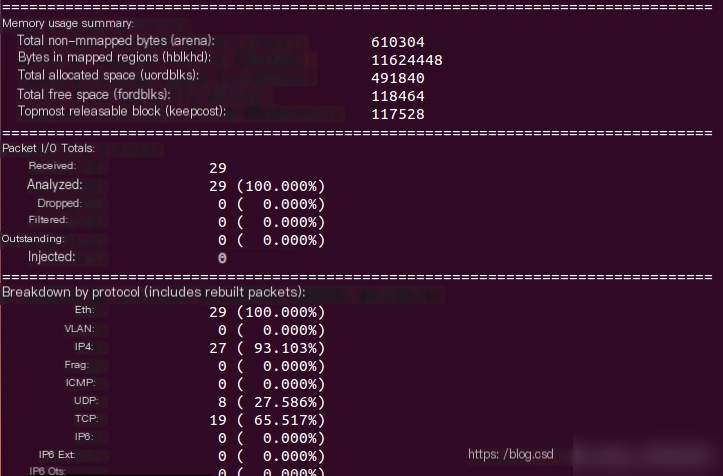
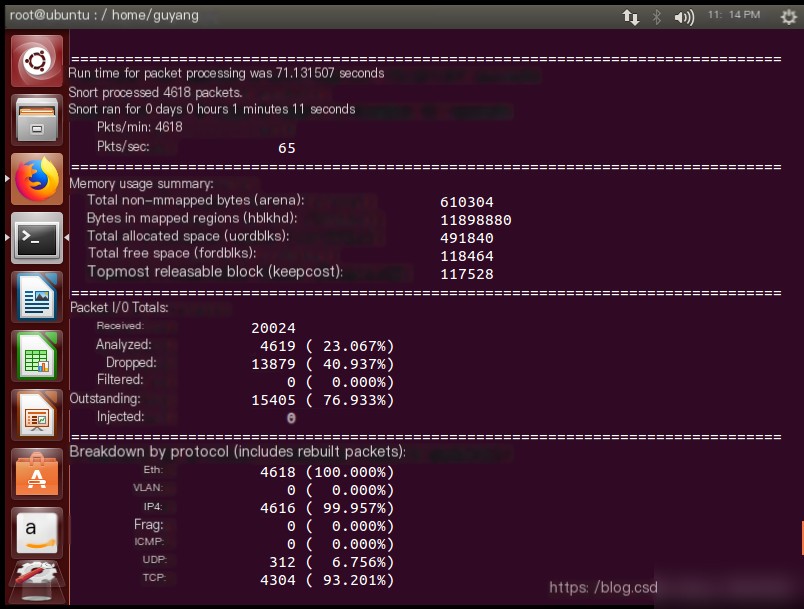
After exiting detection mode, Snort will provide a summary of the detection information, including runtime, throughput, memory usage, data IO, and protocol classification statistics.
Packet Logger (snort -l)
If you want to log all packets to disk, you need to specify a log directory and Snort will log the packets automatically. The command uses detection + logging method:
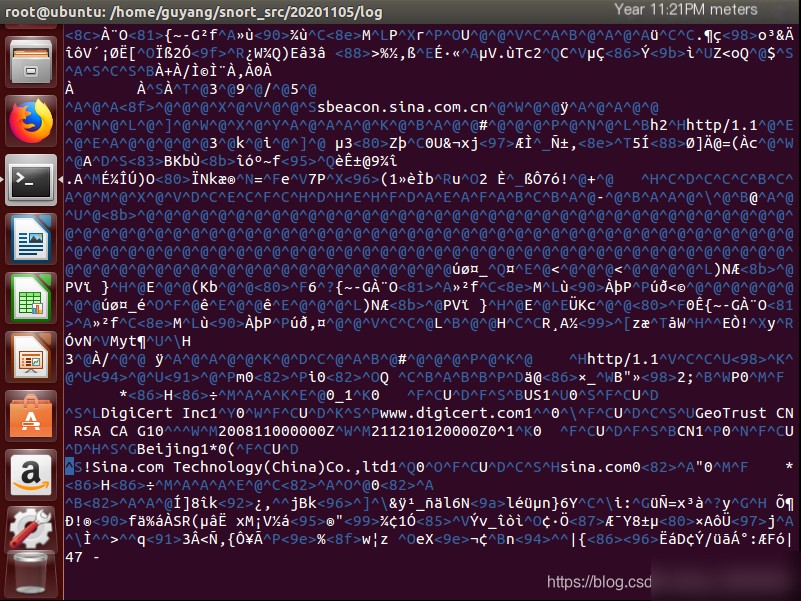
./snort -dev -l ./20201105/log
After visiting www.sina.com, closing sniffer mode will log all the packets during access to sina in snort.log.1604647136. Opening the log file with vi, you can see the HTTP messages’ host during access to sina.
On the other hand, if you want to log packets with specific port numbers or protocol characteristics, you can define in the rule file:
log udp any any -> 192.168.1.0/24 1:1024
Intrusion Detection (snort -c)
The network intrusion detection mode includes 5 actions: pass, log, alert, dynamic, and activate, and these are configurable. We can have Snort analyze network data flow to match some user-defined rules, and take certain actions based on the detection results.
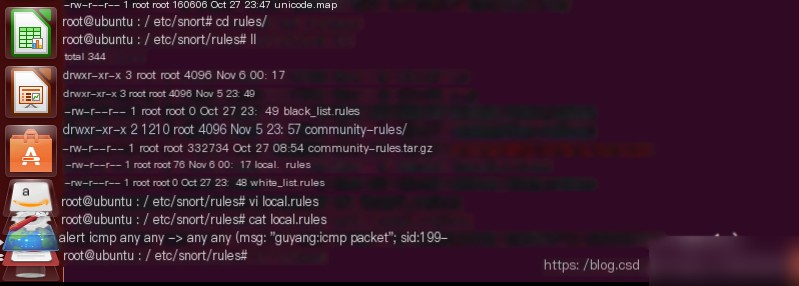
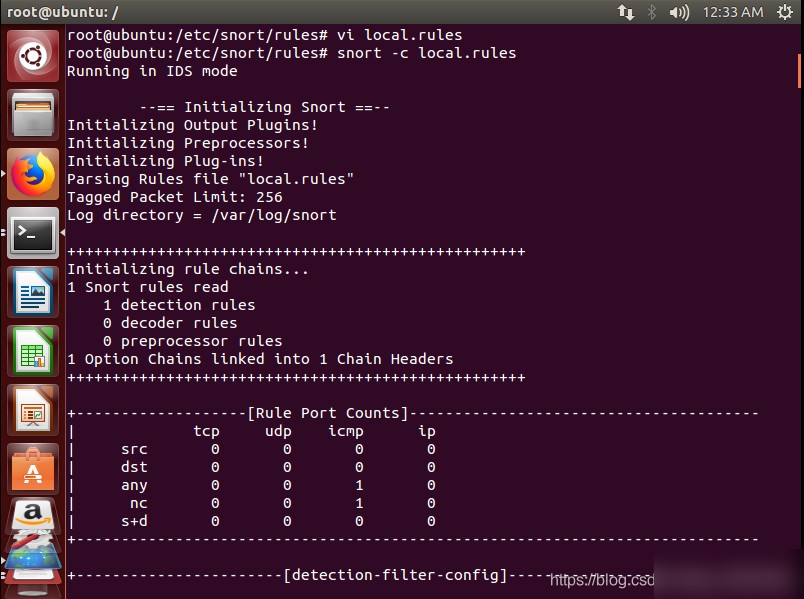
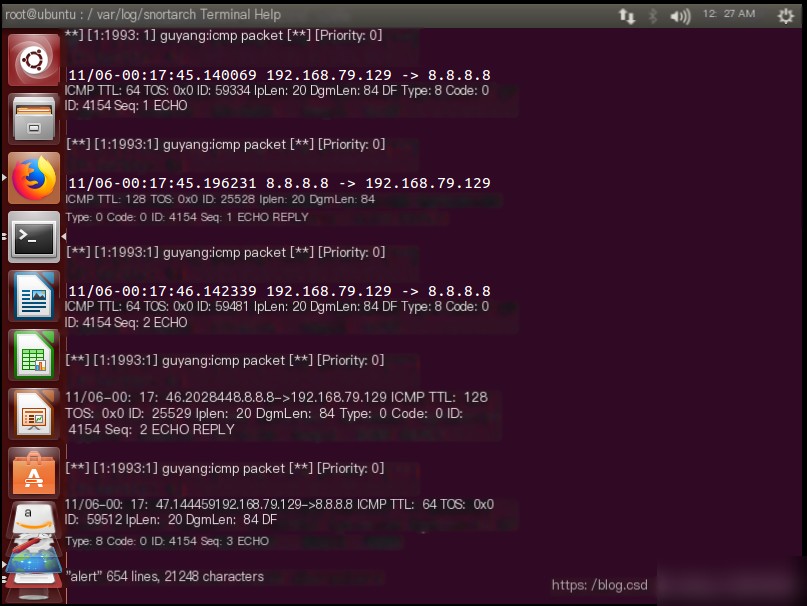
First, configure some rules (snort rule syntax), create a new local.rules file. Here, a simple example is shown: when any ICMP protocol packet is detected, an alert is raised and recorded, displaying the content as guyang: icmp packet. The syntax configuration is as follows:
alert icmp any any -> any any (msg: “guyang: icmp packet”; sid:1993; rev:1;)
After configuring the rules, start the NIDS mode:
snort -c local.rules
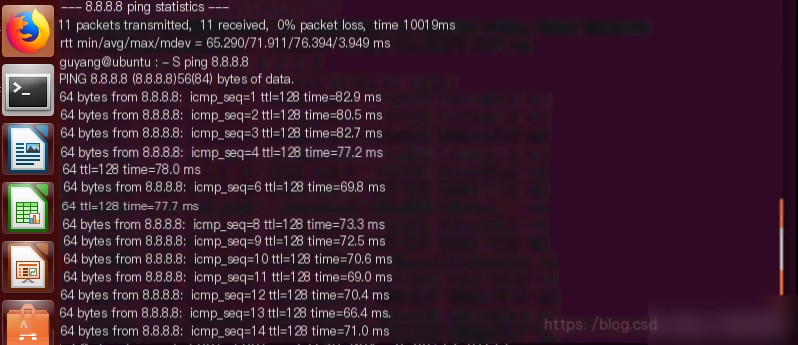
Start another terminal and
ping 8.8.8.8:
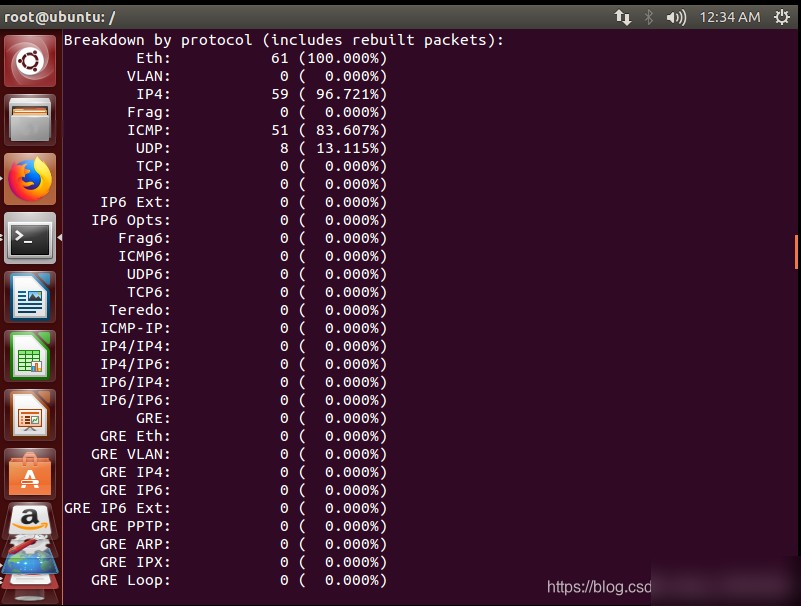
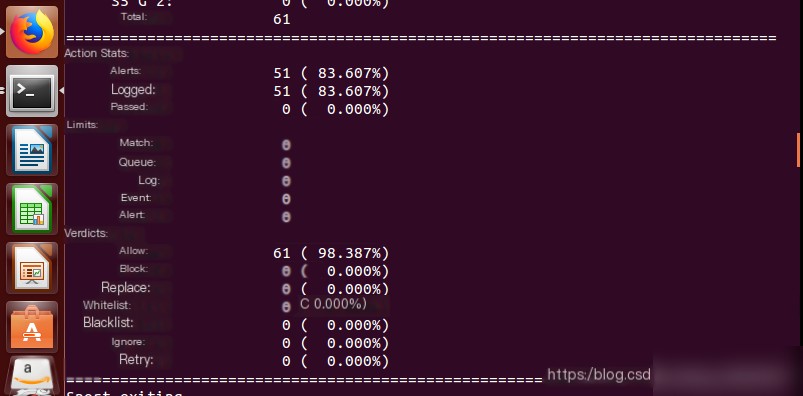
The screen continuously displays alerts. After closing the terminal, the monitoring report can be viewed:
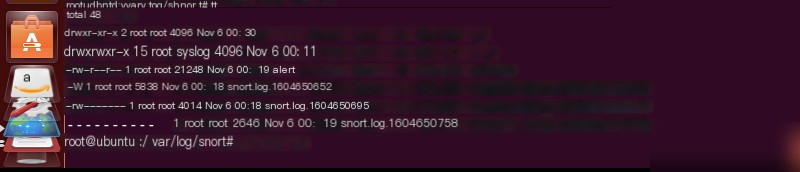
Since it is in alert mode, the specifics of the packet alert will be recorded in **/var/log/snort/alert**:
After using the three modes, it is evident that Snort IDS is highly user-friendly, the interface is intuitive, it supports a wide range of protocols, and the rule configuration is very flexible and straightforward. Just focus on 4 key elements: who, where, what, how.