Setting Up an Intrusion Detection System Snort on Ubuntu 16.04
Introduction to Snort on Ubuntu 16.04
In 1998, Martin Roesch developed the open-source intrusion detection system Snort in C language. Till today, Snort has evolved into a powerful network intrusion detection/prevention system, or NIDS/NIPS, with multi-platform, real-time traffic analysis, network IP packet logging, and other features.
Snort can capture and analyze data packets on the network, but unlike other sniffers, it can respond and process based on defined rules. Snort analyzes obtained data packets by following the defined rules and can take one of five responses based on the rule sets: Activation, Dynamic, Alert, Pass, Log.
Snort has various functionalities like packet sniffing, packet analysis, packet detection, and response handling. Each module implements different functions, and all modules integrate with Snort using plugins, allowing for convenient functionality extension. For example, preprocessor plugins run before rule matching to perform functions like TIP fragment reassembly and protocol decoders, while output plugins process different scenarios into logs or alerts.
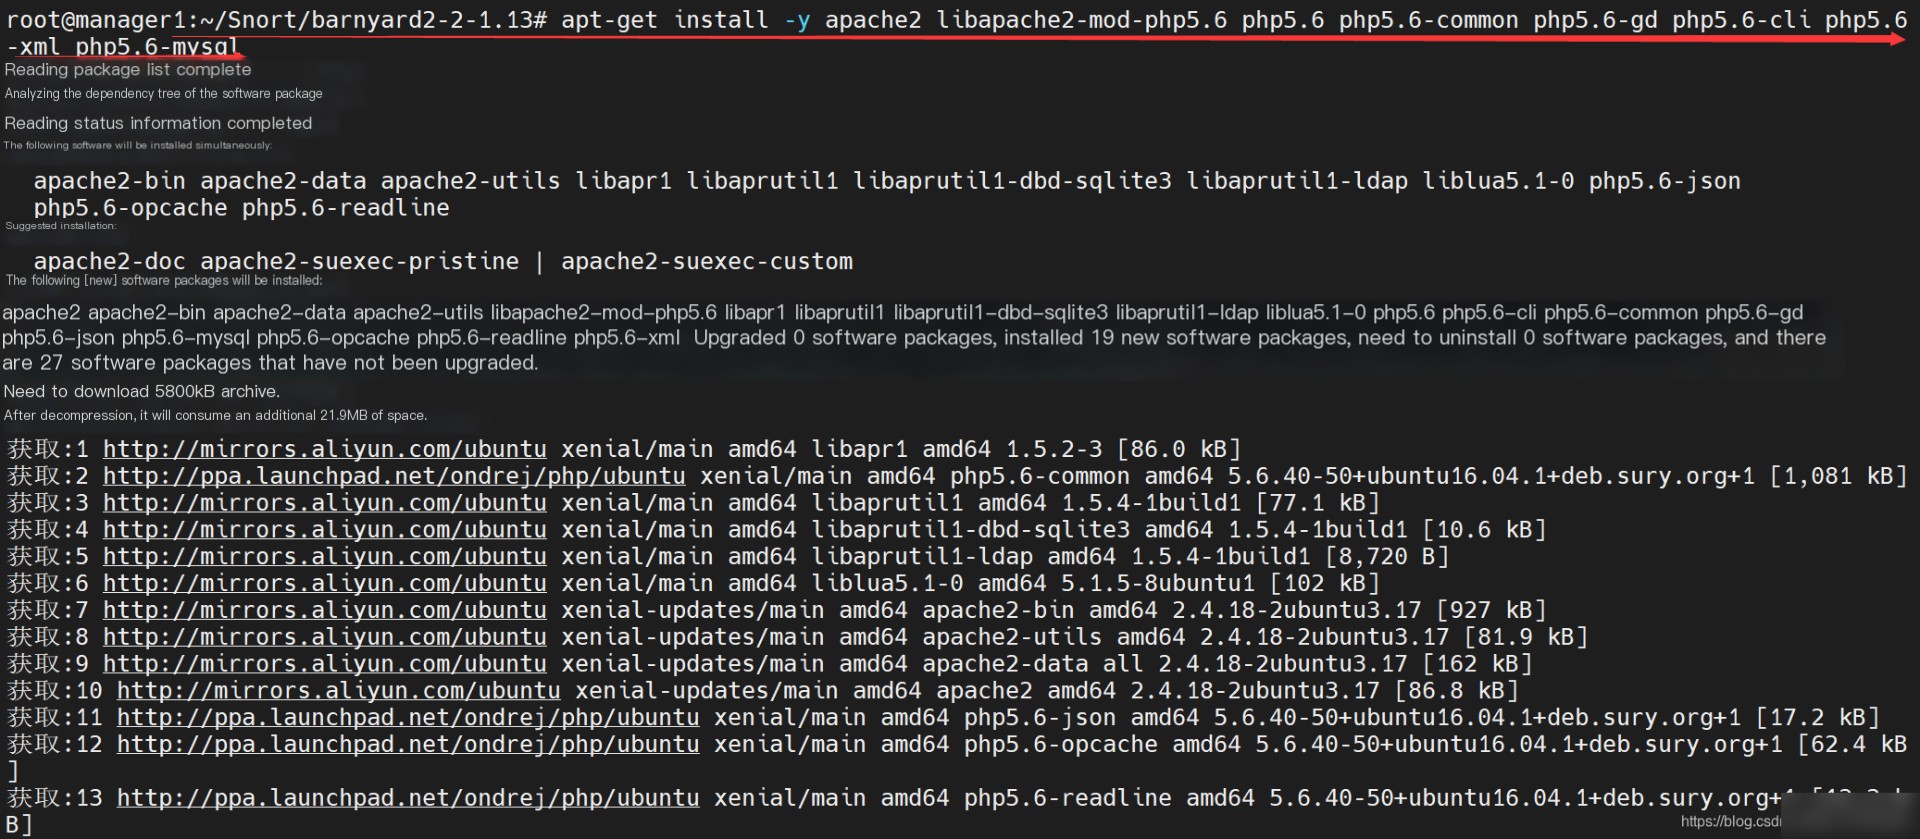
1. Install Dependencies (Note: Do not change sources, use Ubuntu’s default source.list)
wget https://github.com/firnsy/barnyard2/archive/v2-1.13.tar.gz -O barnyard2-2-1.13.tar.gz wget https://github.com/shirkdog/pulledpork/archive/v0.7.3.tar.gz -O pulledpork-v0.7.3.tar.gz wget https://sourceforge.net/projects/adodb/files/adodb-php5-only/adodb-520-for-php5/adodb-5.20.8.tar.gz wget http://sourceforge.net/projects/secureideas/files/BASE/base-1.4.5/base-1.4.5.tar.gz Note: If using command download fails, copy the link to the browser and then transfer it to the system.
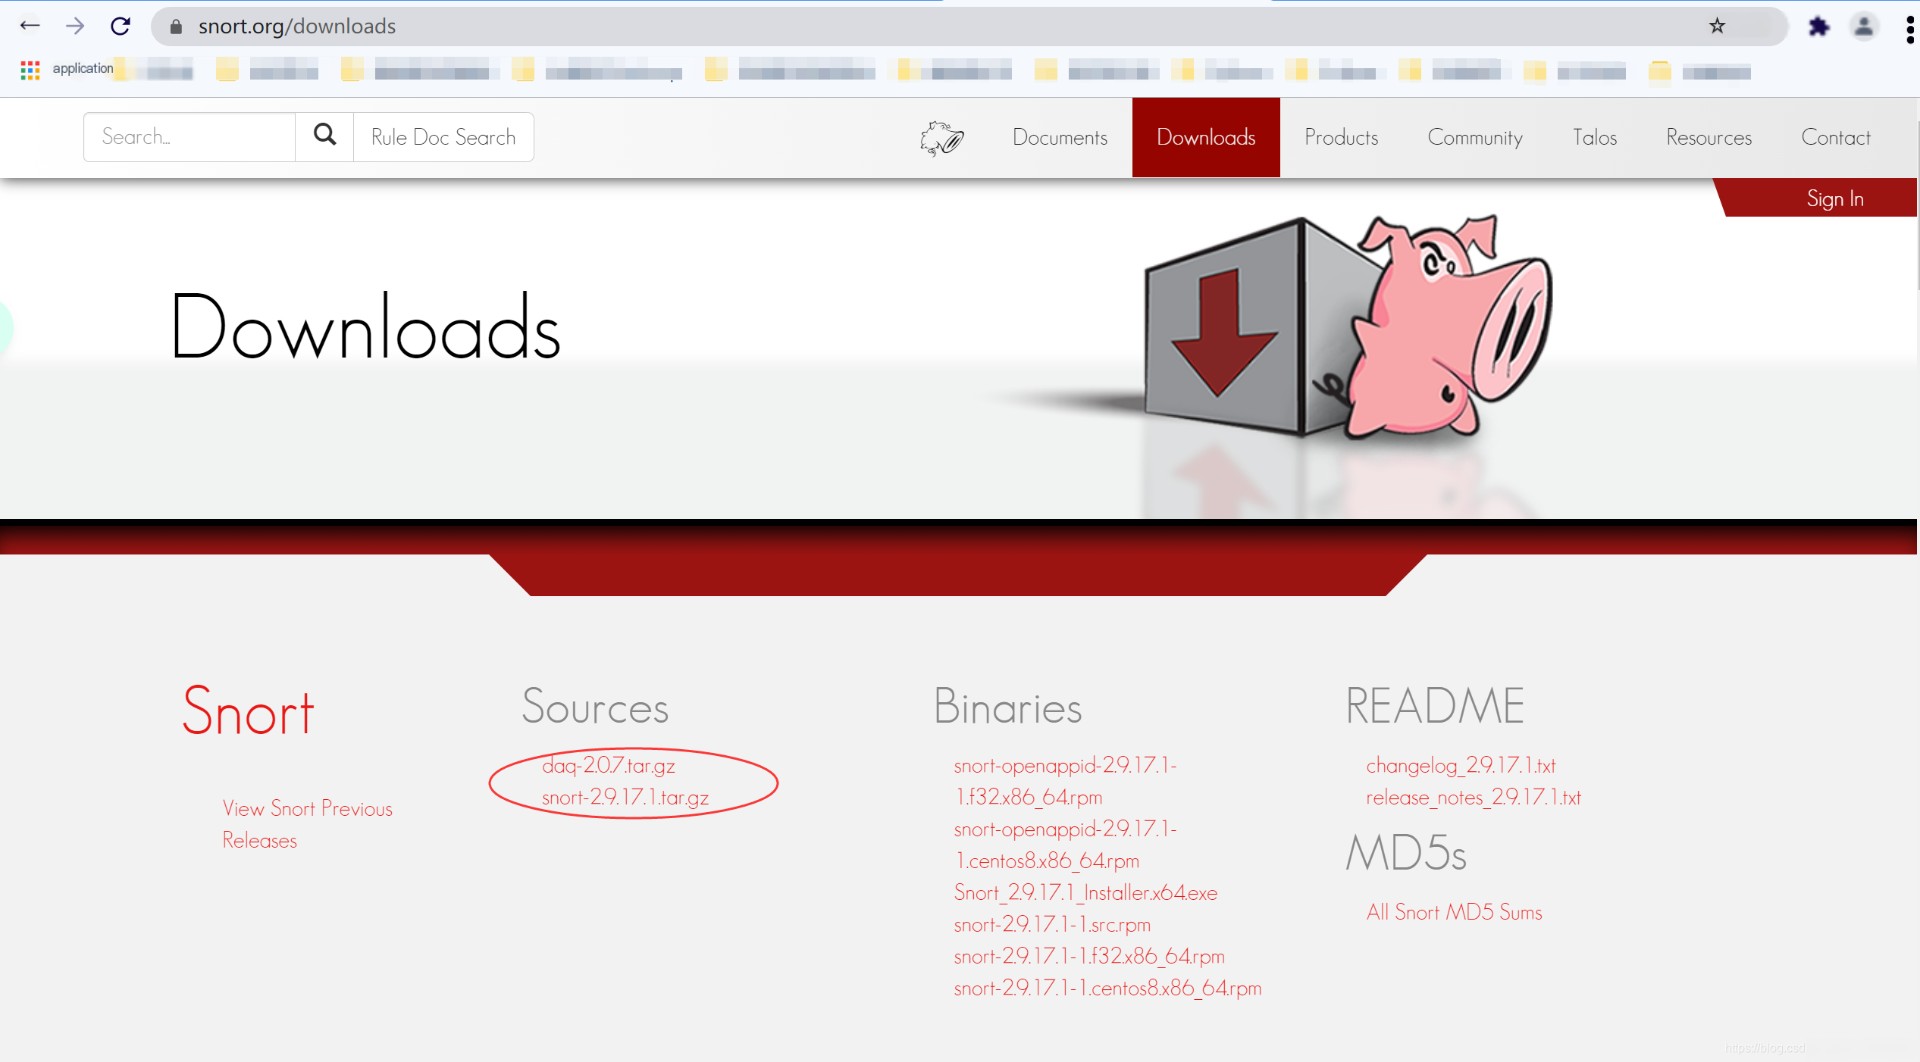
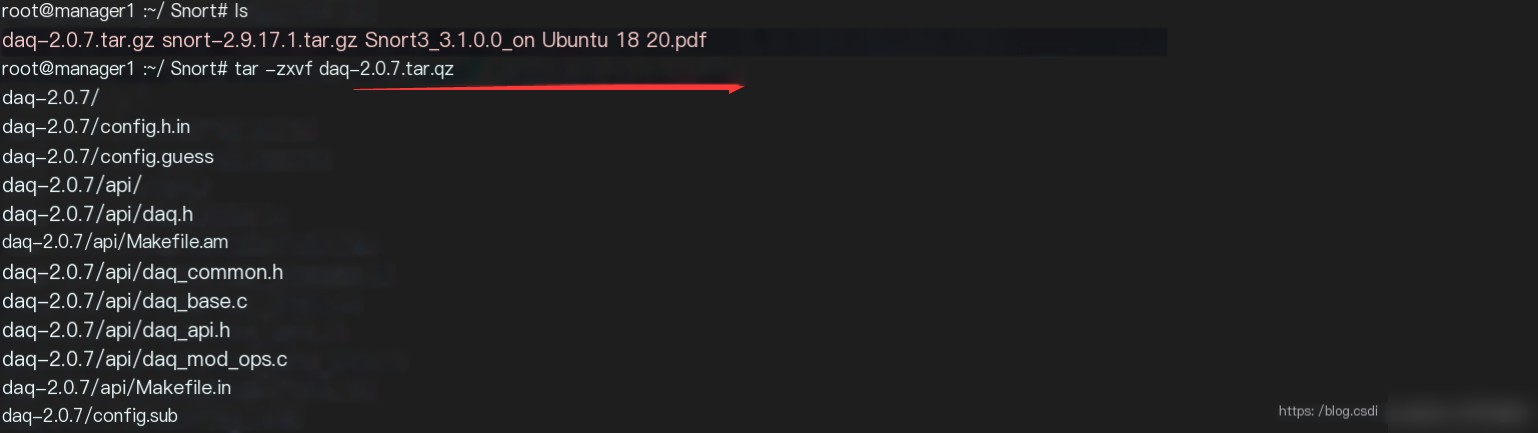
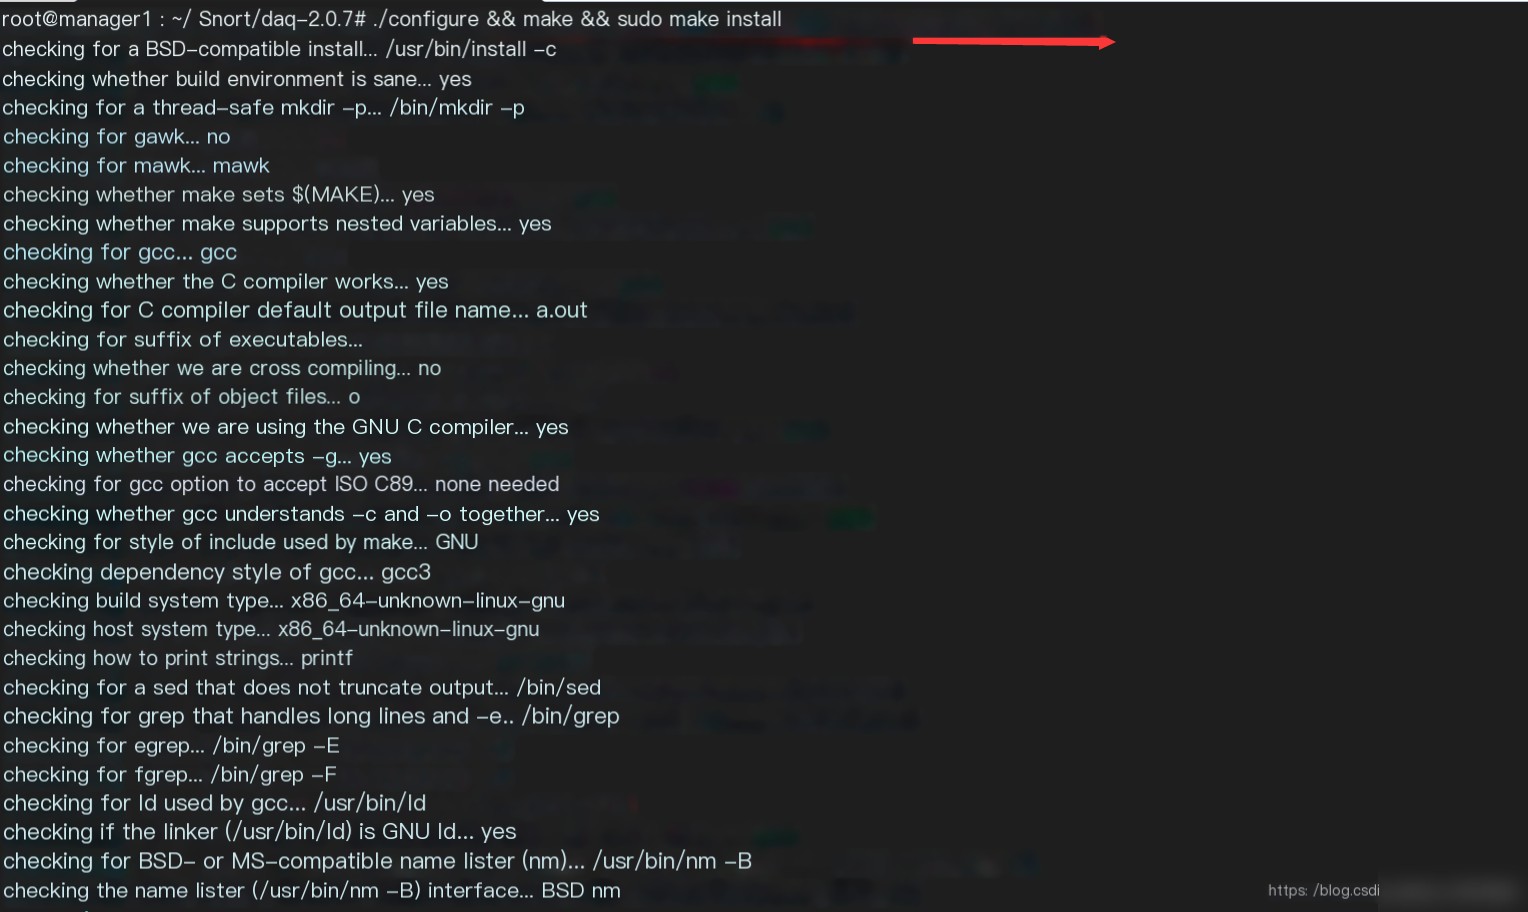
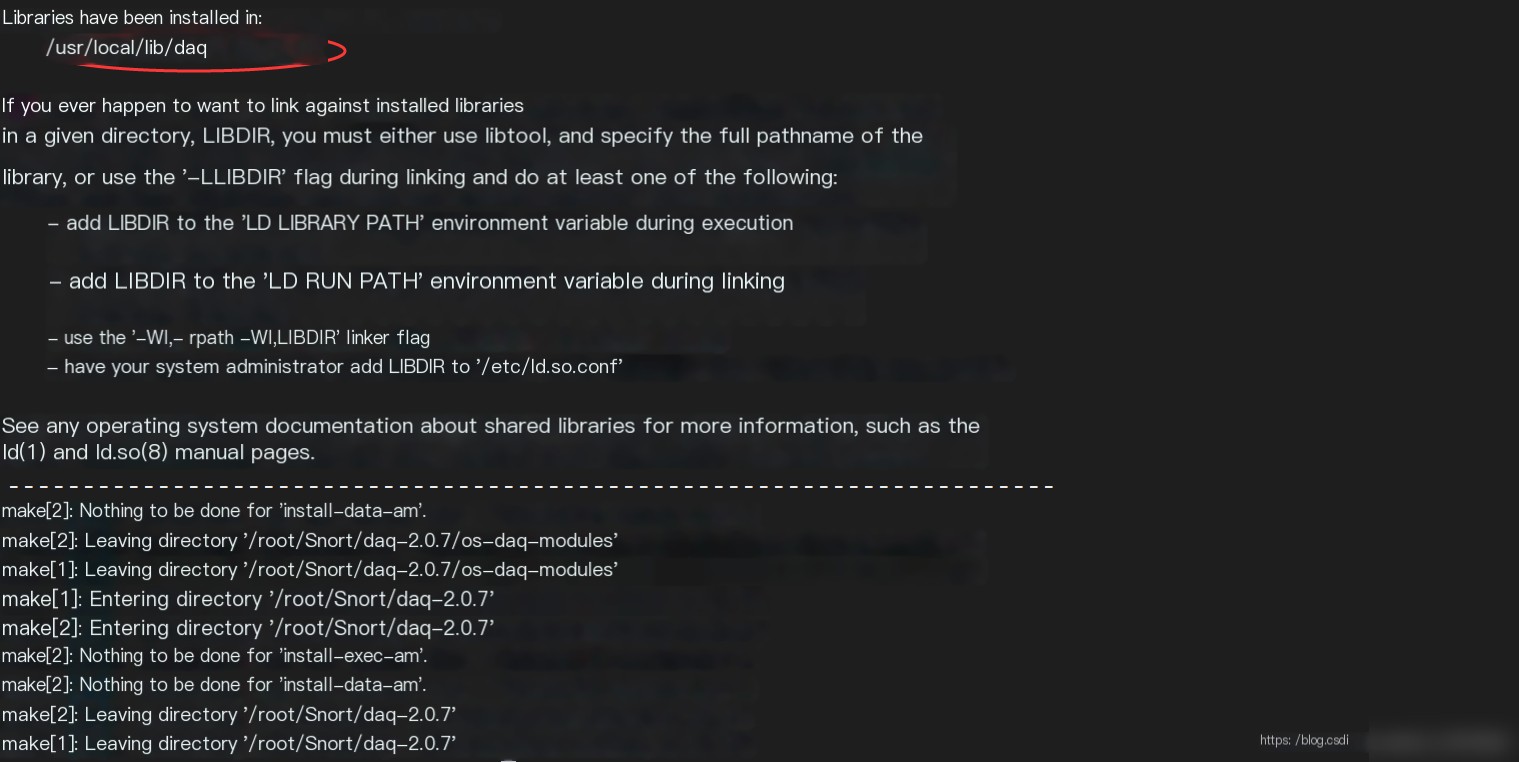
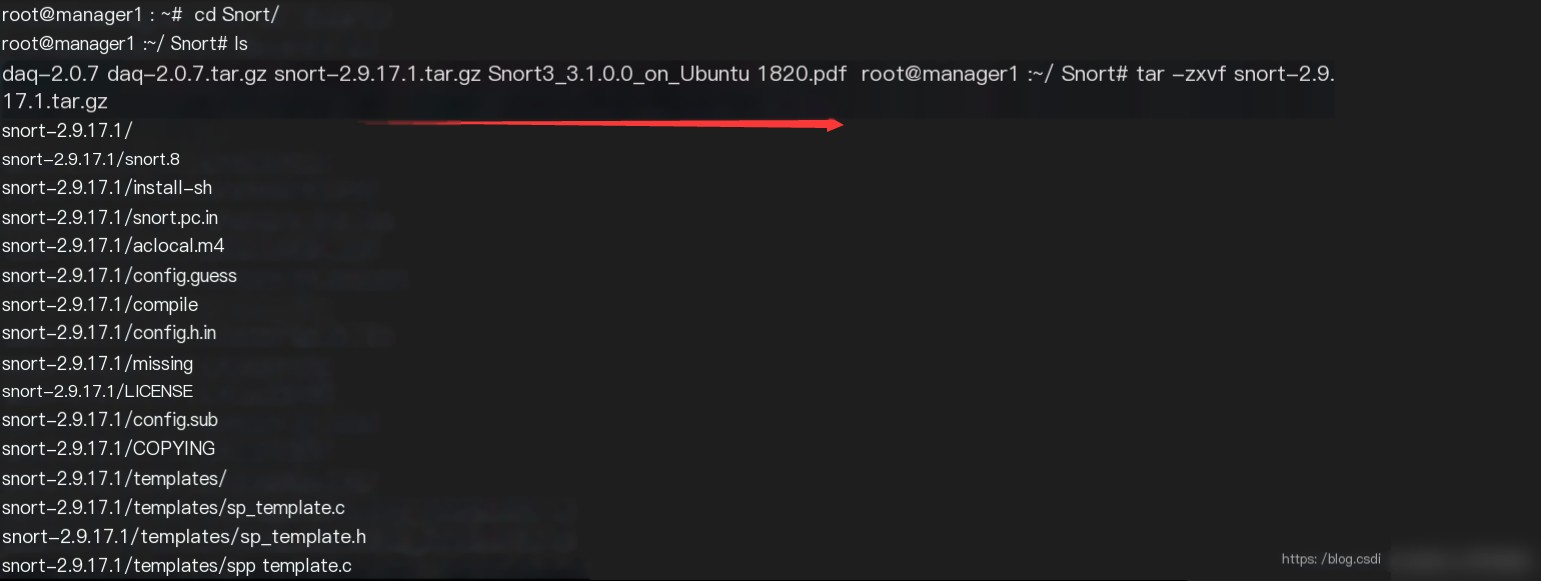
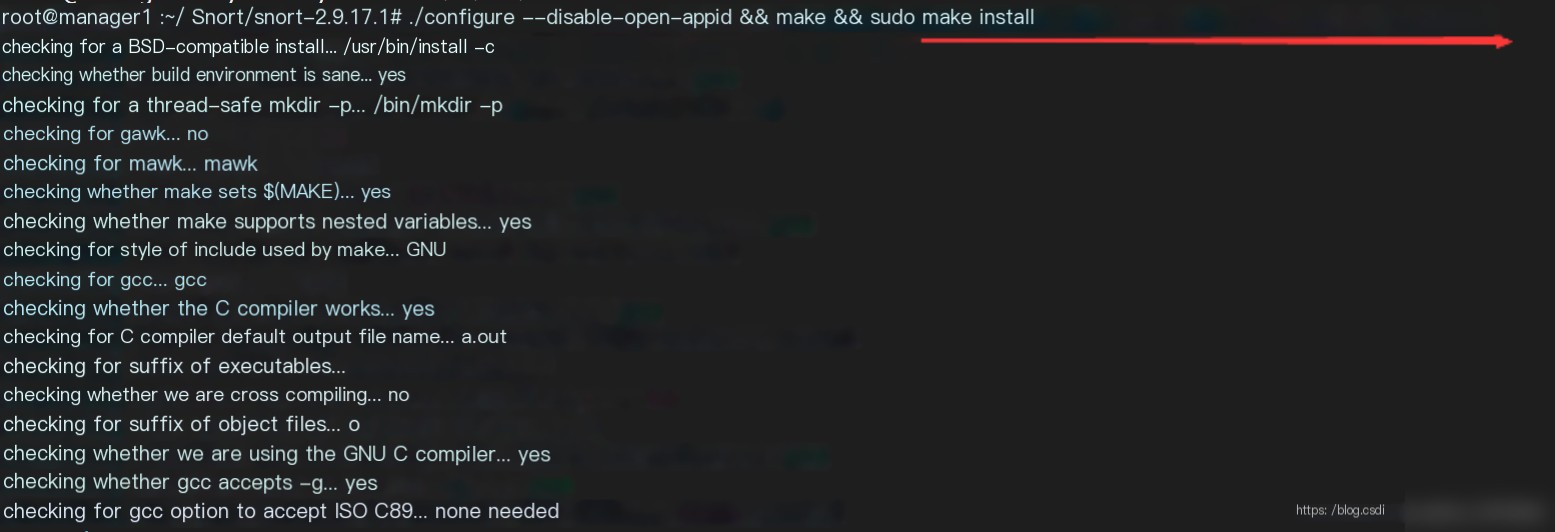
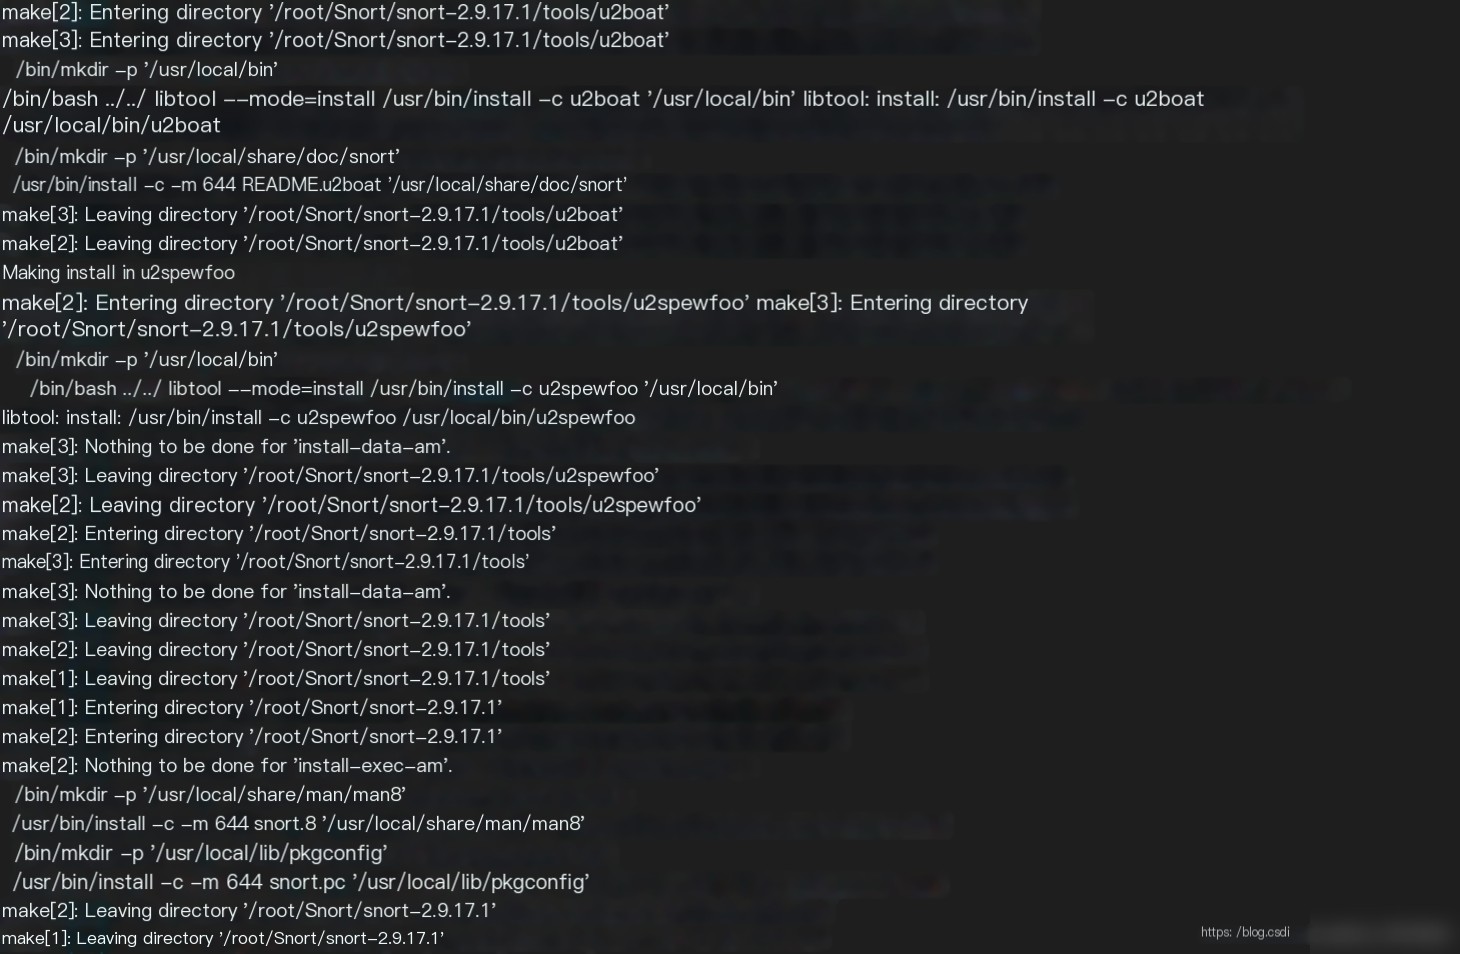
3. Extract and Install DAQ and SNORT on Ubuntu 16.04
cd ~/snort-2.9.17.1/etc/ sudo cp *.conf* /etc/snort sudo cp *.map /etc/snort sudo cp *.dtd /etc/snort cd ~/snort-2.9.17.1/src/dynamic-preprocessors/build/usr/local/lib/snort_dynamicpreprocessor/ sudo cp * /usr/local/lib/snort_dynamicpreprocessor/
7. Comment Out Rule Files in snort.conf and Use PulledPork to Manage Rule Sets
sudo sed -i "s/include \$RULE_PATH/#include \$RULE_PATH/" /etc/snort/snort.conf
8. Modify Configuration Files
sudo vi /etc/snort/snort.conf # Line 45, modify ipvar HOME_NET to your internal network ipvar HOME_NET 192.168.10.0/24 # Line 104, set the following configuration file paths var RULE_PATH /etc/snort/rules var SO_RULE_PATH /etc/snort/so_rules var PREPROC_RULE_PATH /etc/snort/preproc_rules var WHITE_LIST_PATH /etc/snort/rules/iplists var BLACK_LIST_PATH /etc/snort/rules/iplists # Line 521, add # output unified2: filename merged.log, limit 128, nostamp, mpls_event_types, vlan_event_types } output unified2: filename snort.u2, limit 128 # Line 546, uncomment to enable local.rules file include $RULE_PATH/local.rules
9. Add Local Rules
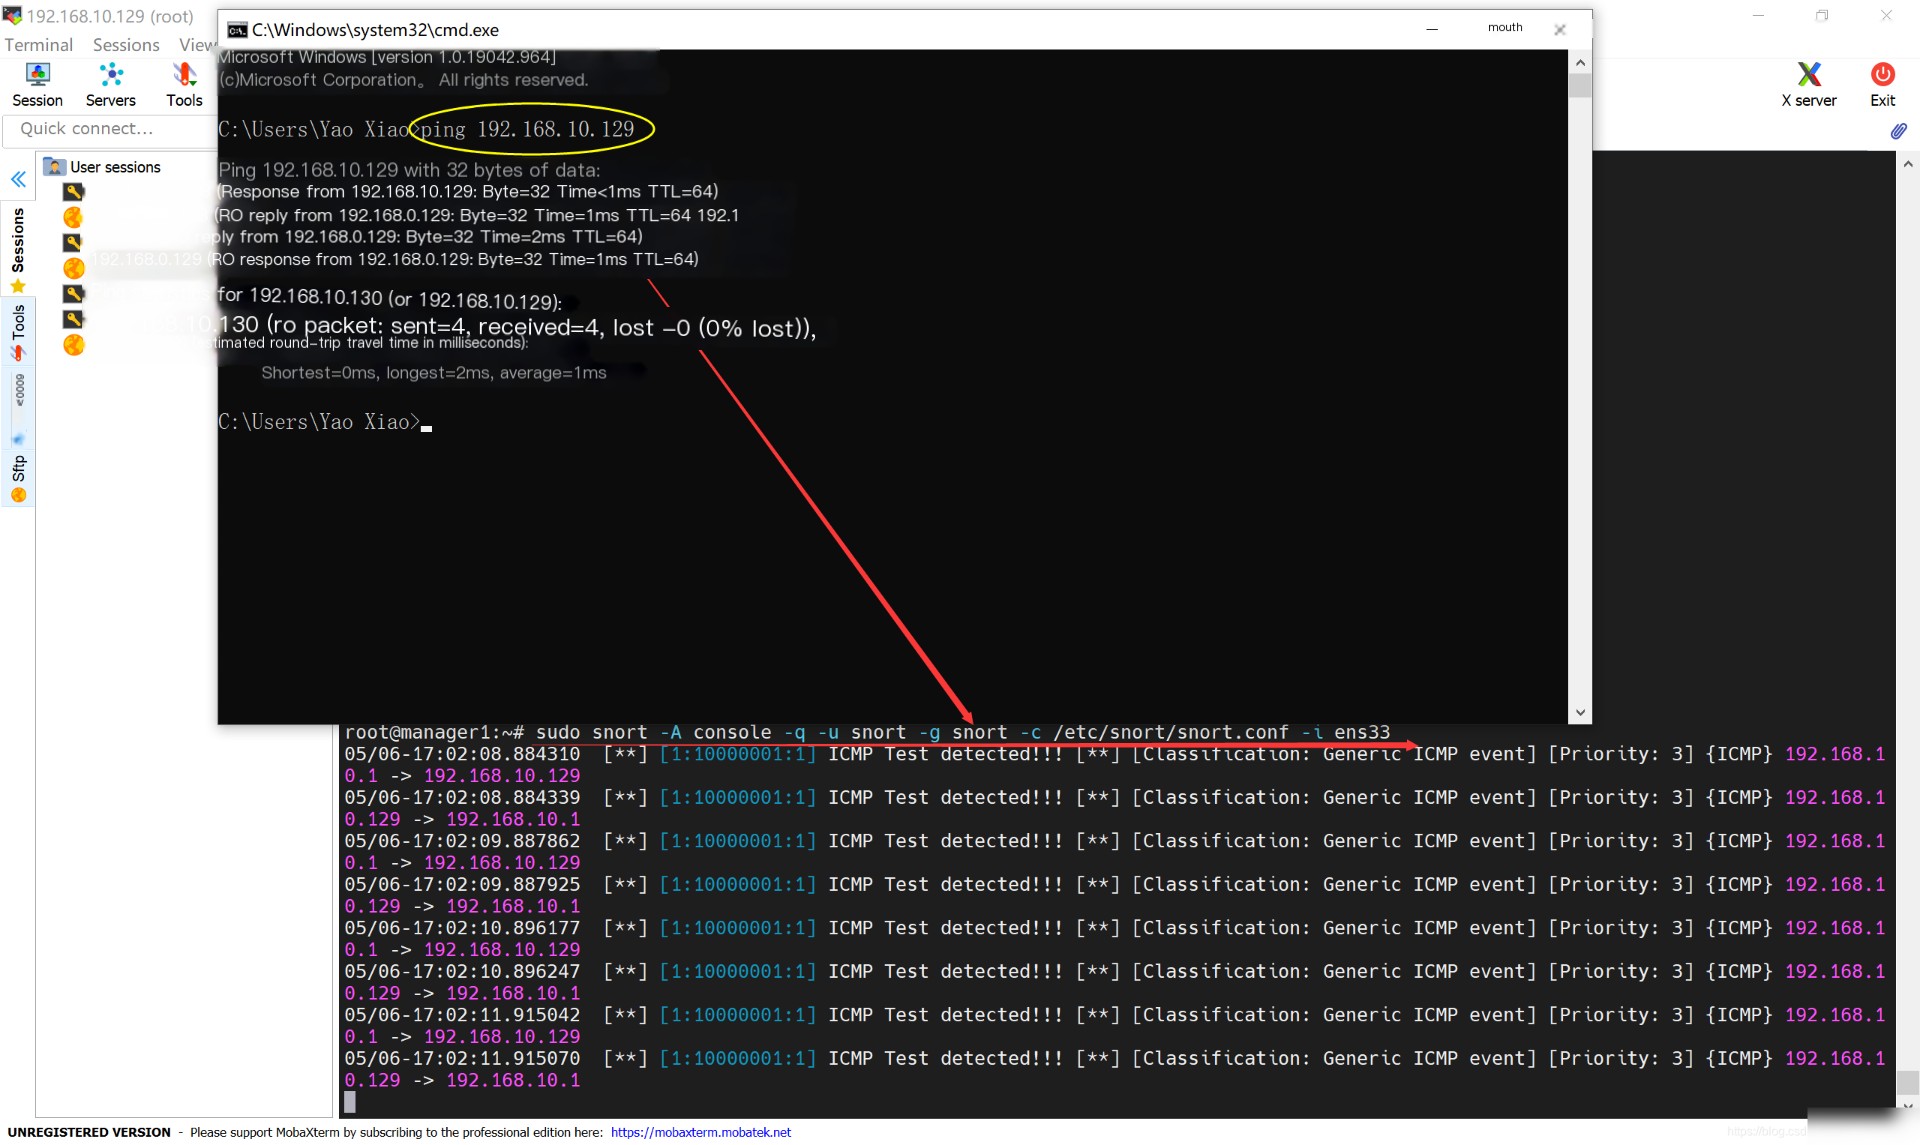
sudo vi /etc/snort/rules/local.rules alert icmp any any -> $HOME_NET any (msg:"ICMP Test detected!!!"; classtype:icmp-event; sid:10000001; rev:001; GID:1;)
Test functionality: sudosnort-Aconsole-q-usnort-gsnort-c/etc/snort/snort.conf-iens33
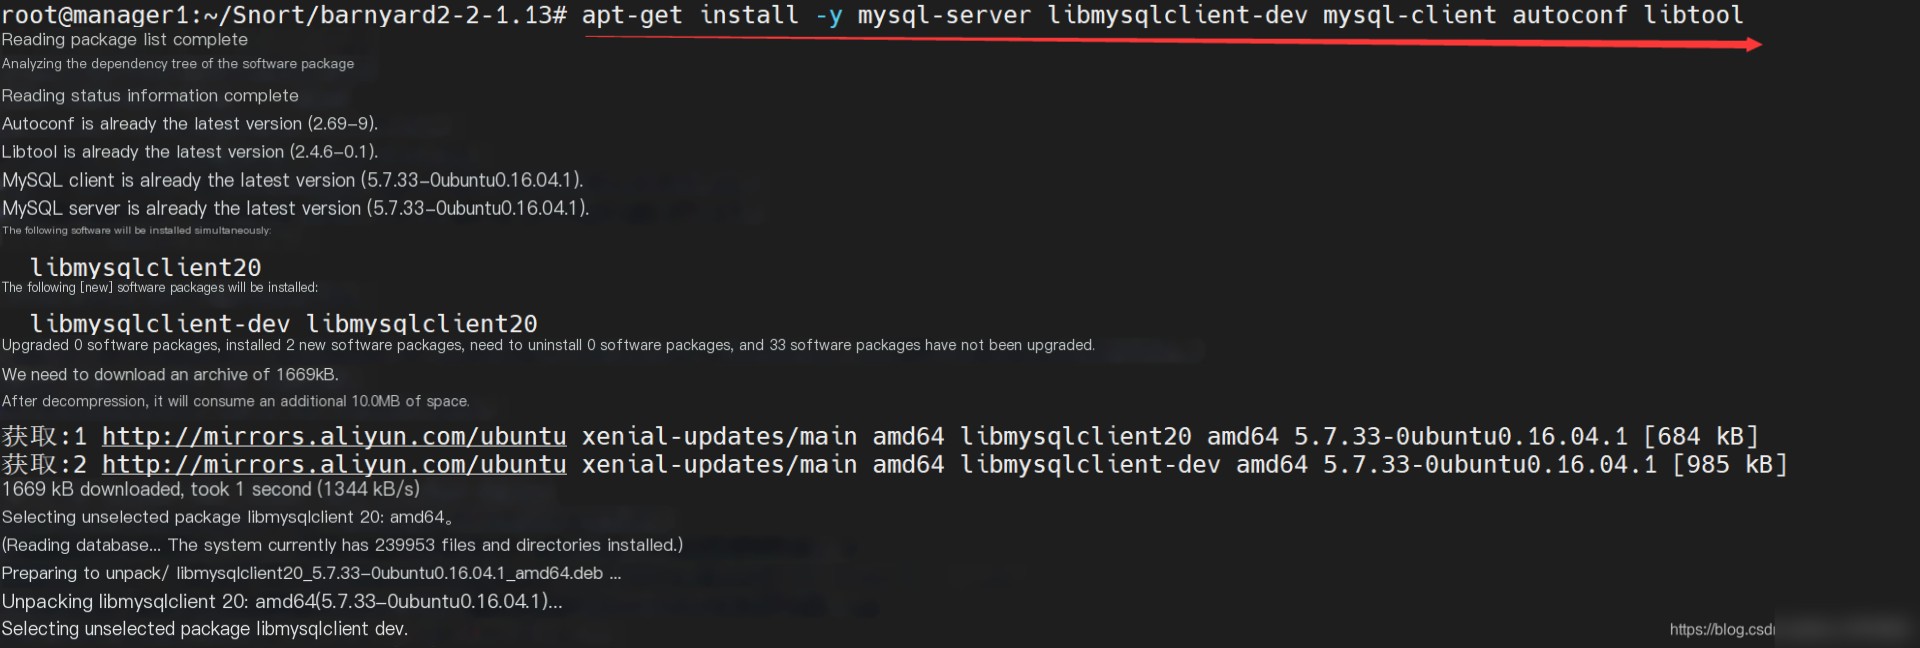
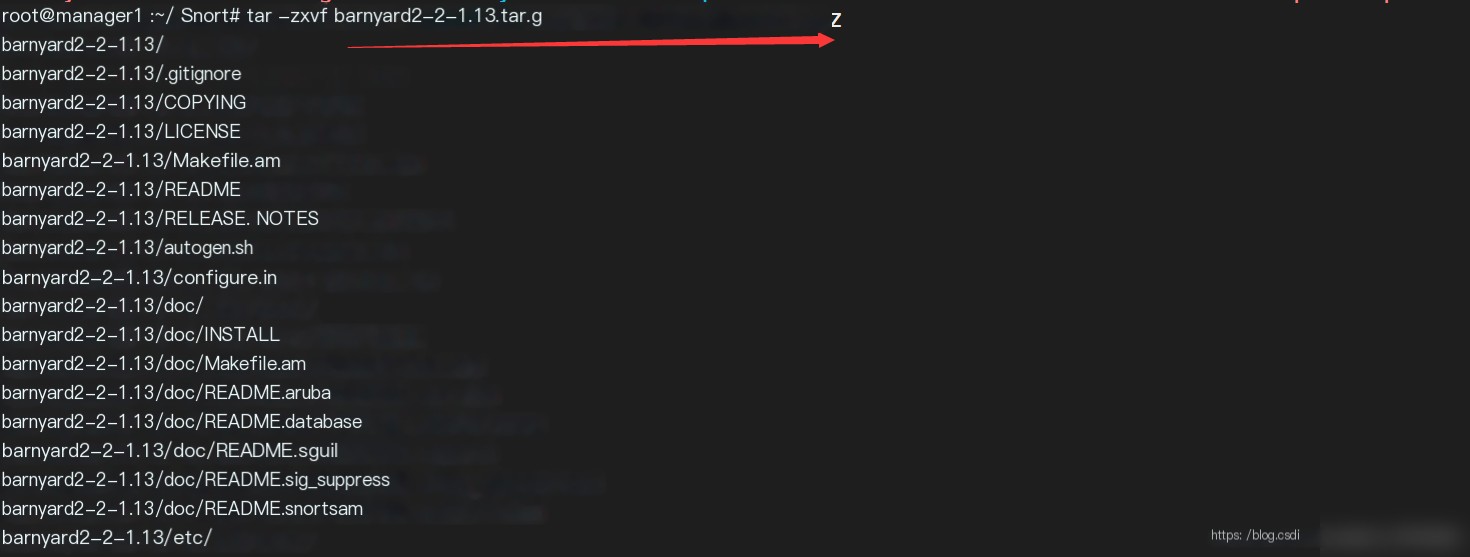
11. Install and Test Barnyard2
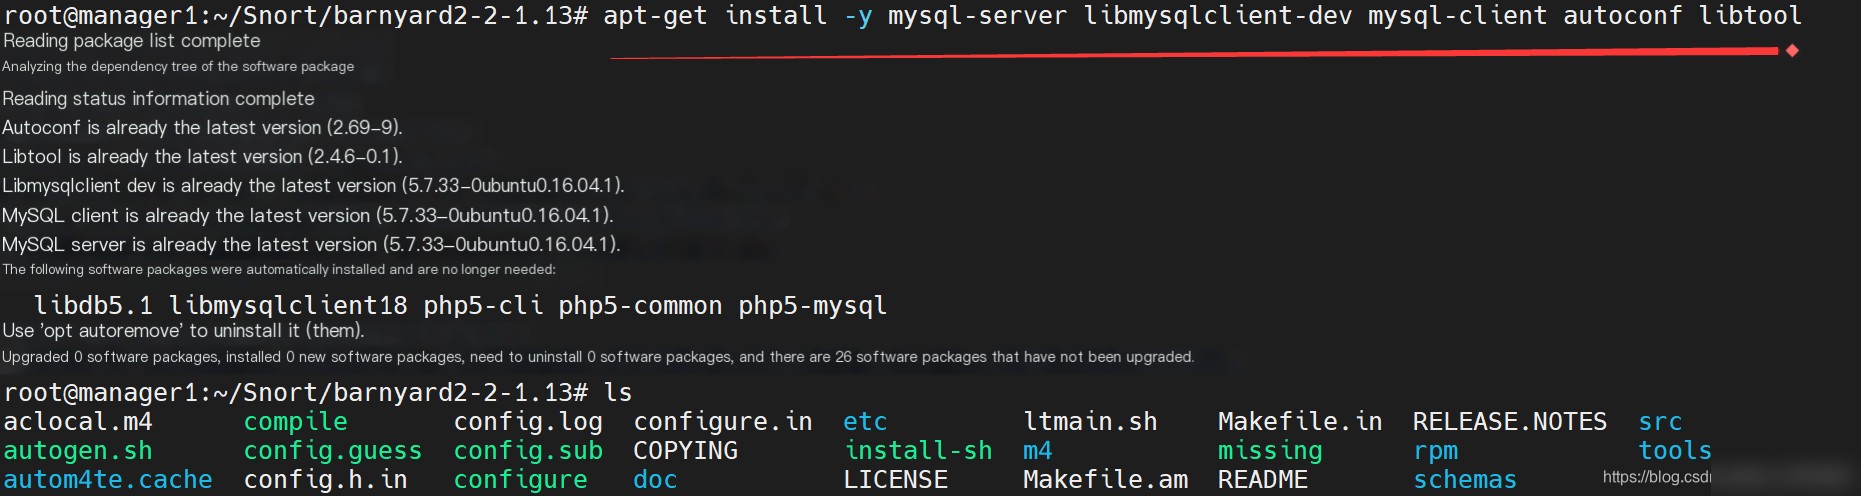
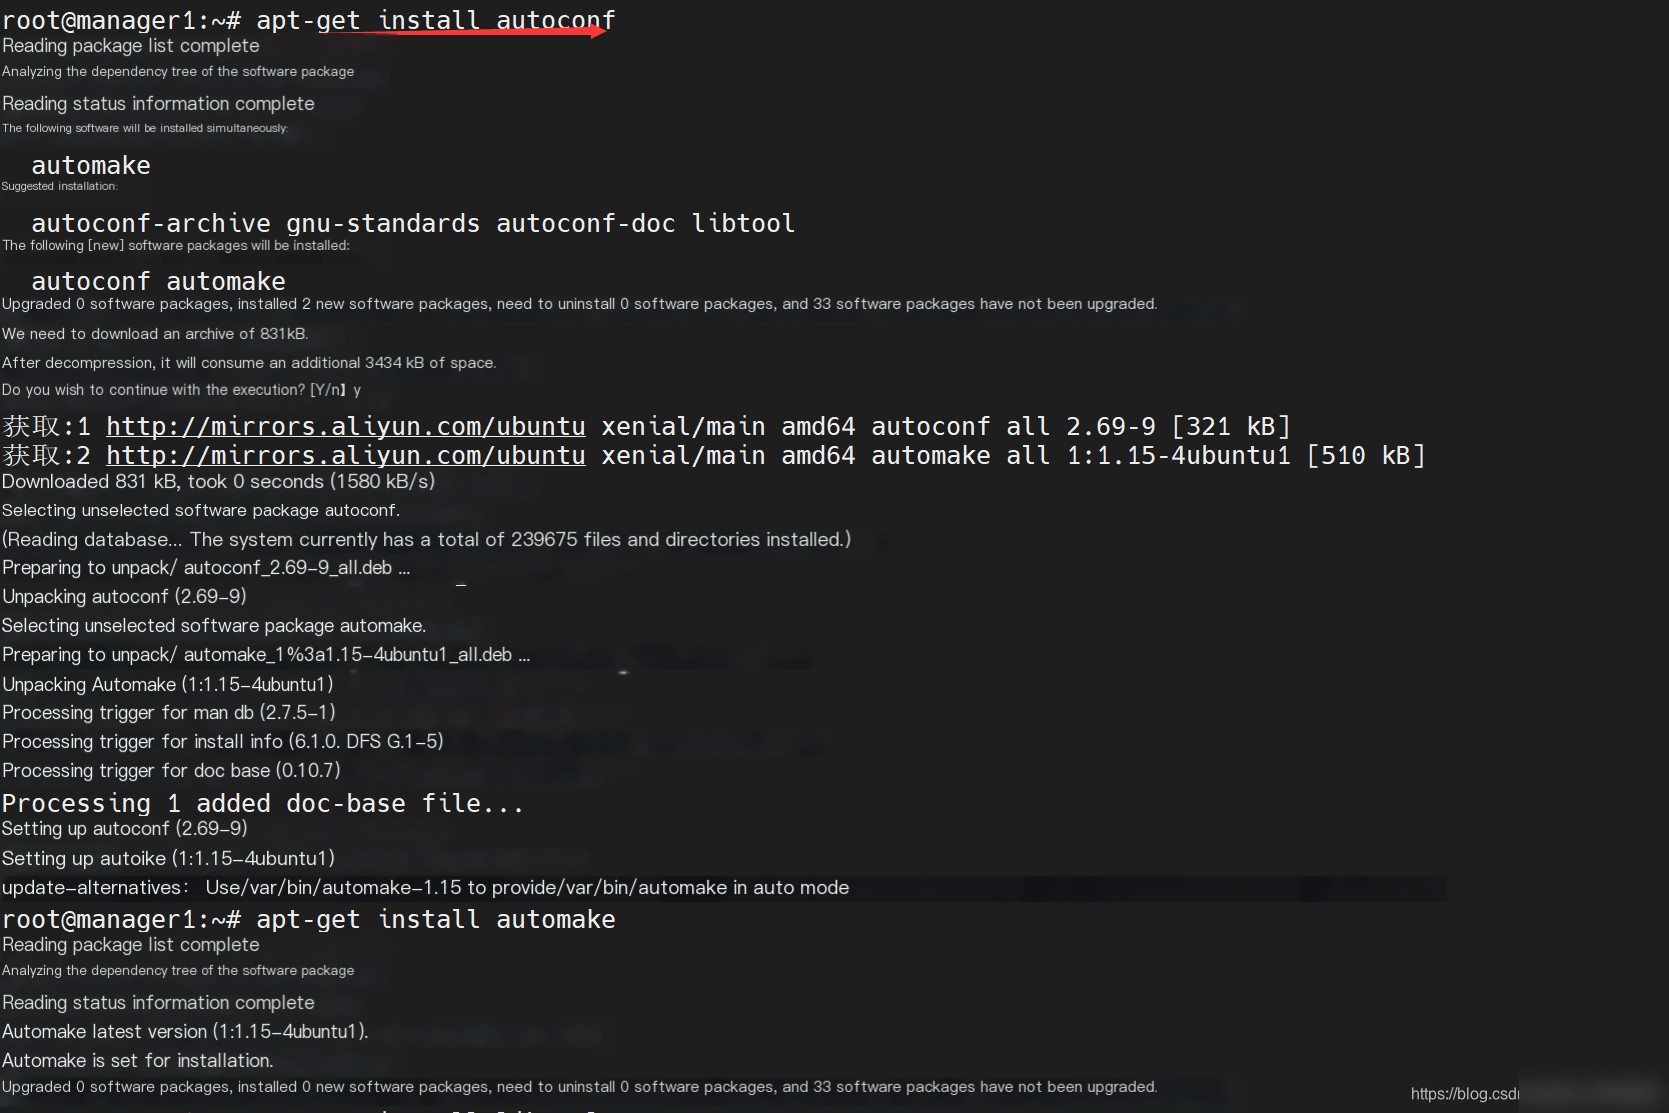
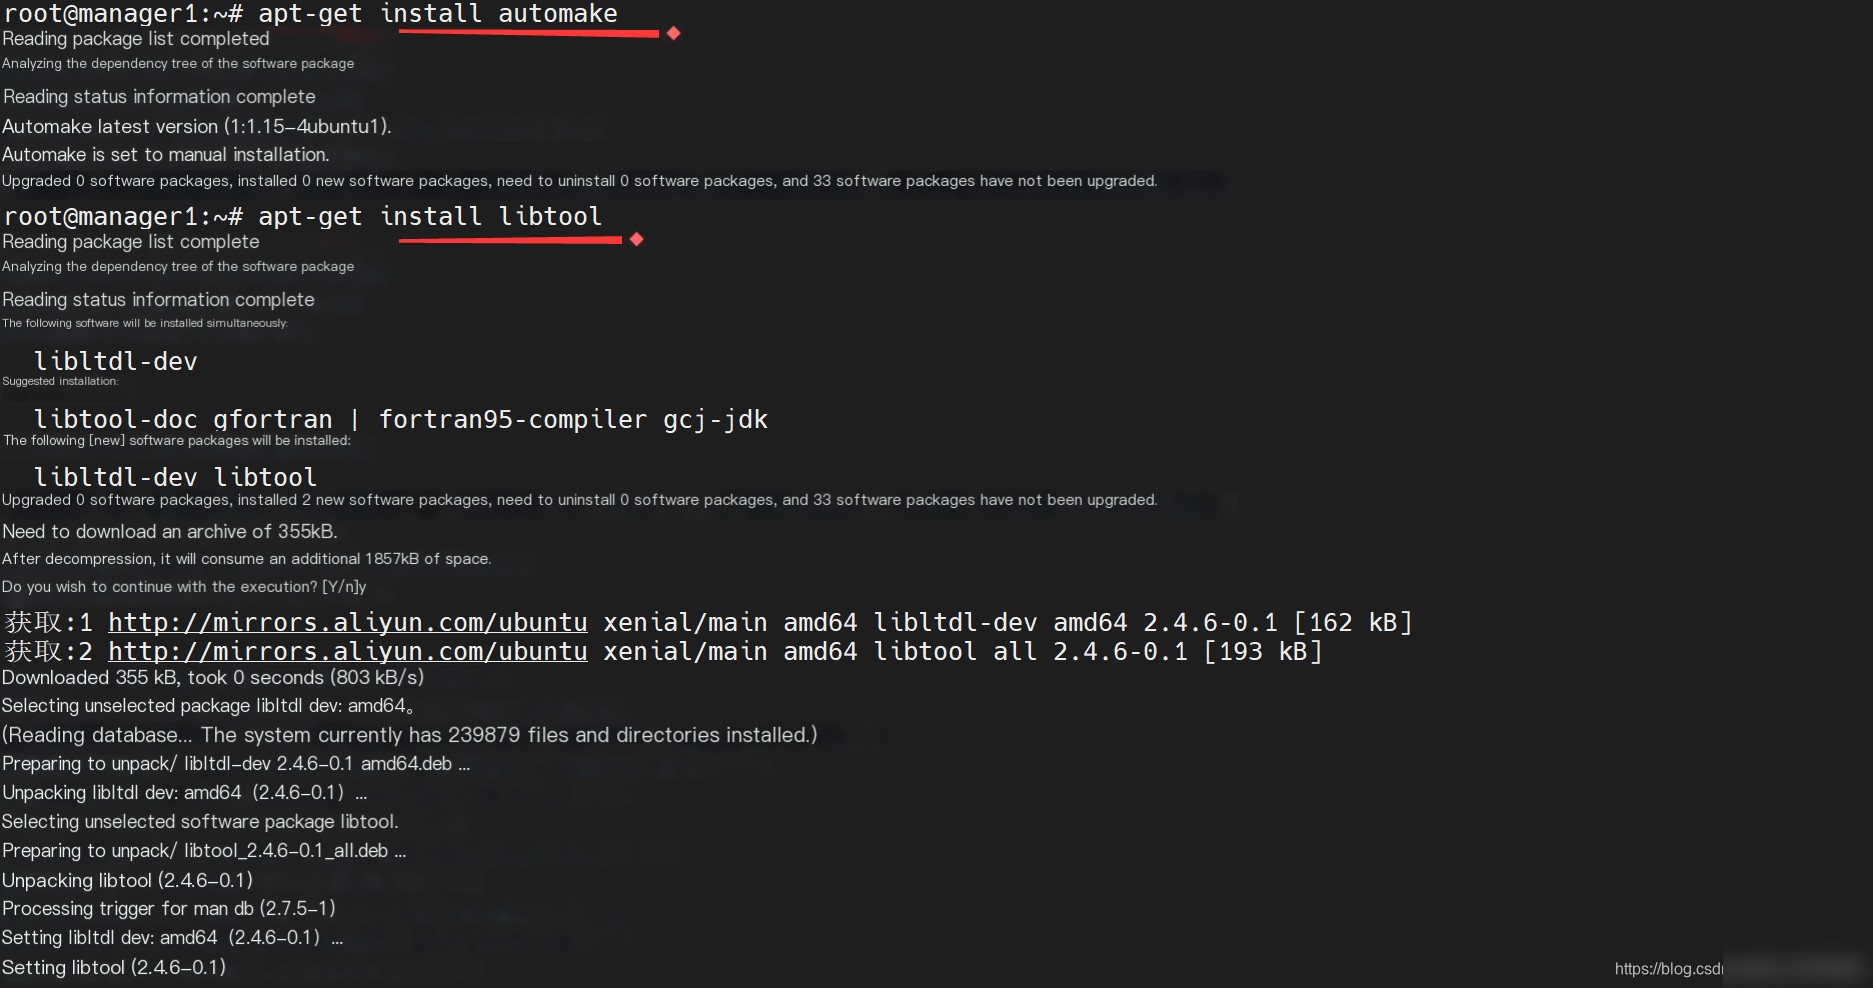
Install MySQL: sudoapt-getinstall-ymysql-serverlibmysqlclient-devmysql-clientautoconflibtool
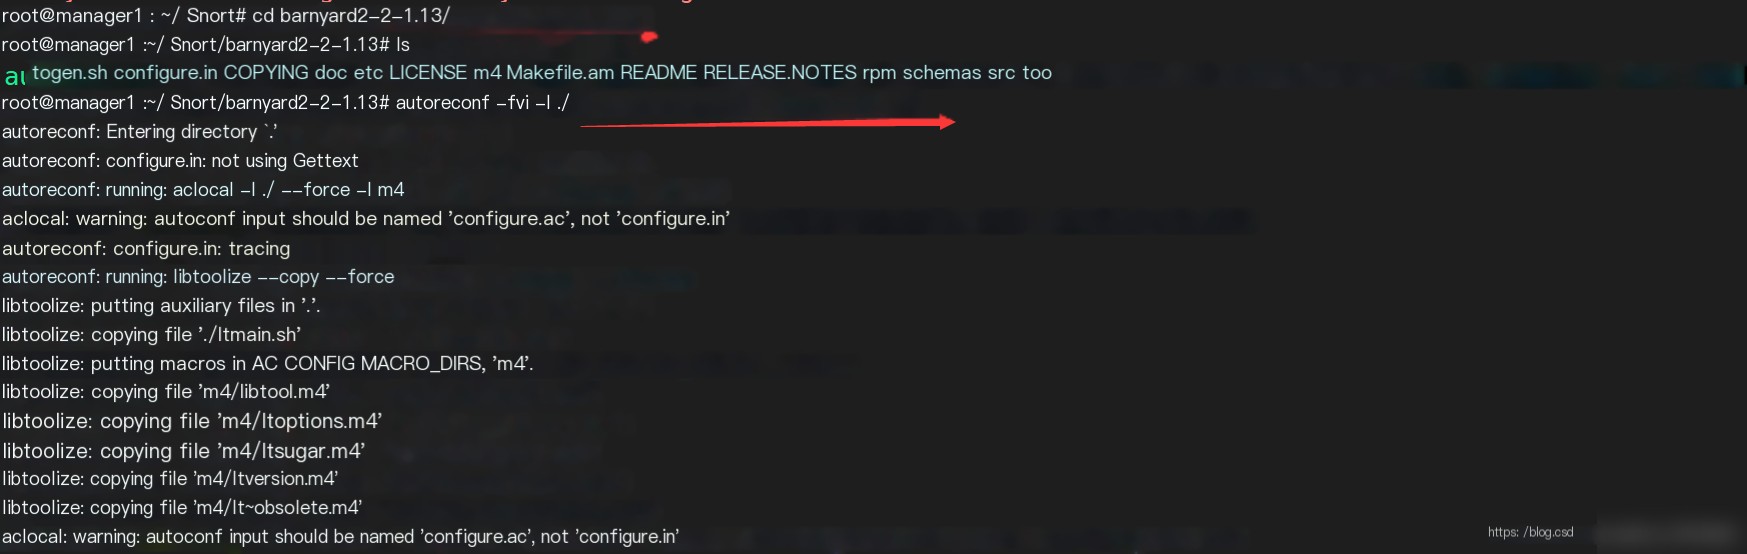
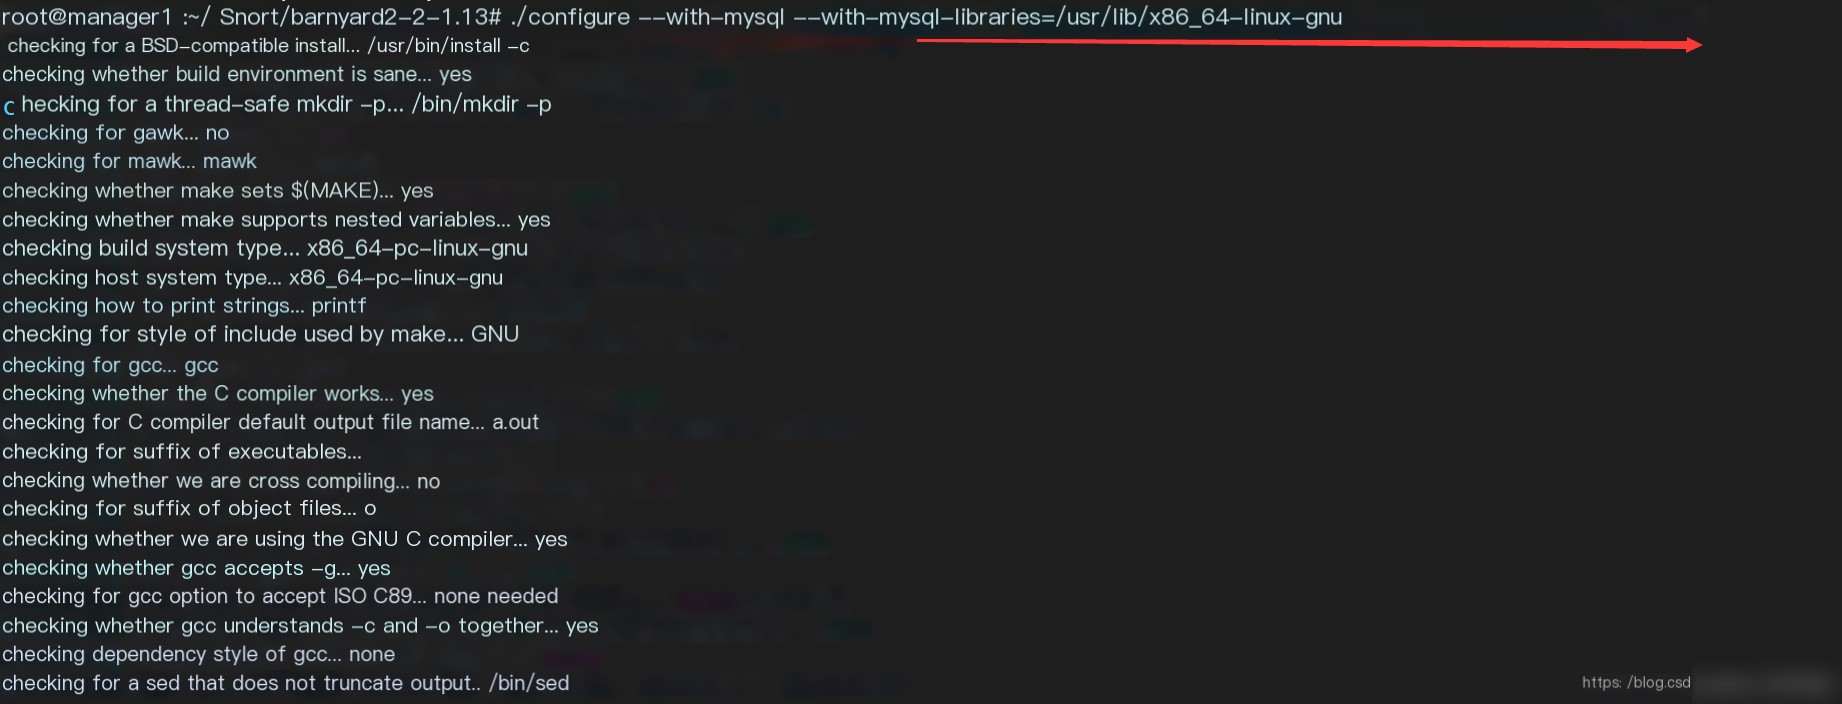
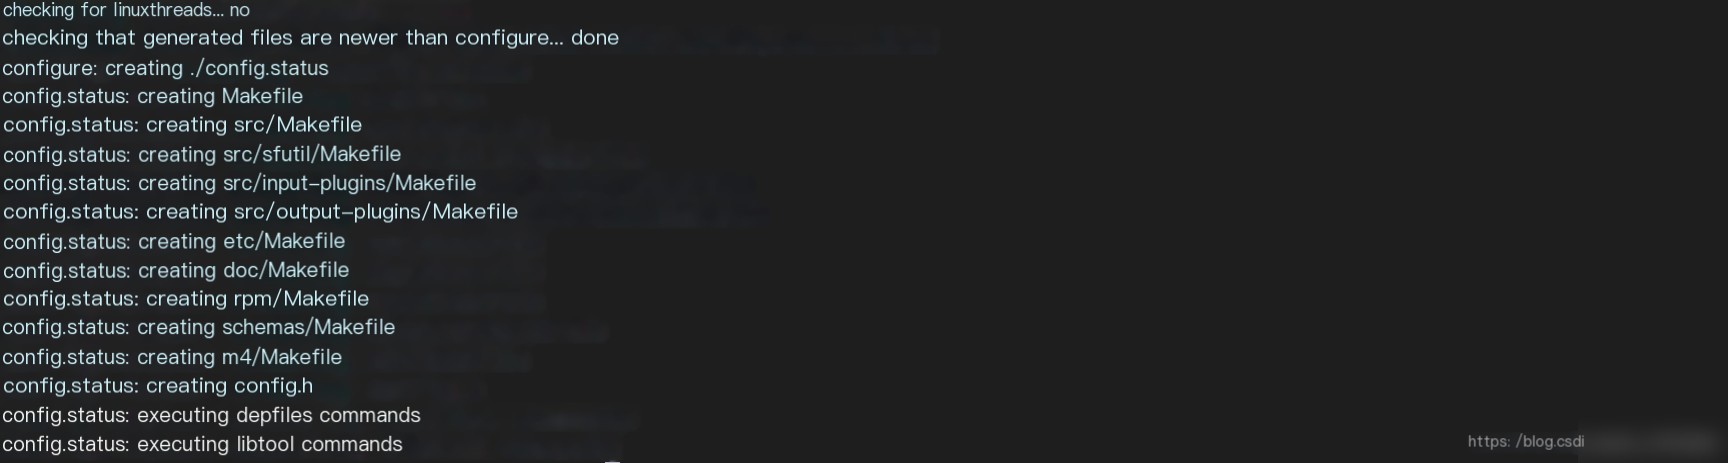
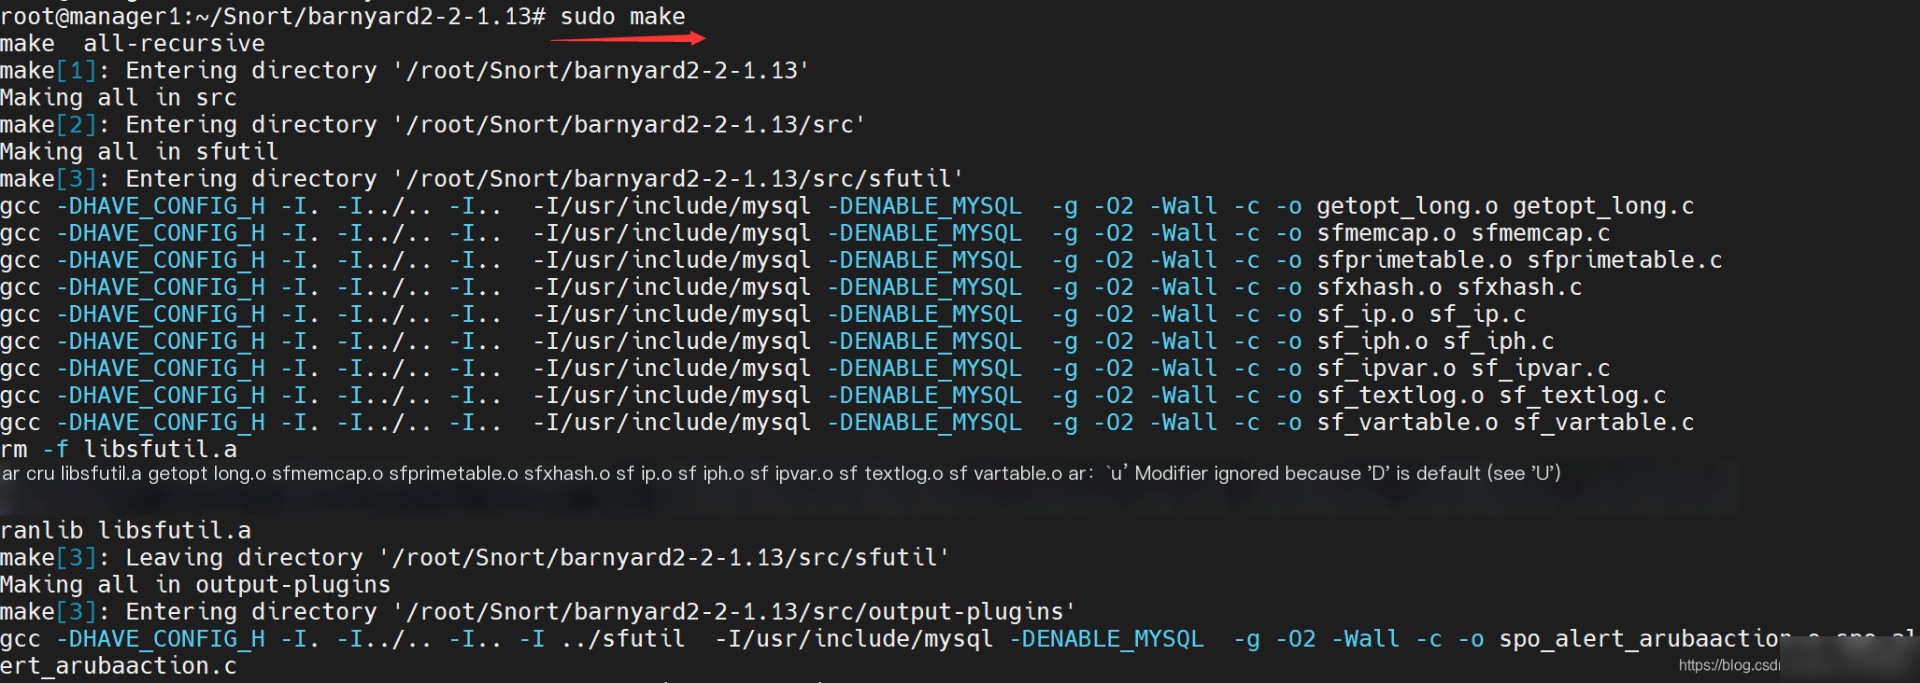
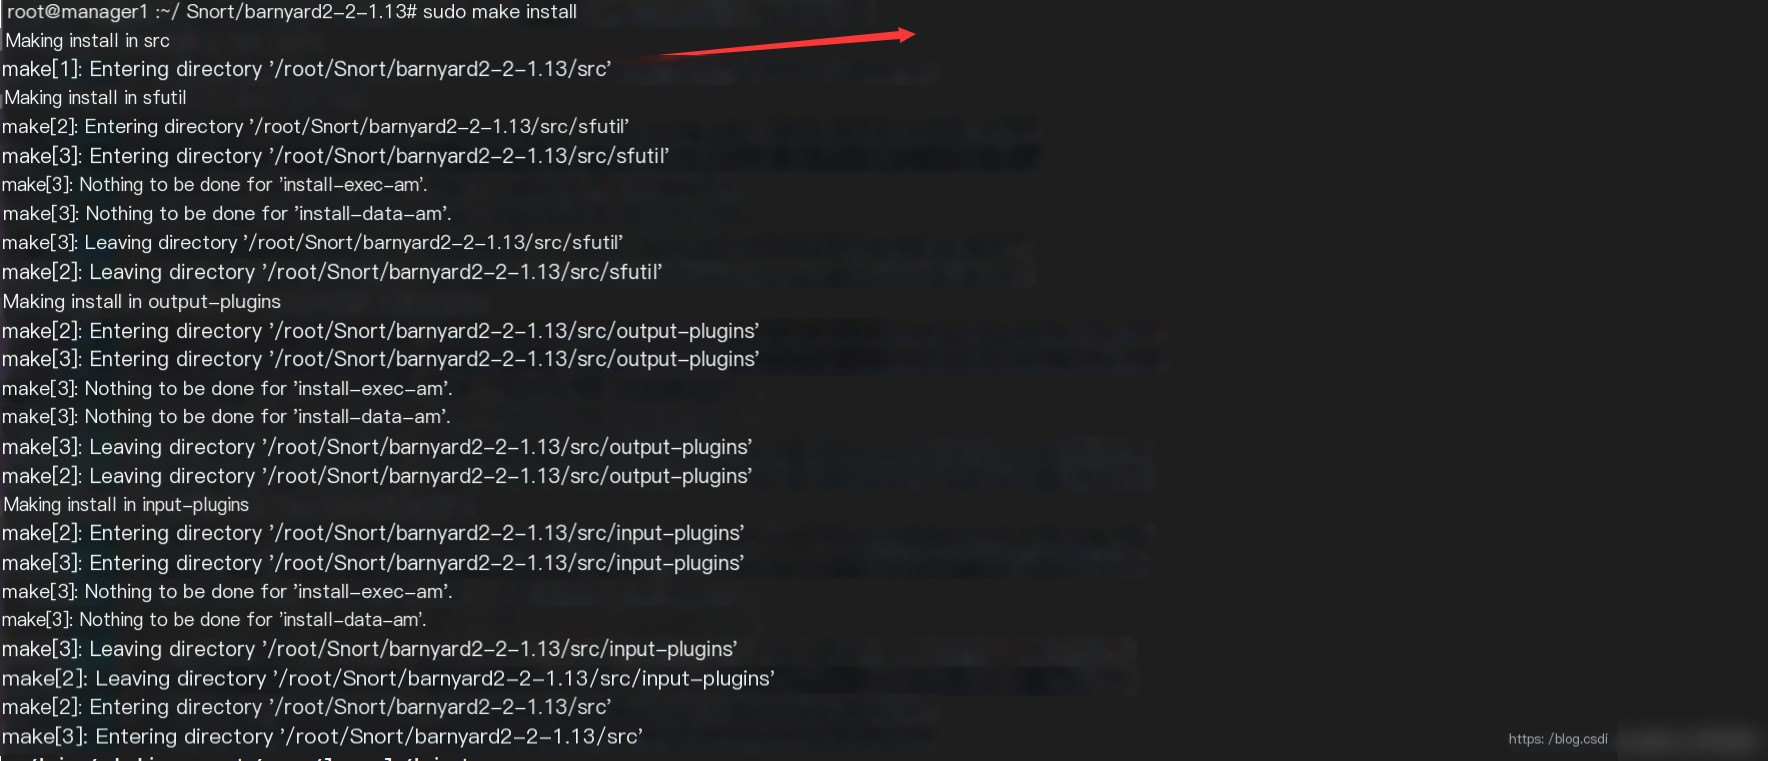
tar zxvf barnyard2-2-1.13.tar.gz cd barnyard2-2-1.13 autoreconf -fvi -I ./ ./configure --with-mysql --with-mysql-libraries=/usr/lib/x86_64-linux-gnu sudo make sudo make install
12. Modify configuration files and configure the database
Set the configuration file: sudocp~/barnyard2-2-1.13/etc/barnyard2.conf/etc/snort/sudomkdir/var/log/barnyard2sudochownsnort.snort/var/log/barnyard2sudotouch/var/log/snort/barnyard2.waldosudochownsnort.snort/var/log/snort/barnyard2.waldo
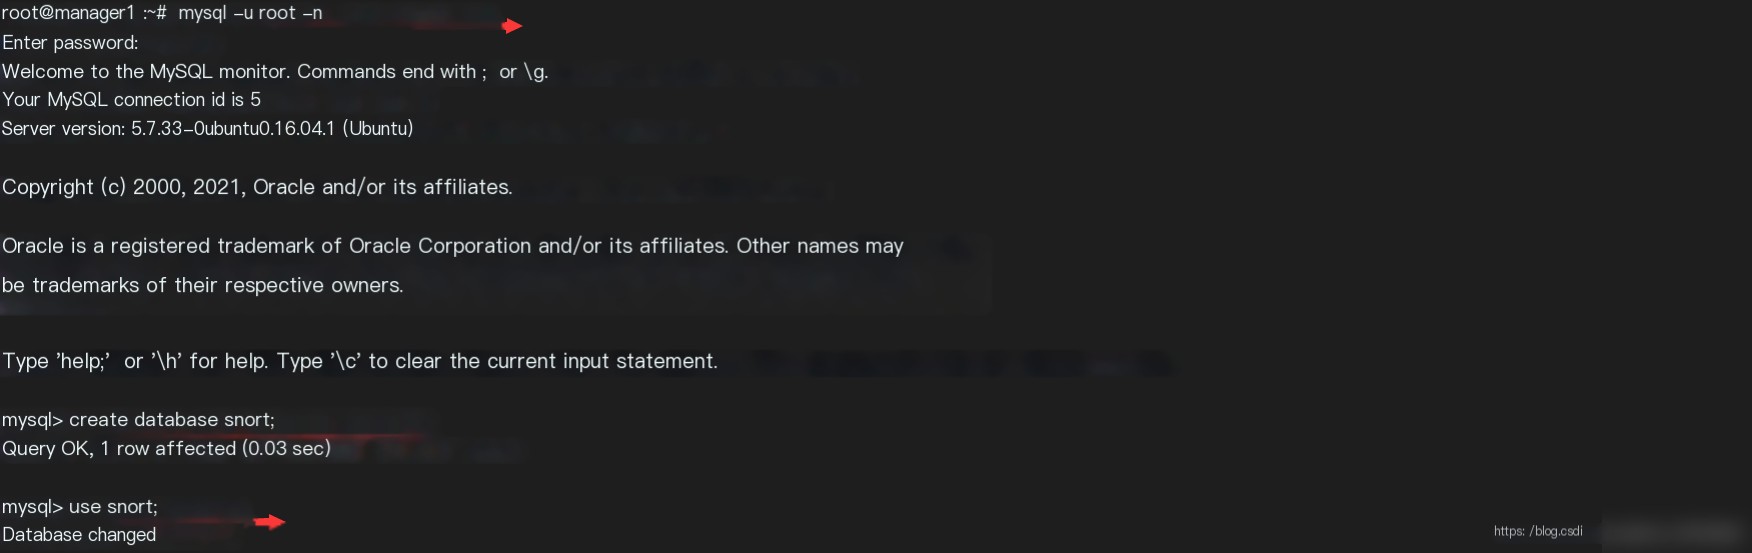
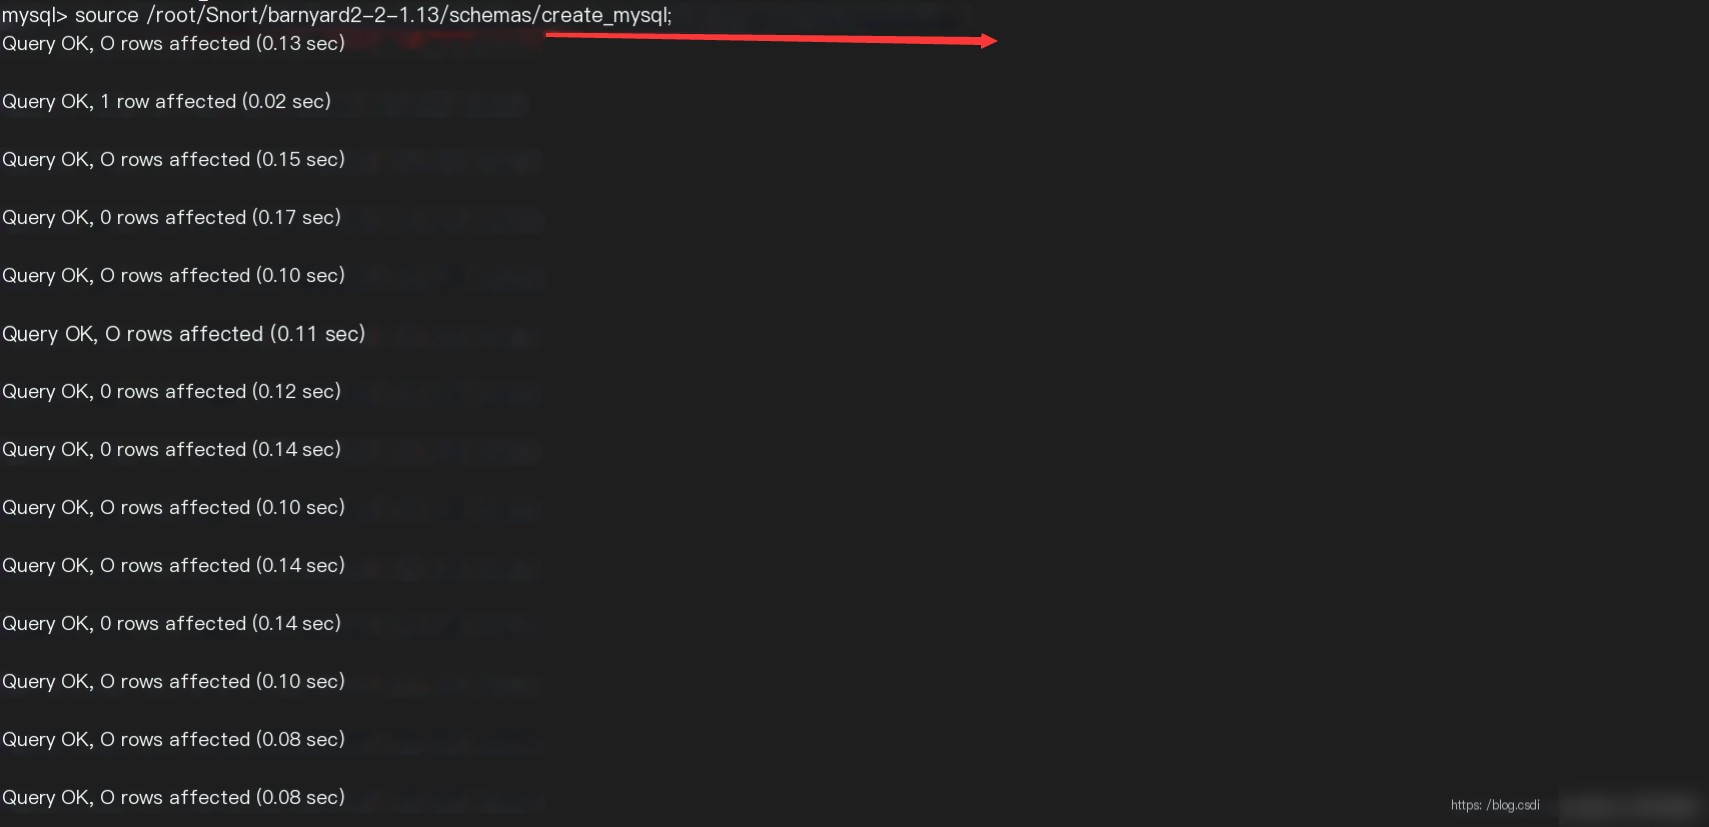
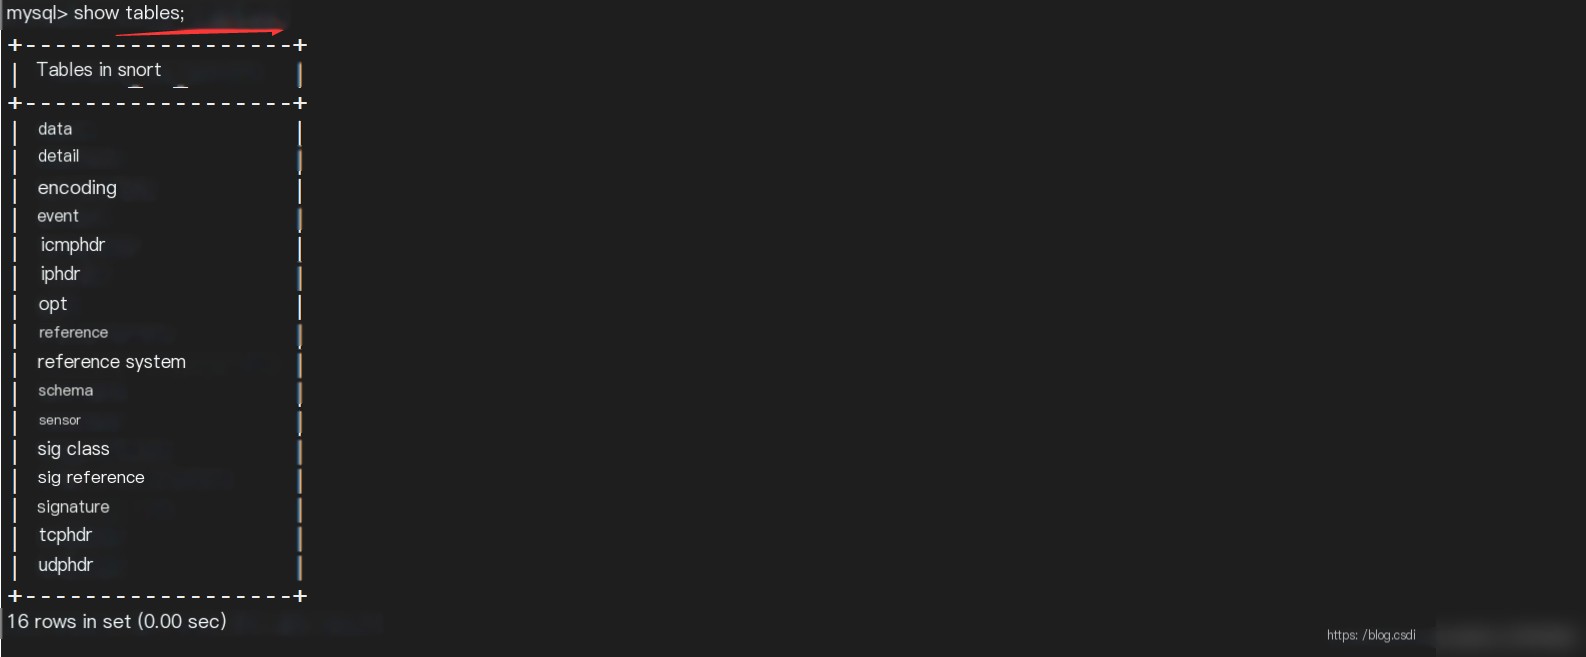
Configure the database, set your own password, and the storage file location: ubuntu@ubuntu:~$mysql-uroot-pmysql> createdatabasesnort;mysql> usesnort;mysql> source/root/Snort/barnyard2-2-1.13/schemas/create_mysql;mysql> CREATEUSER'snort'@'localhost'IDENTIFIEDBY'123456';mysql> grantcreate,insert,select,delete,updateonsnort.*to'snort'@'localhost';mysql> exit;
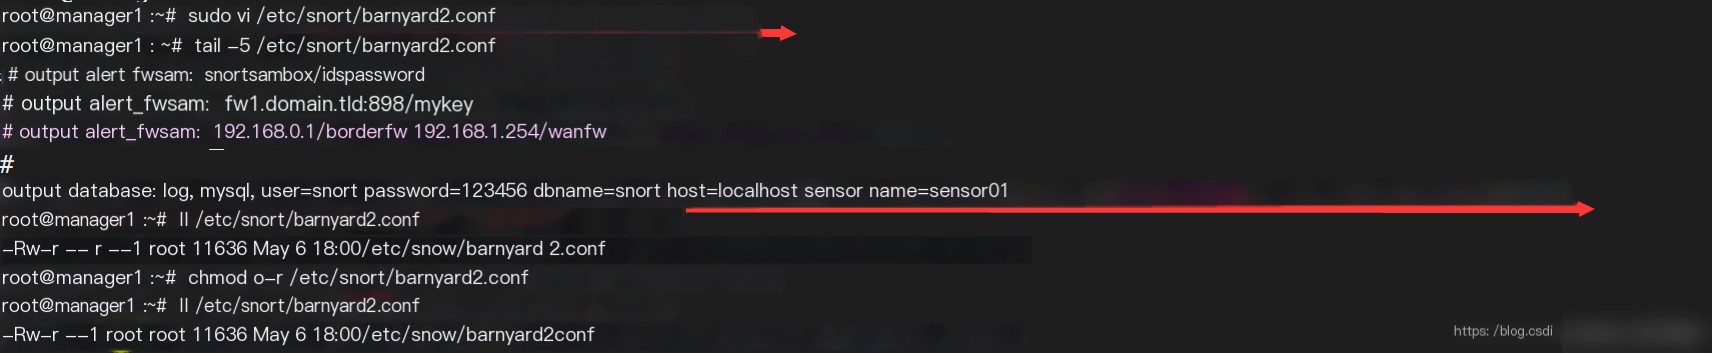
Add database configuration: sudovi/etc/snort/barnyard2.conf# append to the end of the file outputdatabase:log,mysql,user=snortpassword=123456dbname=snorthost=localhostsensorname=sensor01


Change barnyard2.conf permission to prevent modification: sudochmodo-r/etc/snort/barnyard2.conf
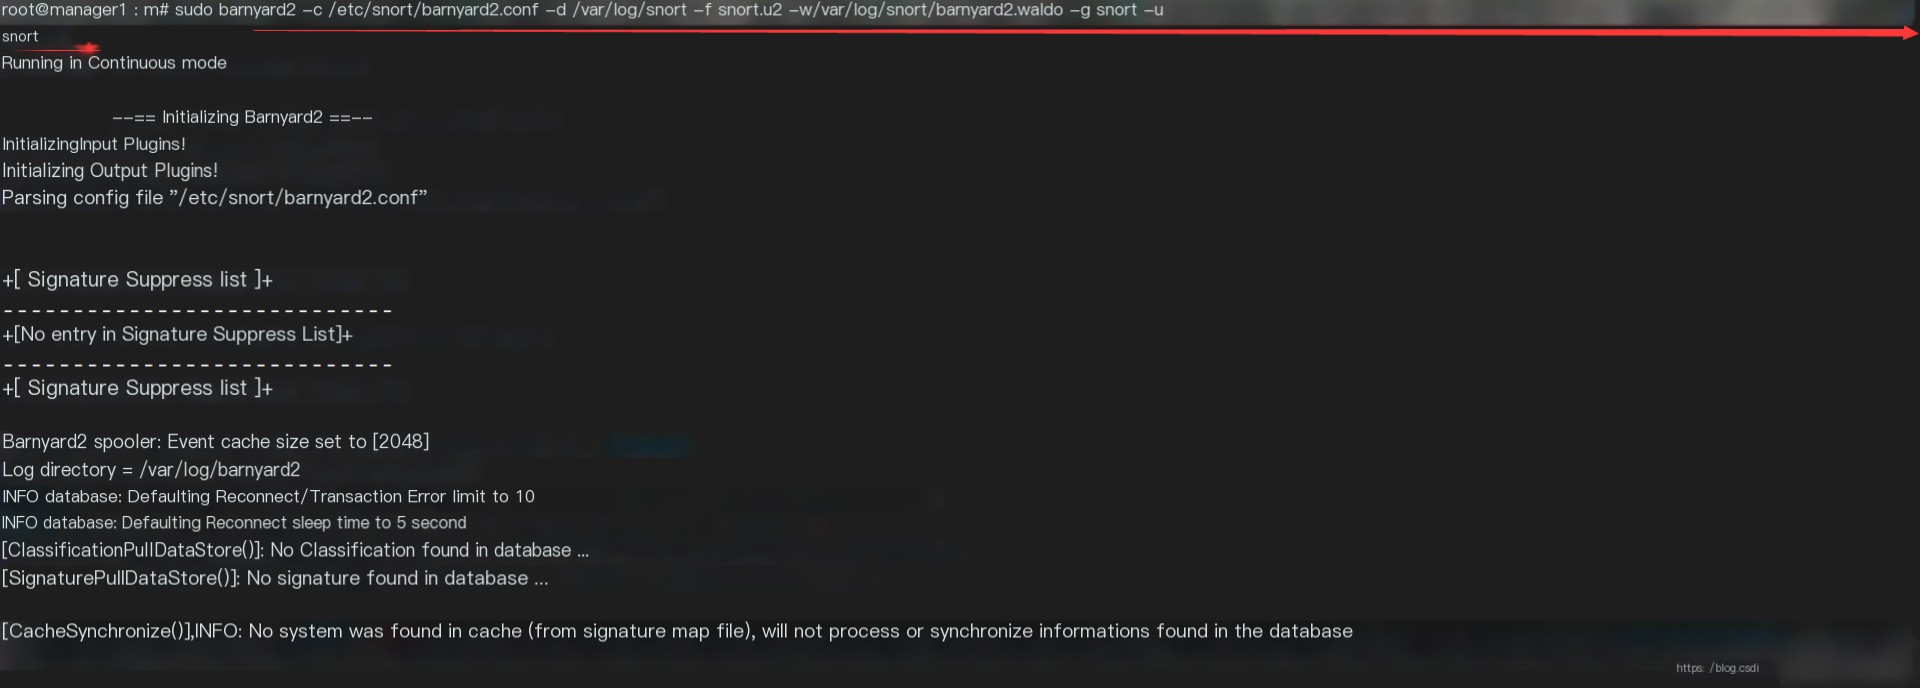
Test: # Continuous processing mode, set barnyard2.waldo as bookmark sudobarnyard2-c/etc/snort/barnyard2.conf-d/var/log/snort-fsnort.u2-w/var/log/snort/barnyard2.waldo-gsnort-usnort
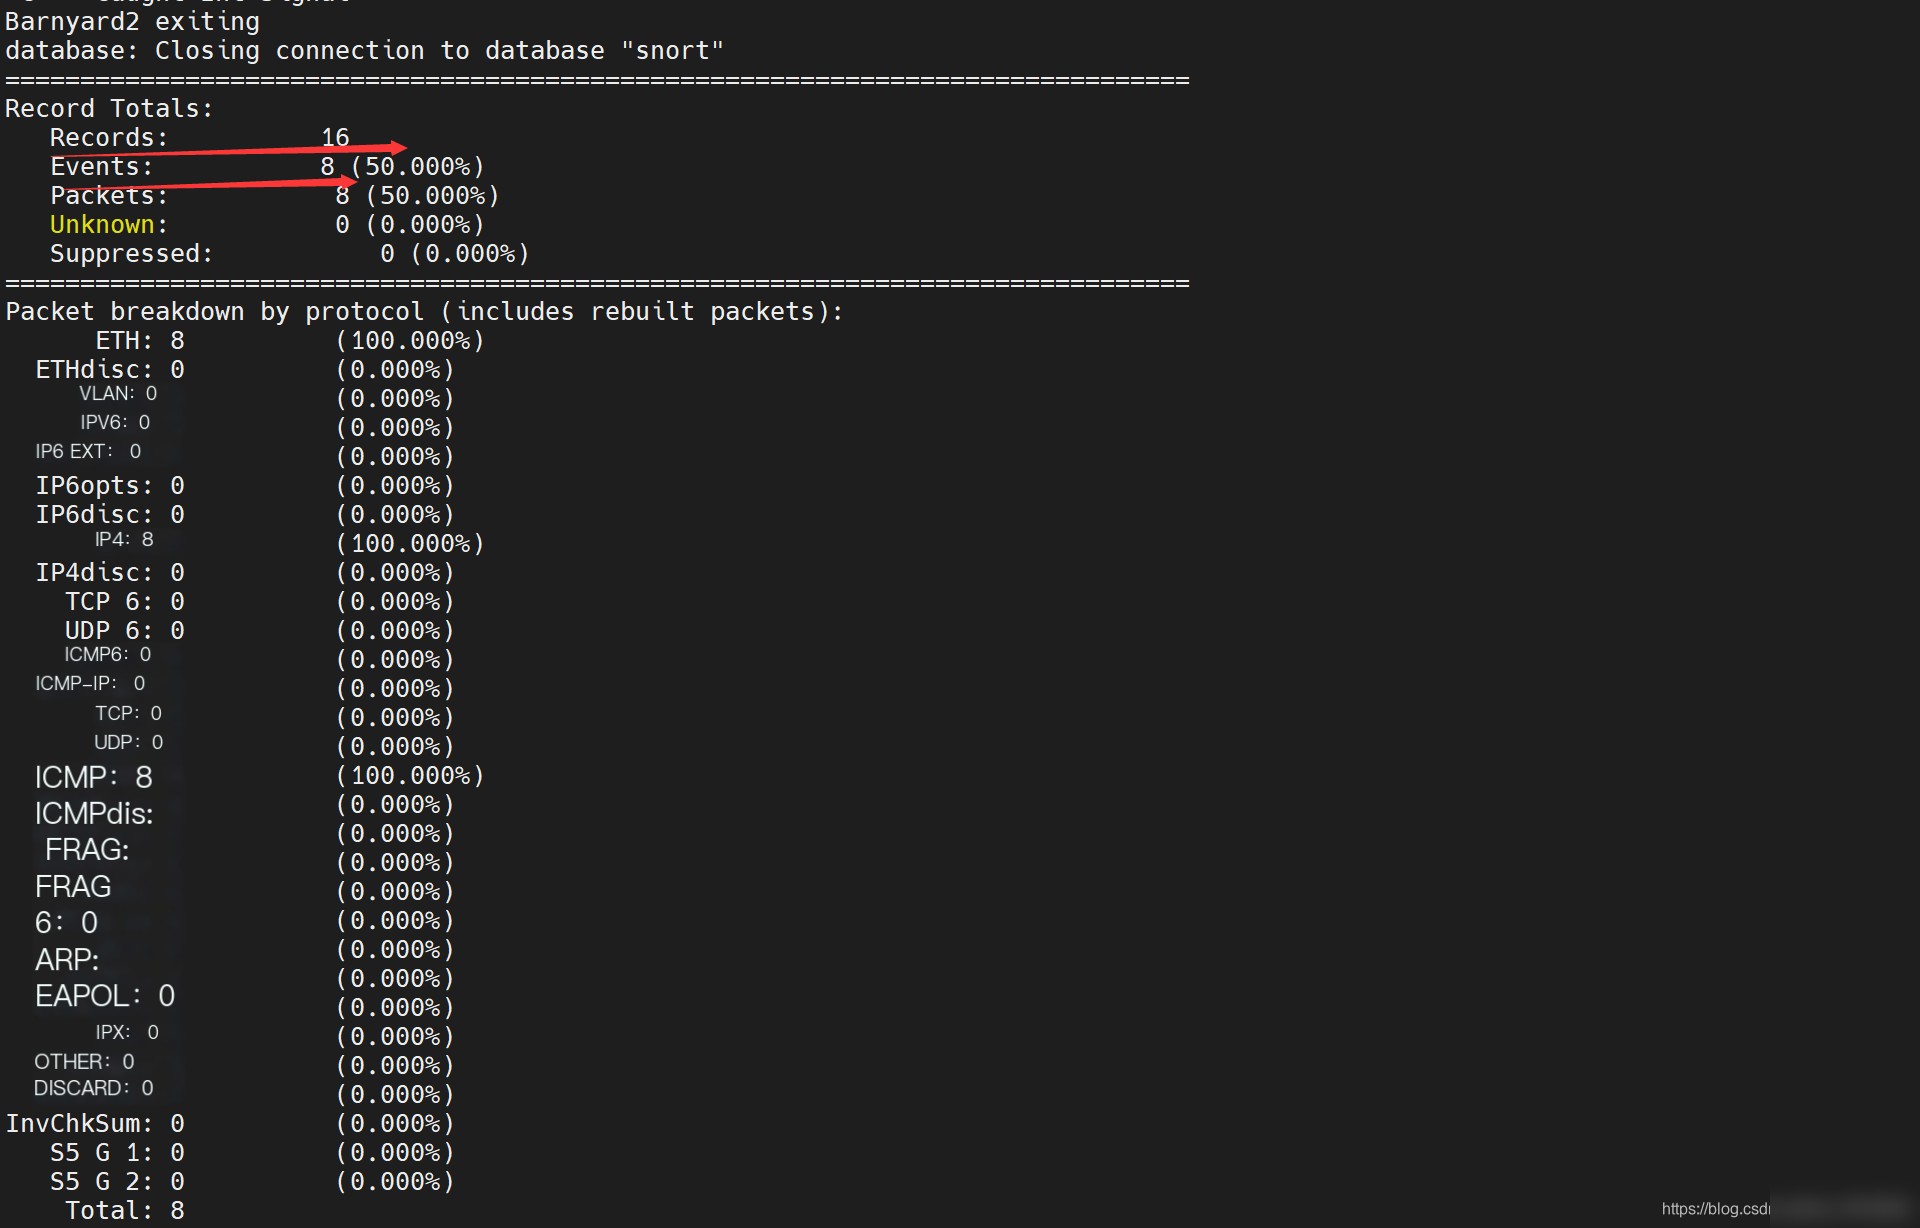
# Check the number of database entries to see if it increases: mysql-usnort-p-Dsnort-e"select count(*) from event"
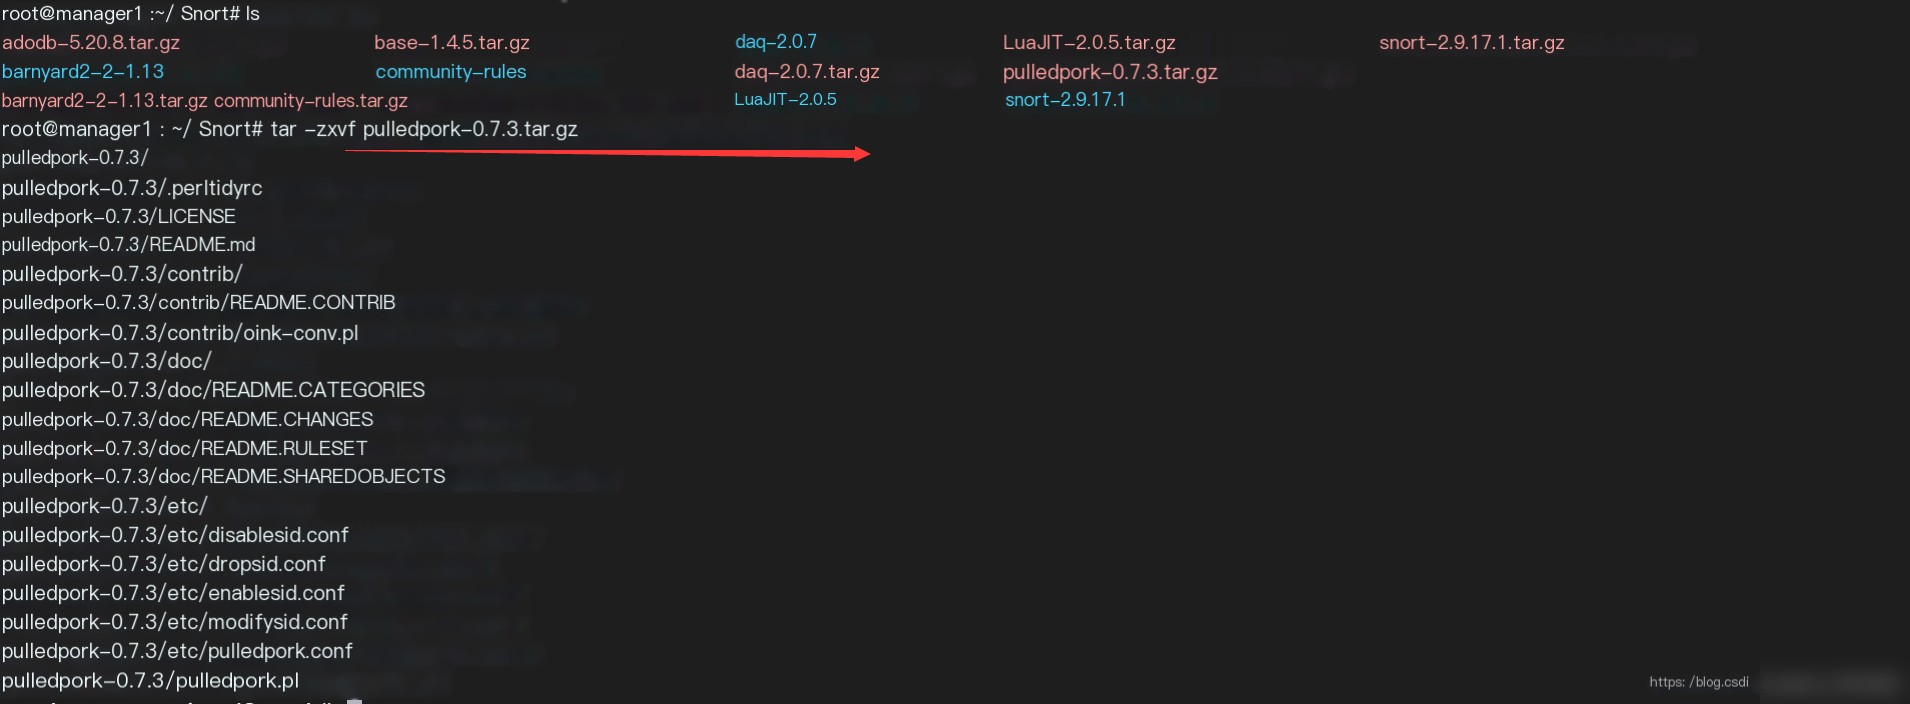
13. Install and Test Pulledpork
Extract and configure: tarxzvfpulledpork-v0.7.3.tar.gzcdpulledpork-v0.7.3/sudocppulledpork.pl/usr/local/binsudochmod+x/usr/local/bin/pulledpork.plsudocpetc/*.conf/etc/snort


Test: ubuntu@ubuntu:~$pulledpork.pl-V PulledPorkv0.7.3-Making signature updates great again!
14. Modify configuration files and update test rules
# Line 19: Enter the oinkcode generated by your registration account, or comment it out if you don't have one.
# Line 29: Uncomment to download rules for emerging threats.
# Line 74: Change to: rule_path=/etc/snort/rules/snort.rules
# Line 89: Change to: local_rules=/etc/snort/rules/local.rules
# Line 92: Change to: sid_msg=/etc/snort/sid-msg.map
# Line 96: Change to: sid_msg_version=2
# Line 119: Change to: config_path=/etc/snort/snort.conf
# Line 133: Change to: distro=Ubuntu-12-04
# Line 141: Change to: black_list=/etc/snort/rules/iplists/black_list.rules
# Line 150: Change to: IPRVersion=/etc/snort/rules/iplists
# Add include to line 548 of /etc/snort/snort.conf: include $RULE_PATH/snort.rules
# Update rules: sudo /usr/local/bin/pulledpork.pl -c /etc/snort/pulledpork.conf -l
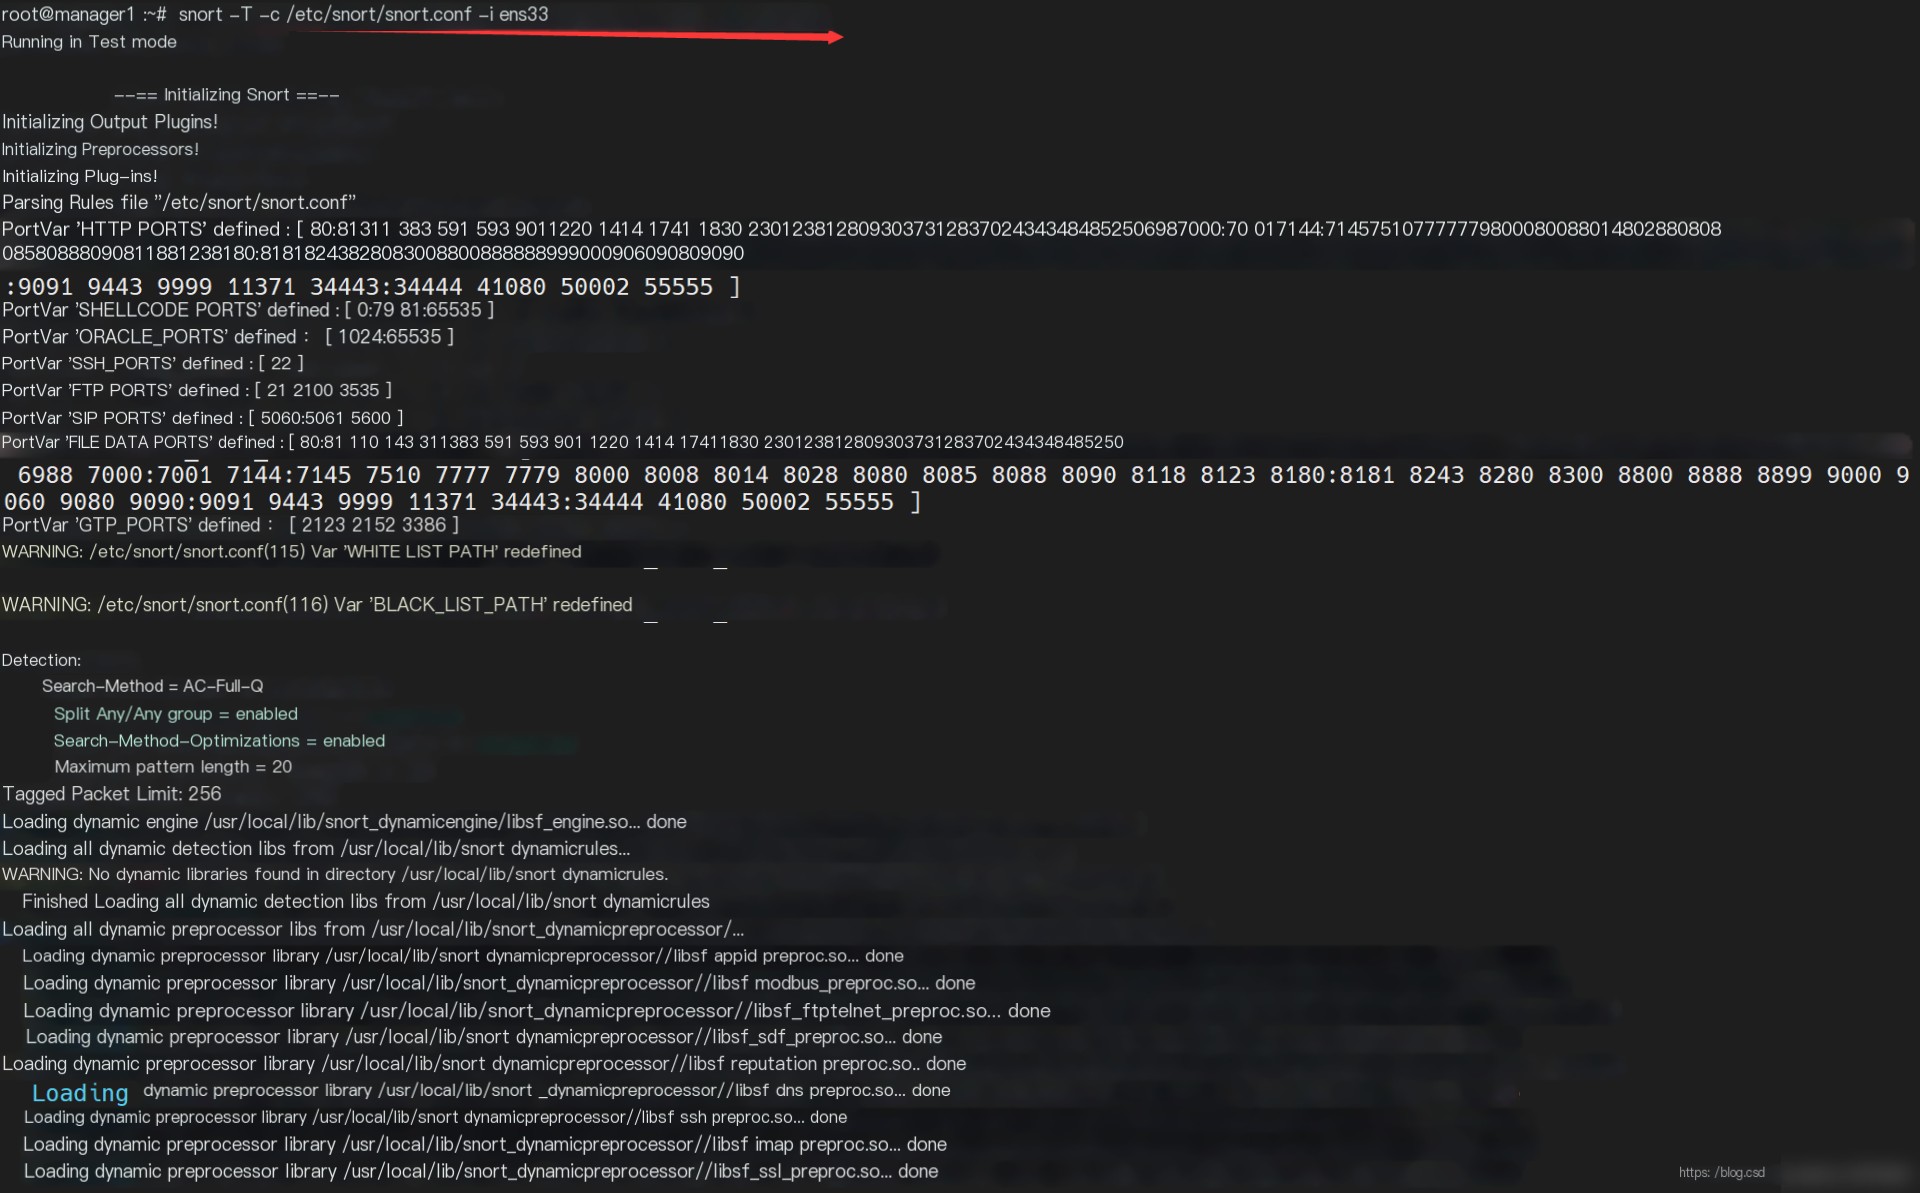
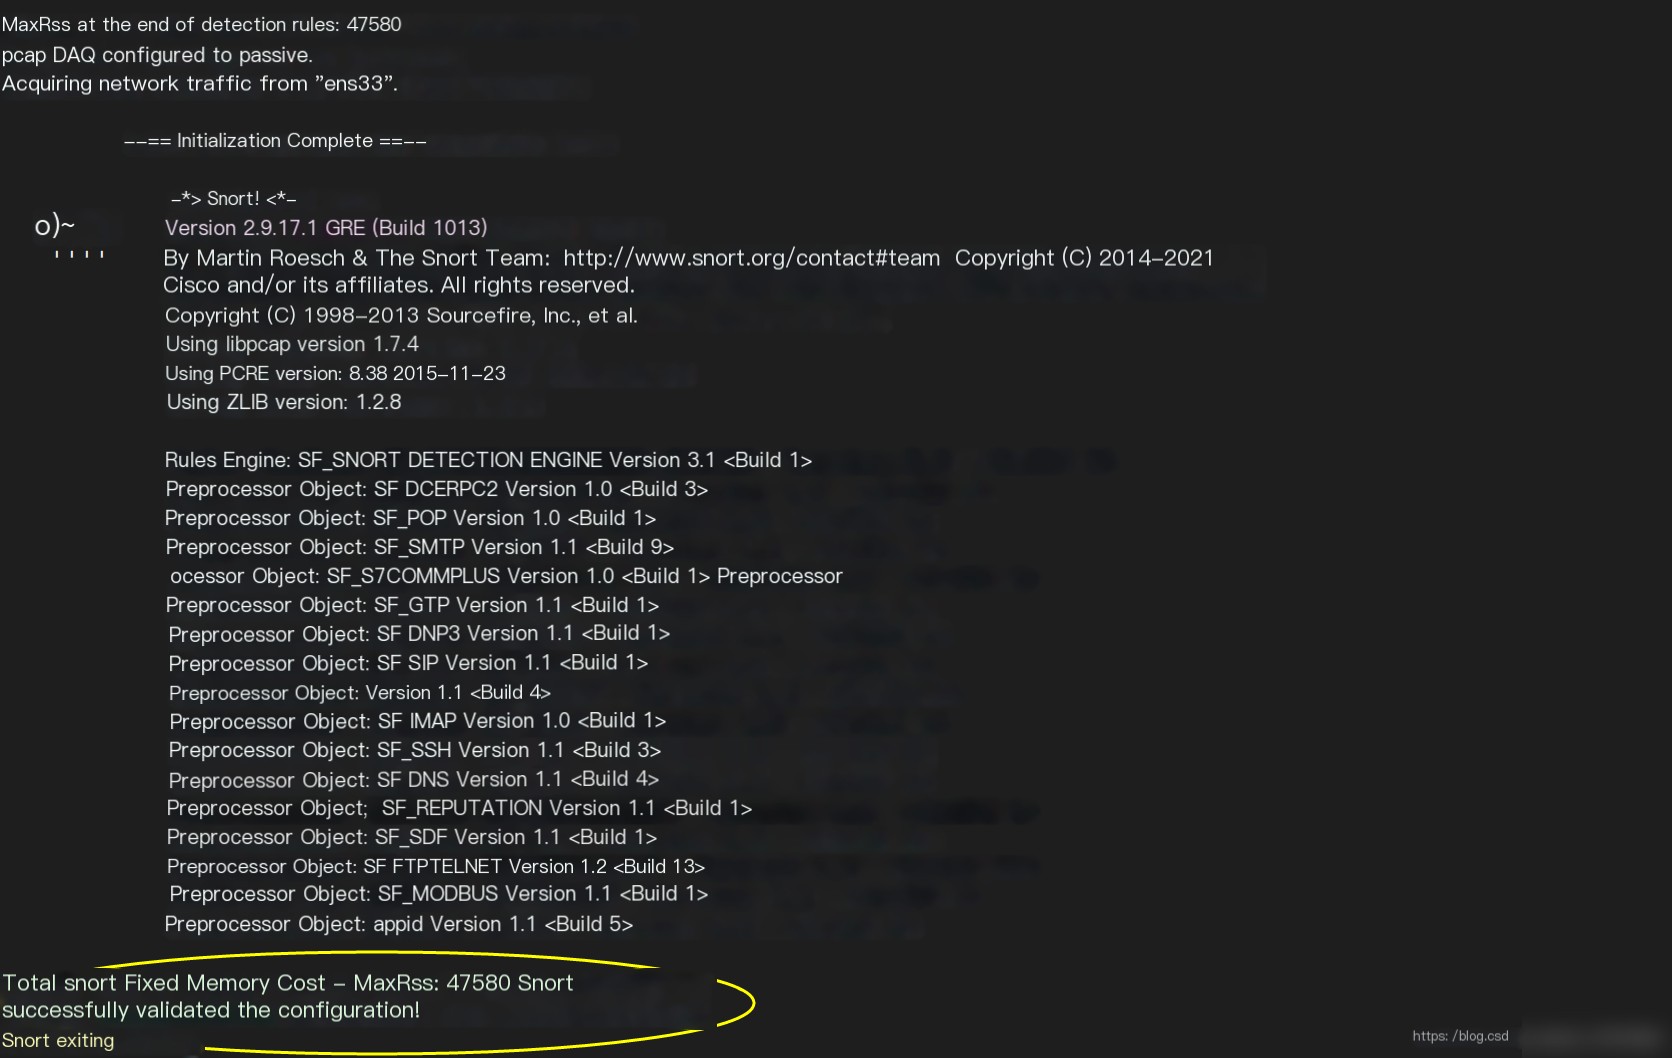
# Test rules: sudo snort -T -c /etc/snort/snort.conf -i ens33
15. Create service
# Create the Snort service configuration file
sudo vi /lib/systemd/system/snort.service
[Unit]
Description=Snort NIDS Daemon
After=syslog.target network.target

[Service]
Type=simple
Restart=always
ExecStart=/usr/local/bin/snort -q -u snort -g snort -c /etc/snort/snort.conf -i ens33

[Install]
WantedBy=multi-user.target

# Enable upon system startup
sudo systemctl enable snort
# Start the service
sudo systemctl start snort
# Check the status of the service
sudo systemctl status snort

# Create the Barnyard2 service configuration file
sudo vi /lib/systemd/system/barnyard2.service
[Unit]
Description=Barnyard2 Daemon
After=syslog.target network.target

[Service]
Type=simple
Restart=always
ExecStart=/usr/local/bin/barnyard2 -c /etc/snort/barnyard2.conf -d /var/log/snort -f snort.u2 -q -w /var/log/snort/barnyard2.waldo -g snort -u snort -D -a /var/log/snort/archived_logs --pid-path=/var/run

[Install]
WantedBy=multi-user.target

# Enable upon system startup
sudo systemctl enable barnyard2
# Start the service
sudo systemctl start barnyard2
# Check the status of the service
sudo systemctl status barnyard2
16. Unzip and install BASE & test
Unzip: tar xzvf base-1.4.5.tar.gz
sudo mv base-1.4.5 /var/www/html/base/
# Modify the configuration file:
cd /var/www/html/base
sudo cp base_conf.php.dist base_conf.php
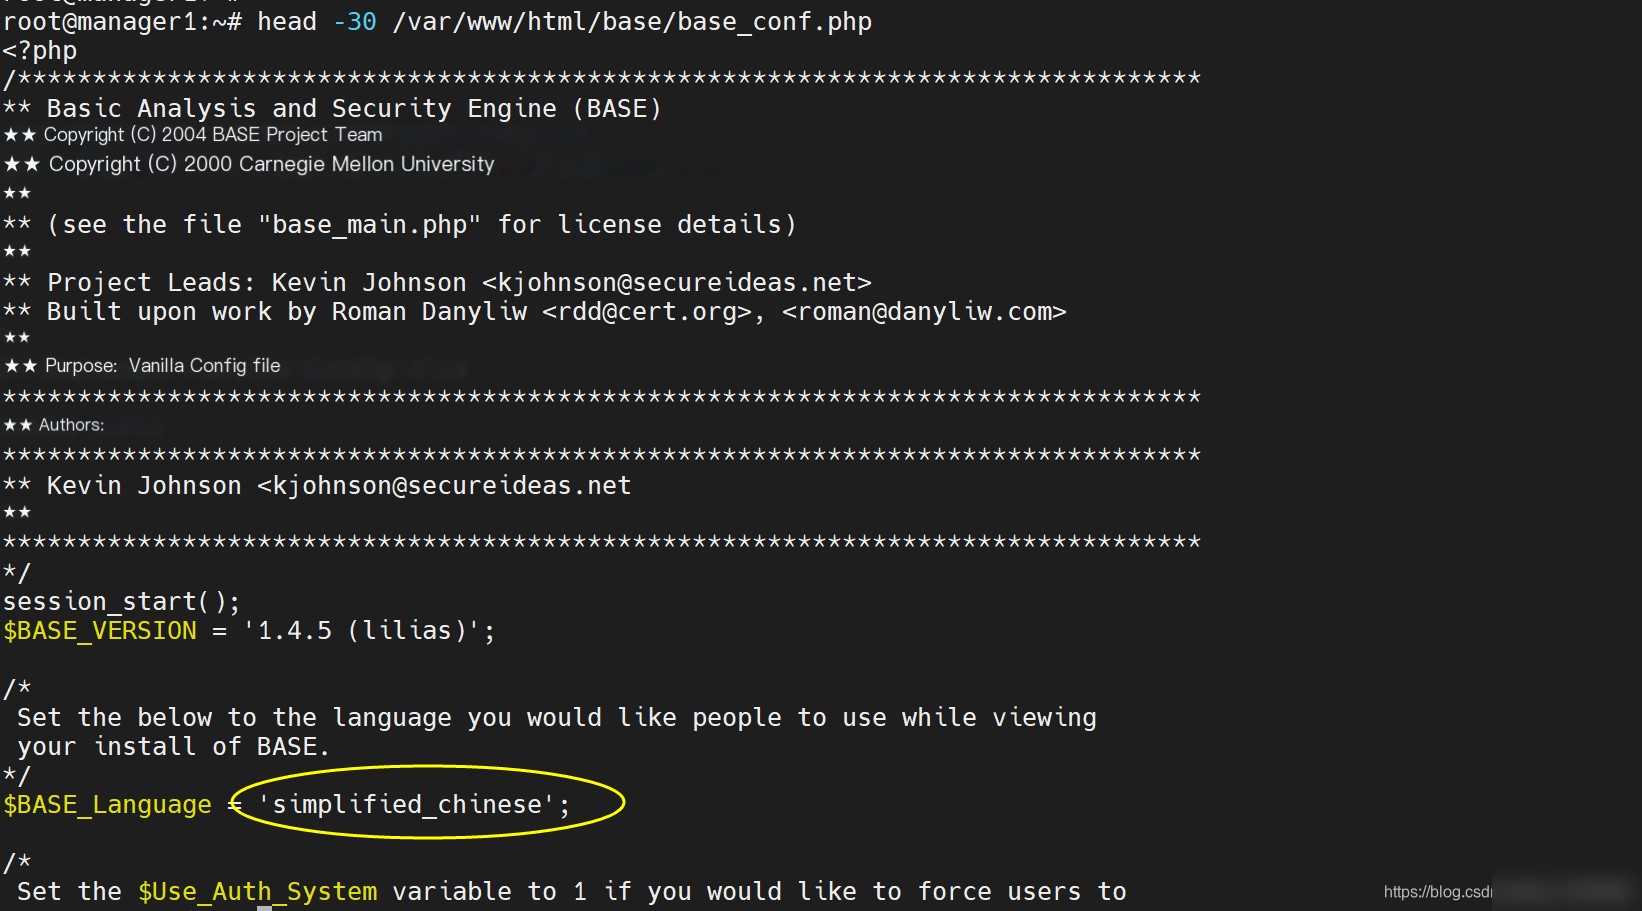
sudo vi /var/www/html/base/base_conf.php
$BASE_Language = 'chinese'; # line 27
$BASE_urlpath = '/base'; # line 50
$DBlib_path = '/usr/share/php/adodb'; # line 80
$alert_dbname = 'snort'; # line 102
$alert_host = 'localhost';
$alert_port = '';
$alert_user = 'snort';
$alert_password = '123456'; # line 106
//$graph_font_name = "Verdana";
//$graph_font_name = "DejaVuSans";
//$graph_font_name = "Image_Graph_Font";
$graph_font_name = "";
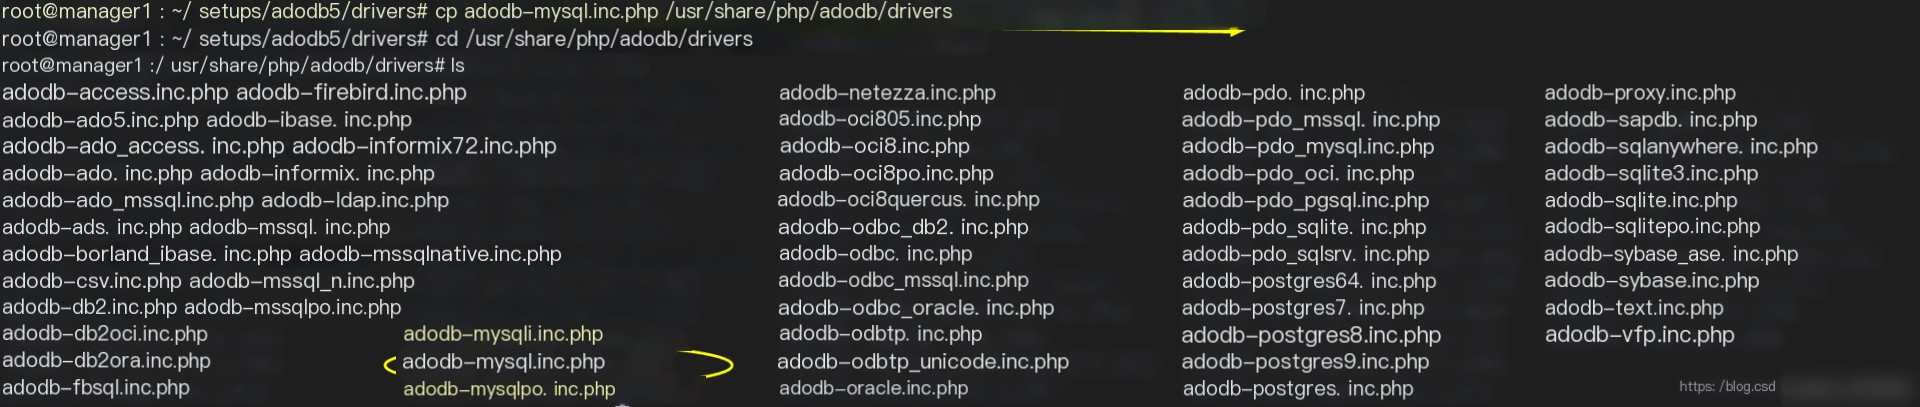
When testing, I found that the file adodb-mysql.inc.php was missing in the /usr/share/php/adodb/drivers directory, causing an error. This was downloaded in step two earlier. Unzip it and copy this file from the drivers directory to the /usr/share/php/adodb directory. The command is as follows: cd to the drivers directory under the directory where you unzipped the adodb folder cp adodb-mysql.inc.php /usr/share/php/adodb
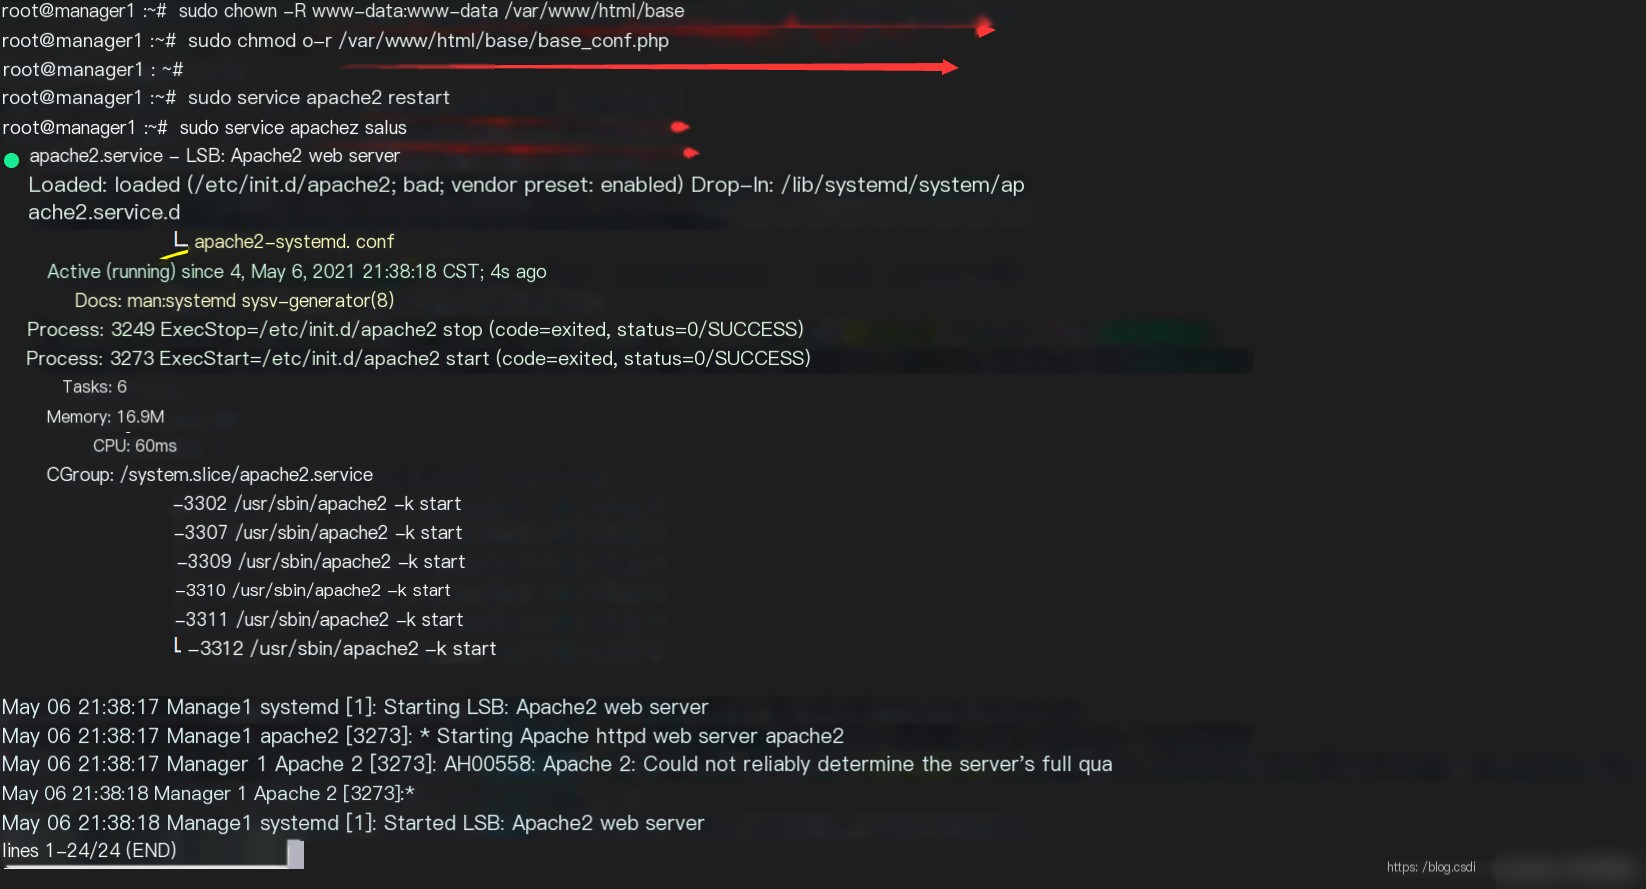
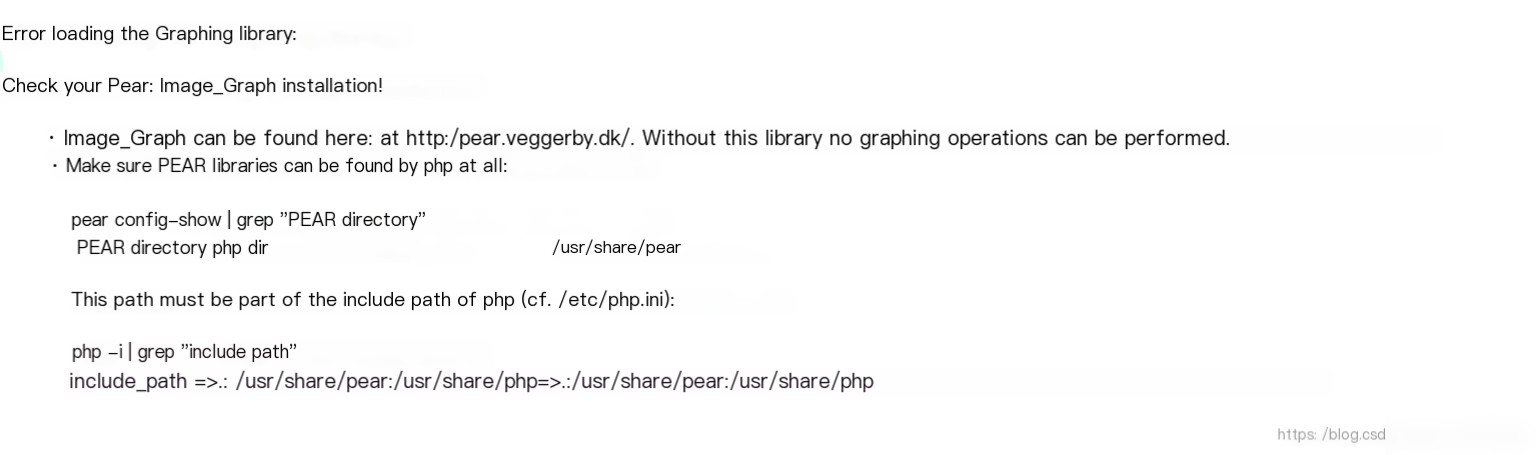
17. Check and Solve Corresponding Problems on the Web
1. Adjust font to Simplified Chinese.
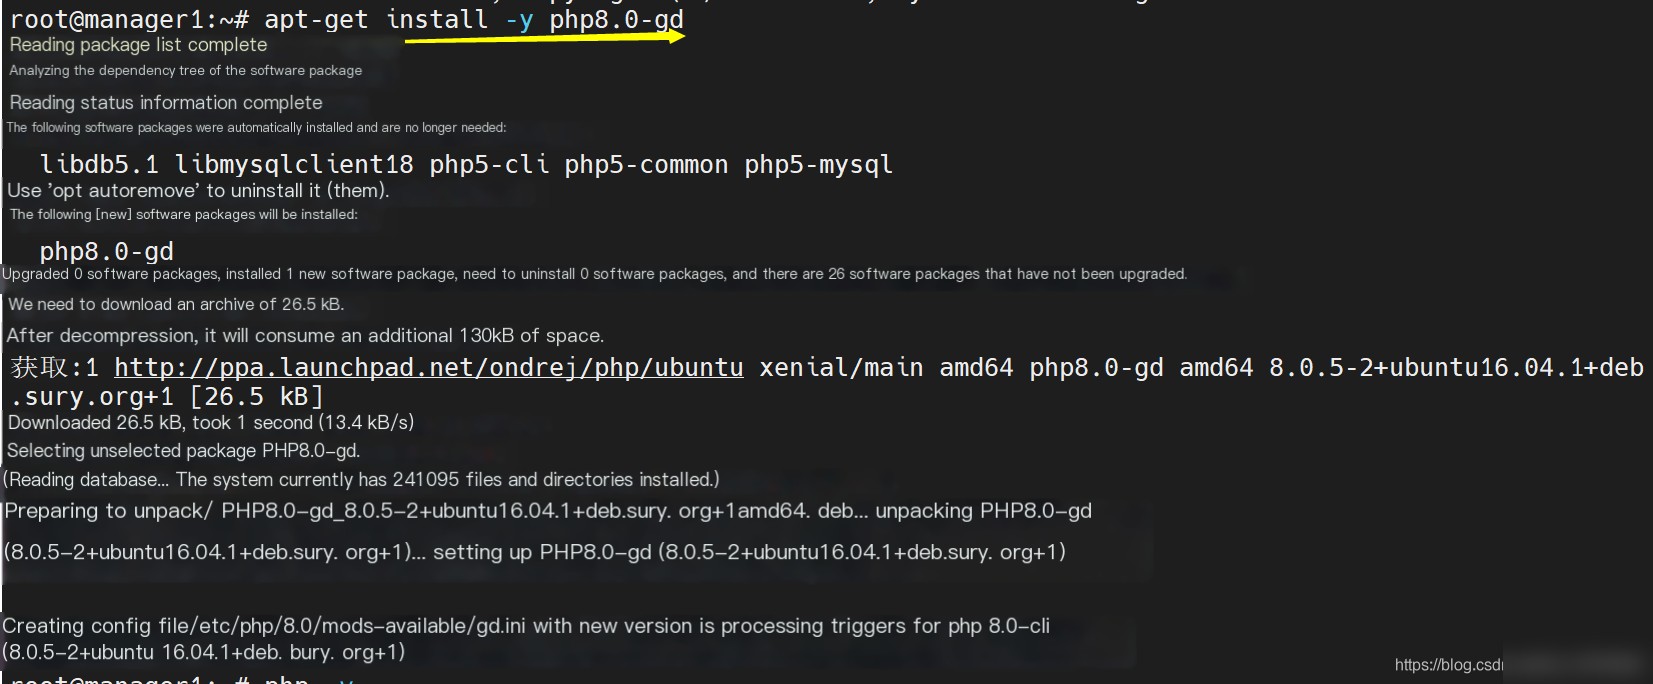
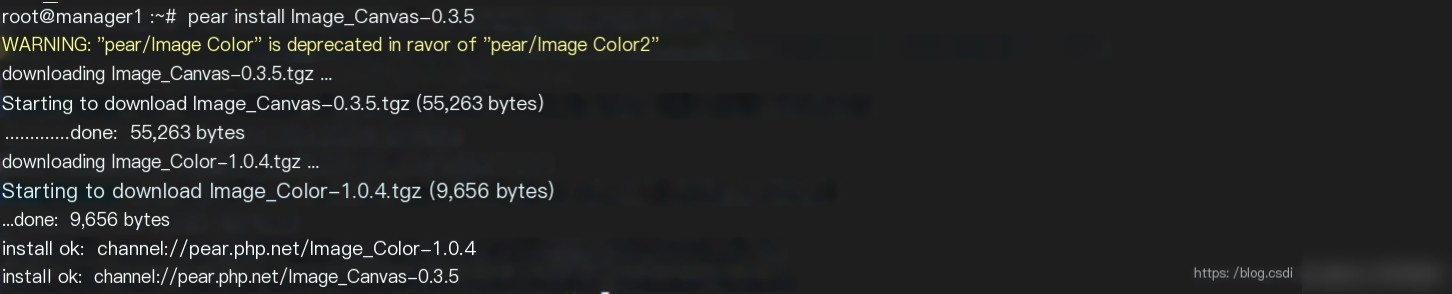
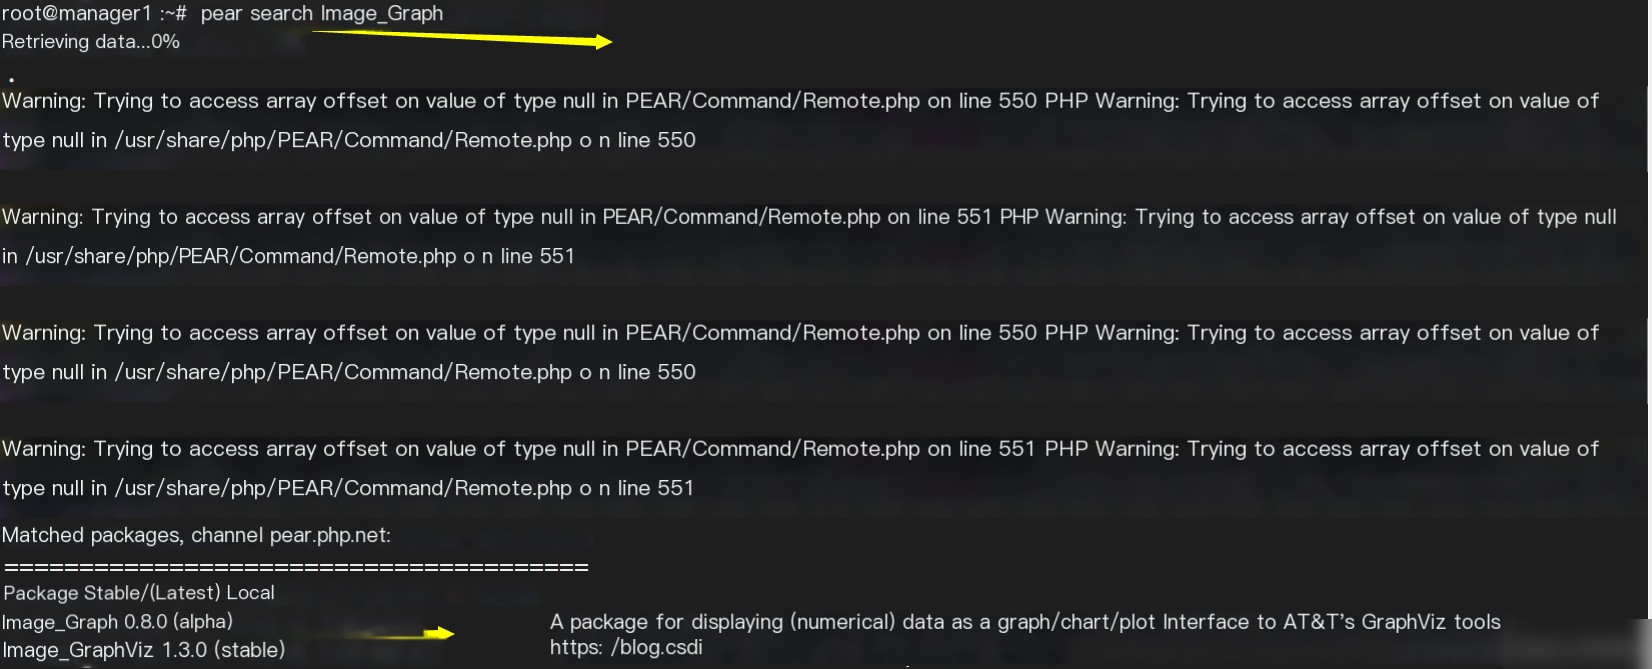
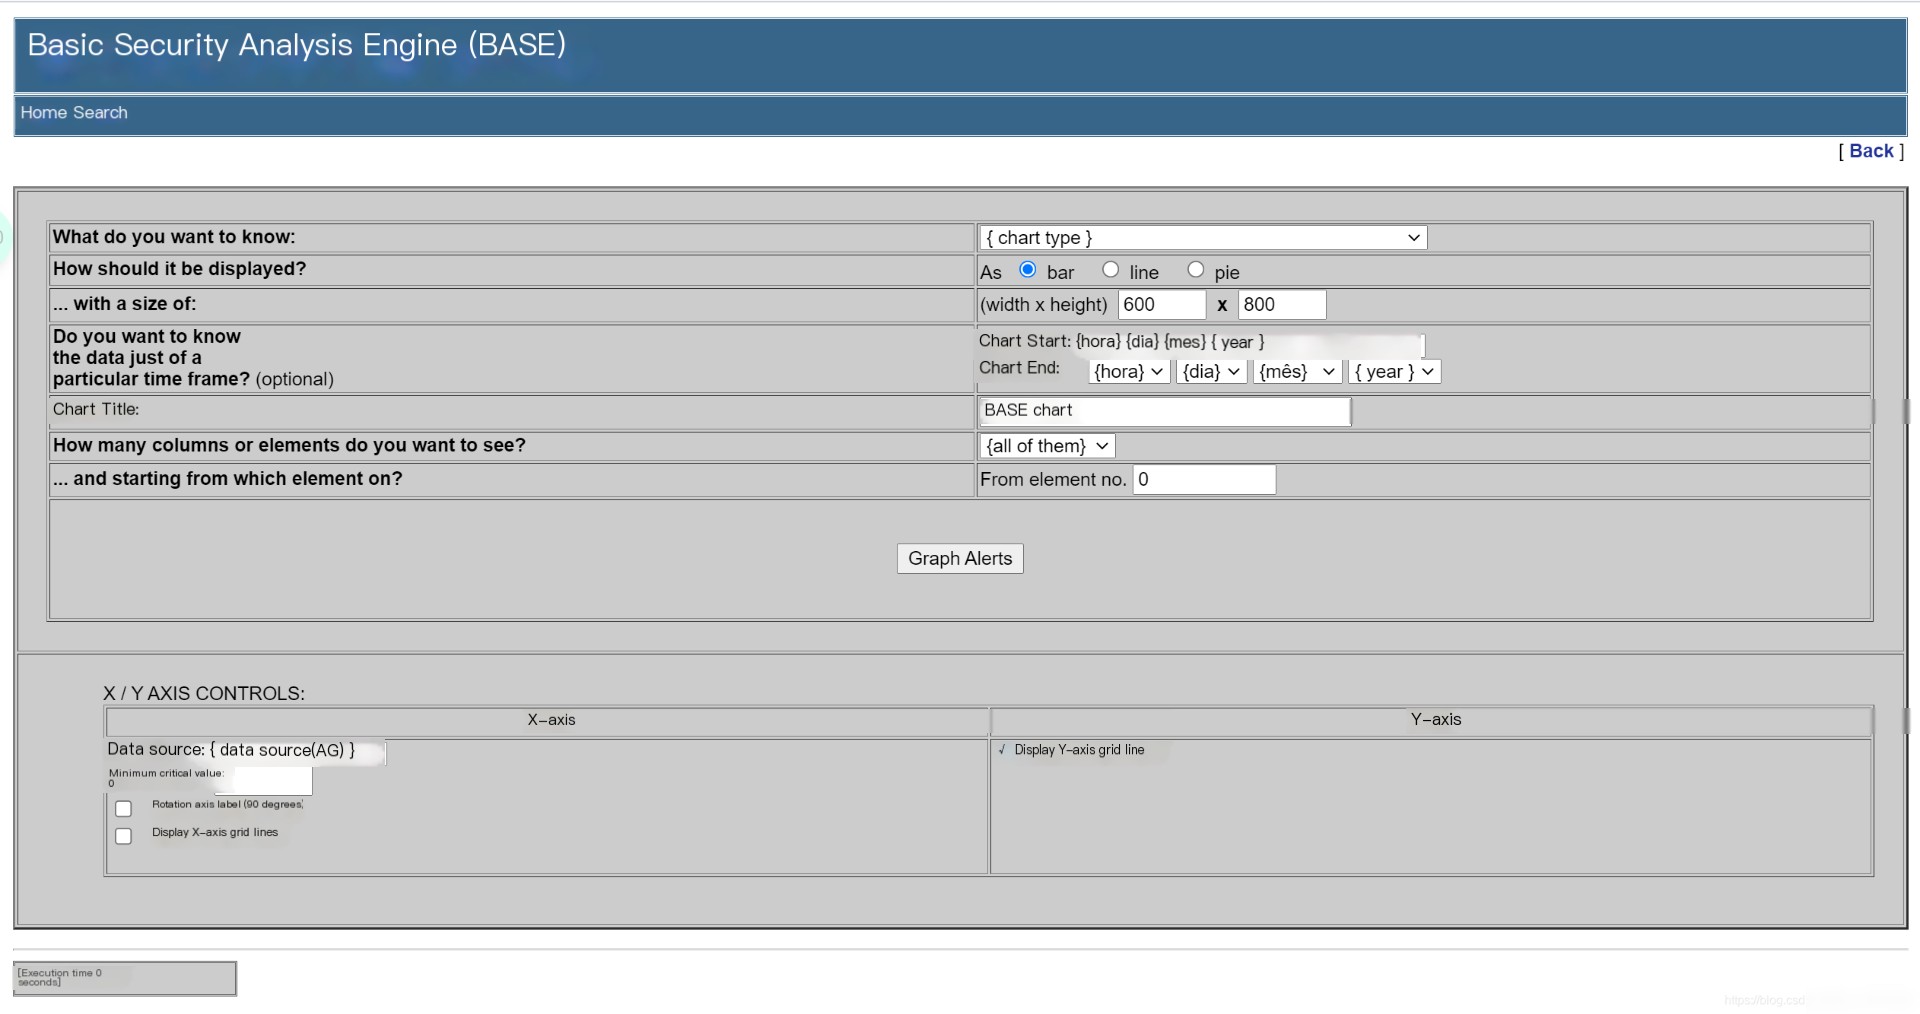
2. Resolve image library loading issues. Remember to restart the service after modification.
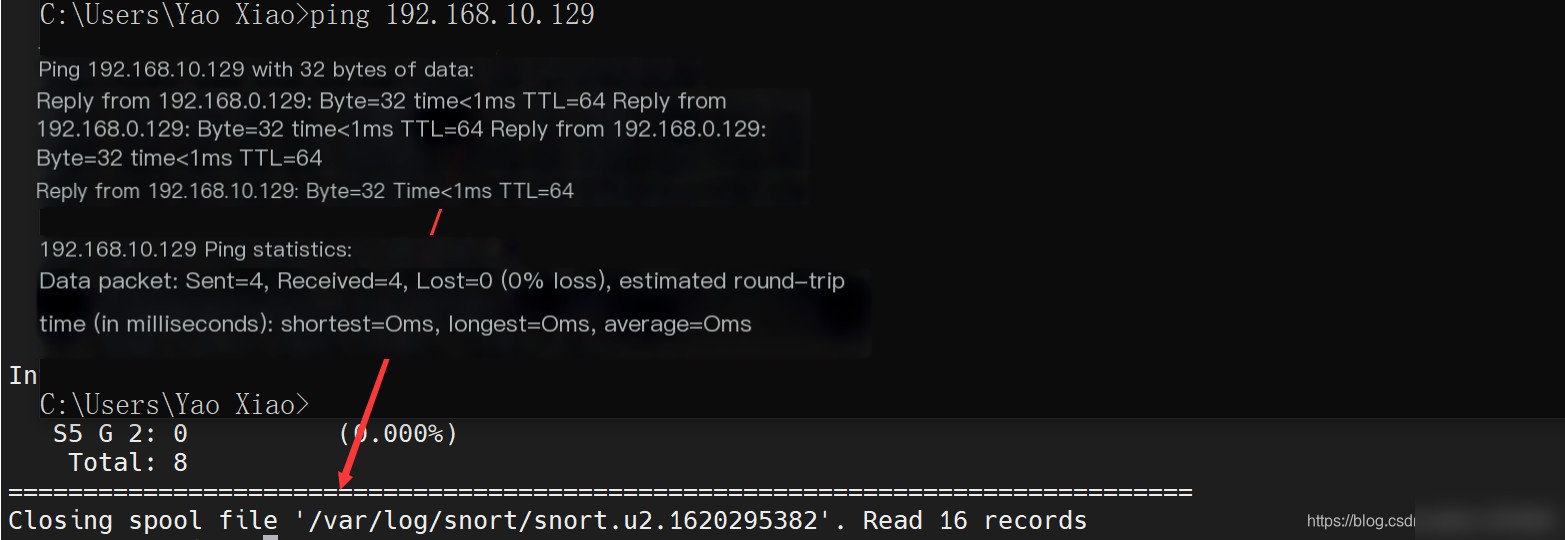
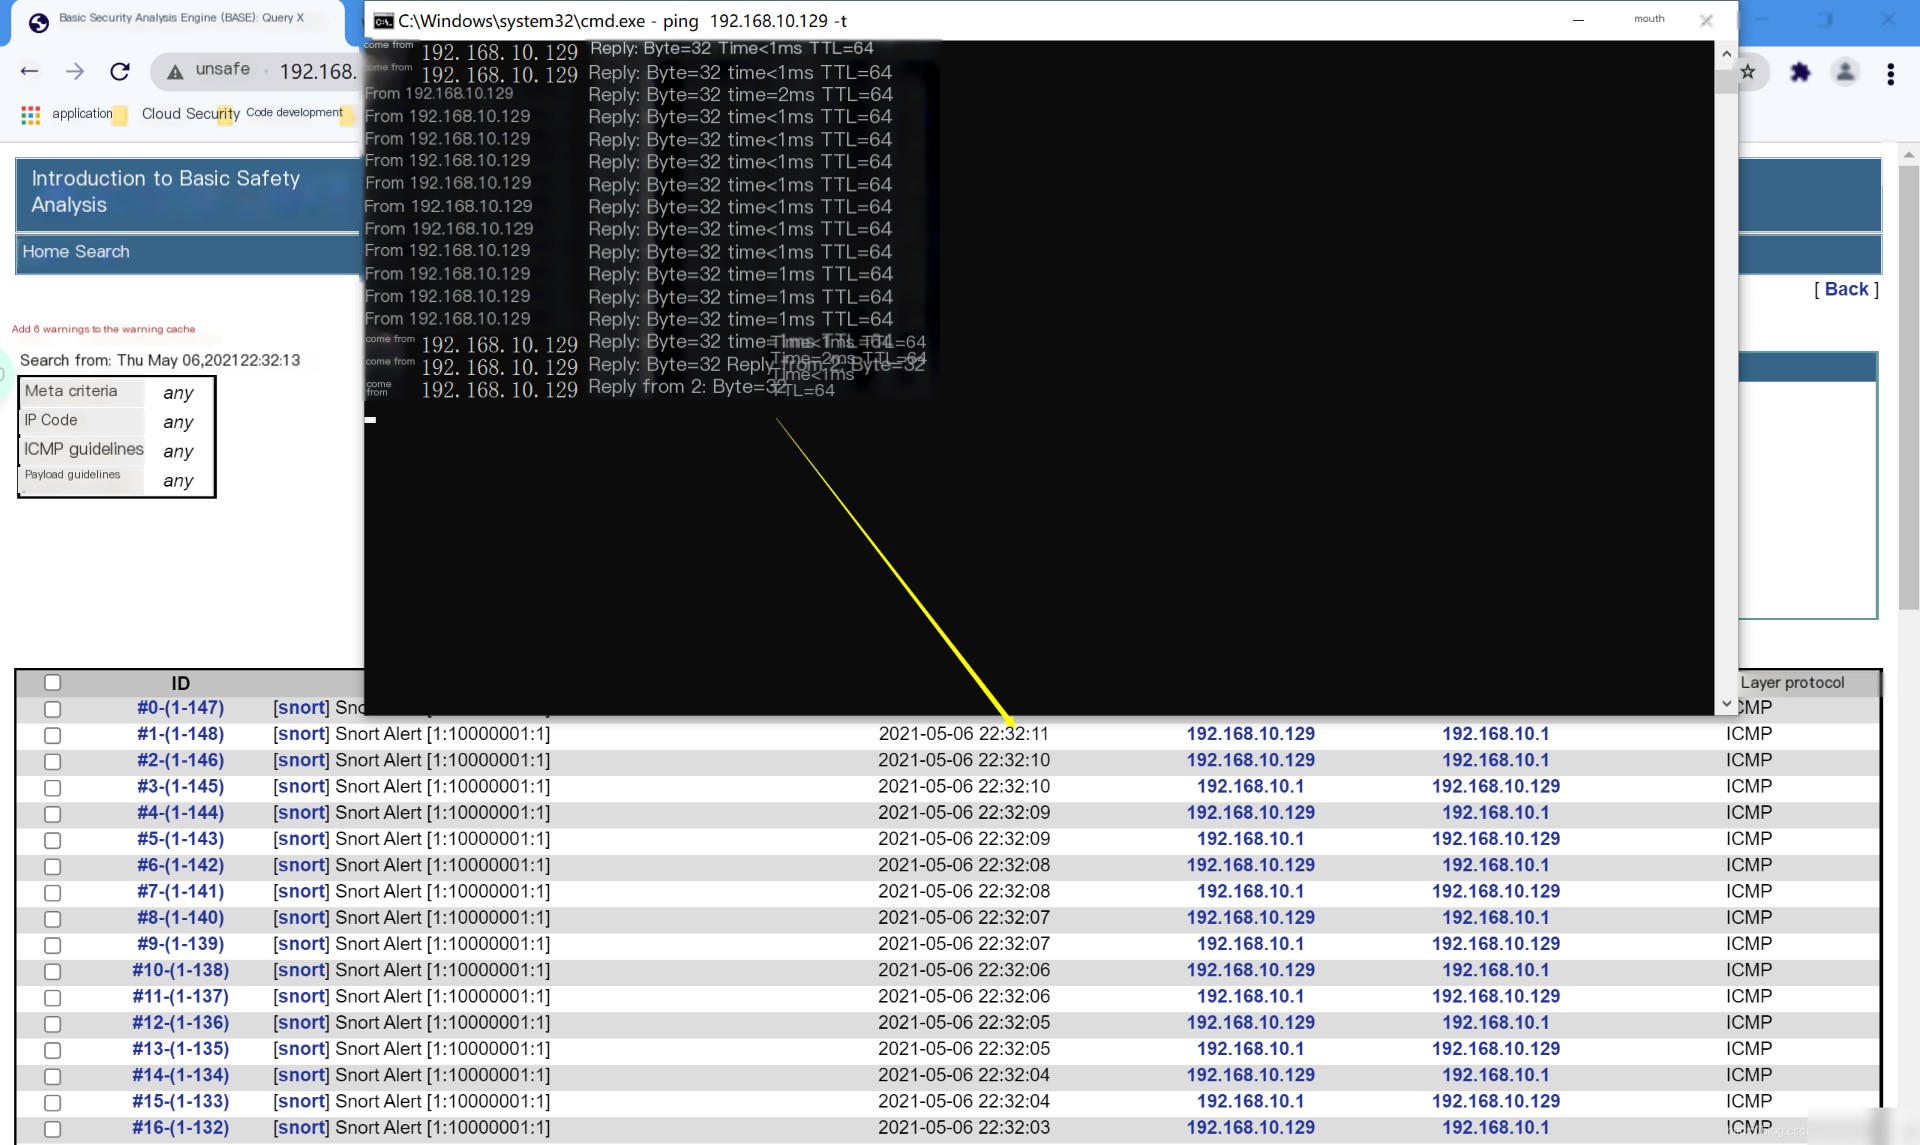
18. Ping the Virtual Machine IP Address from the Local Host, Check the Web
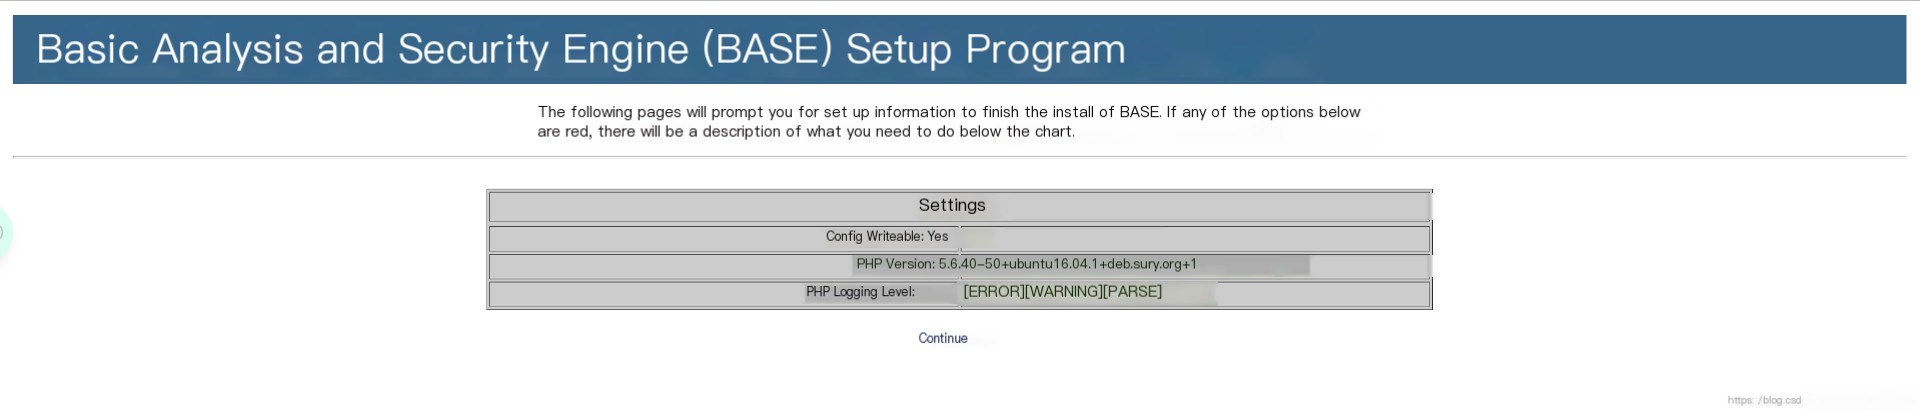
Tip: For step 16, we can also use a graphical method to modify the configuration file as shown below: # Edit this file if it prompts an error. If you see the second image, ignore it and click Continue directly.


 Referenced great article from a guru, show respect: Ubuntu 18.04 Setup Snort, thanks a lot.