1. Introduction
In the previous article, I introduced, explained, and shared the installation and deployment of Wireshark on Windows systems. Today, I will introduce, explain, and share the installation and deployment of Wireshark on MacOS systems. Wireshark is not only a network protocol analysis software for Windows systems, but also a network protocol analysis software for Mac. Any responsible network analyst has a special liking for this software. Nowadays, few products have such lasting appeal as it does, and it is easy to see why. If network administrators want to know what is happening on their networks, they might as well use this software to capture data packets and then display them in a way that makes it easy for administrators to track conversations and data flows between computers . This software has a large number of sorting and filtering options for users to find the exact information they are looking for.
2. Install the deployment environment
2.1 Operating System
1. Hongge’s environment is Mac version: 12.5. In fact, Hongge thinks that no matter what platform, the installation is similar and very easy. As shown in the following figure:

2.2. Software Version
1. Wireshark version, Hongge downloaded the latest version 4.0.2 from the official website.
3. Download and install WireShark
3.1 WireShark Download
Wireshark’s official download website : https://www.wireshark.org/
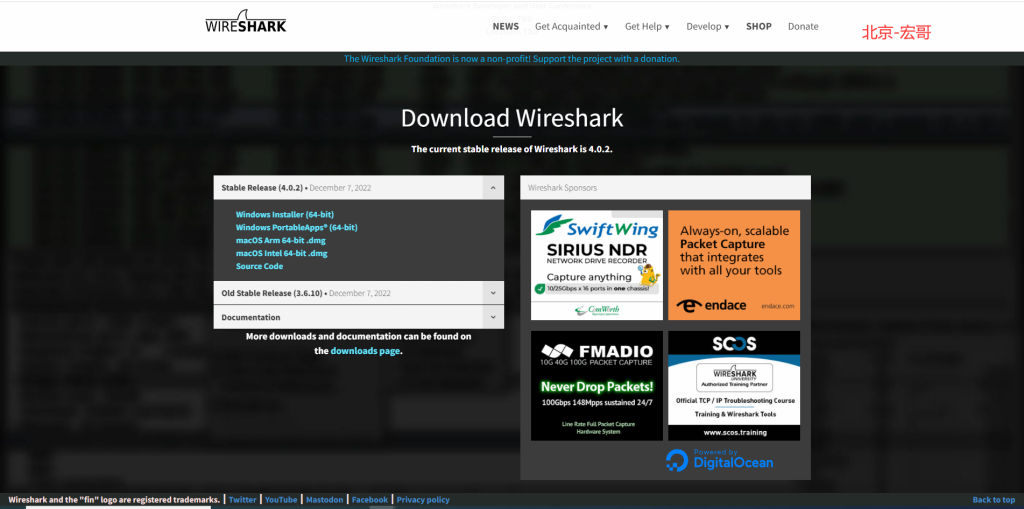
1. Open the website https://www.wireshark.org and enter the Wireshark official website, as shown below:

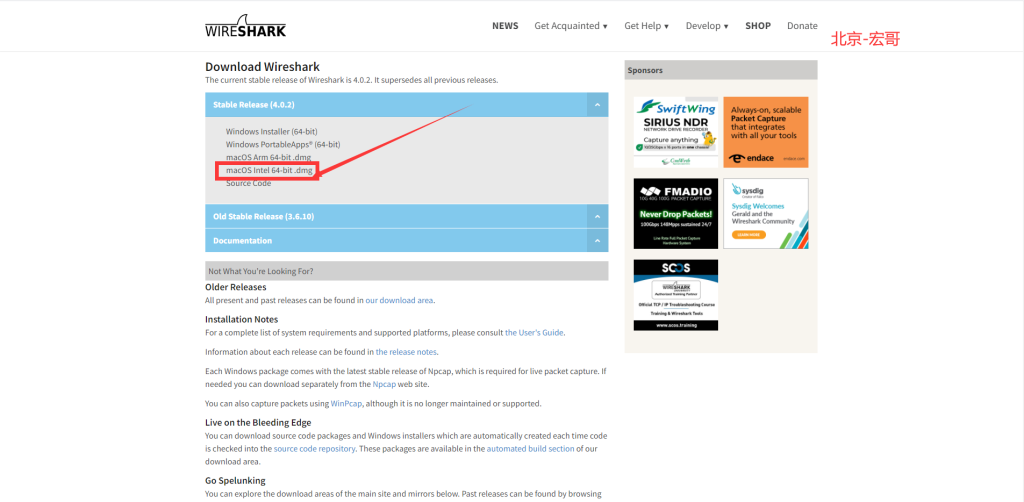
2. Click the download icon in the figure to enter the download page, as shown below:

3. Click the macOS Intel 64-bit.dmg installation package to download the Mac version installation package, as shown in the following figure:

3.2 Installation
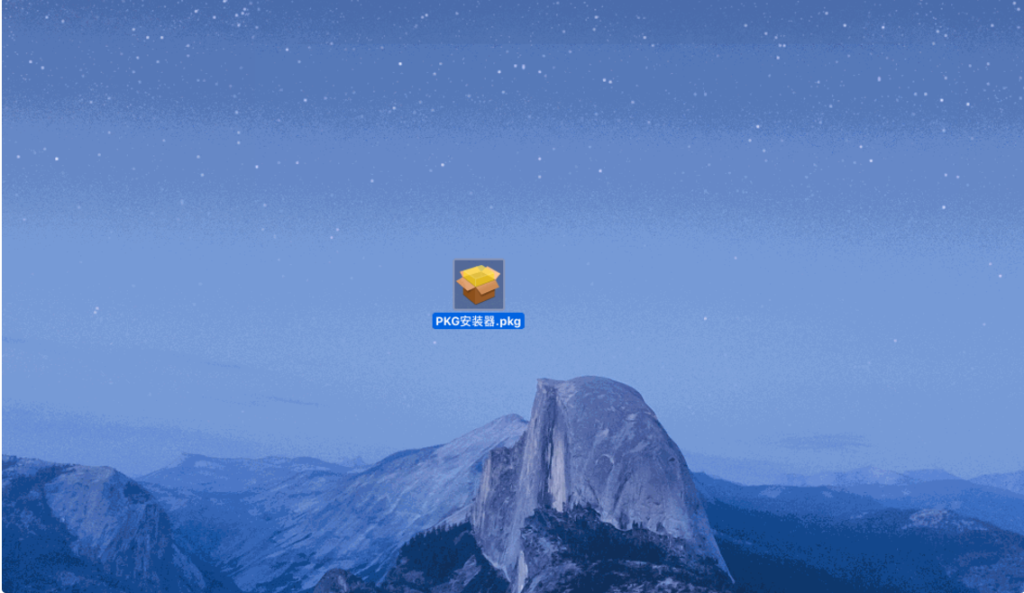
1. After the download is complete, double-click the downloaded software package or drag the app to Applications to install it, and then Install ChmodBPF.pkg, as shown in the following figure:

2. The installation process is shown in the figure below:

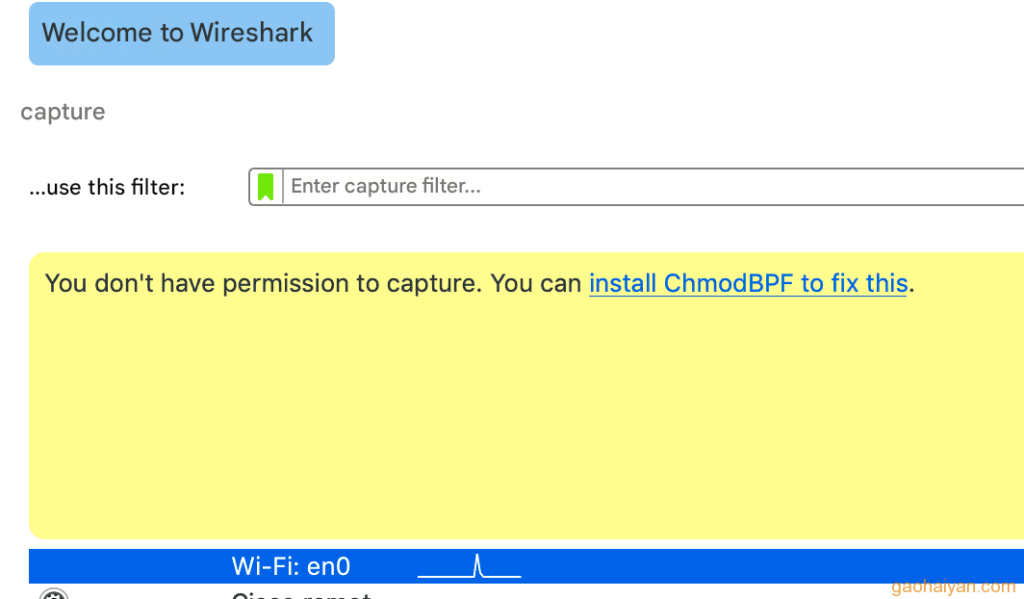
Pay attention!!! If the message “You don’t hava permission to capture. You can install ChmodBPF to fix this.” appears, but ChmodBPF has already been installed in step 1, you can ignore it. This will not happen normally. As shown in the following figure:

Well, at this point, the installation and deployment of the macOS system is completed. Compared with the installation and deployment of the Windows system, it is very simple.
4. Summary
Well, today’s explanation and sharing is relatively simple. On the one hand, few people use Mac, and on the other hand, it is relatively simple, but it is better to briefly talk about it. That’s all for today. Thank you for your patience in reading!!!
5. Extension
If you cannot capture packets using Wireshark on Mac, it may be due to a lack of permissions, so authorization can solve the problem.
Then use sudo chmod 777 /dev/bpf* command to authorize


