
Introduction: Windows XP
In 1998, Martin Roesch developed the open-source intrusion detection system Snort using the C language. To this day, Snort has evolved into a powerful network intrusion detection/prevention system (NIDS/NIPS) with multi-platform support, including compatibility with Windows XP. It offers real-time traffic analysis and network IP packet logging capabilities. Snort complies with the GNU General Public License (GPL), allowing it to be freely downloaded from the internet, with installation and setup taking only a few minutes.
Setup Environment for Windows XP
This tutorial uses Windows XP + AppServ (an integrated environment of Apache, MySQL, PHP, and phpMyAdmin) + Snort + ACID + JpGraph + ADOdb + WinPcap.
To avoid conflicts between different software versions, we have specified the versions to use:
Snort: Version snort-2.8.3.1.Installer.exe can be downloaded from my CSDN: https://download.csdn.net/download/qiuchi1975/11328797
WinPcap: Version 3.1-WinPcap.exe can be downloaded from CSDN: http://download.csdn.net/detail/thisnameokbu/8514263
AppServ: Version appserv-win32-2.5.10.exe. Installing AppServ can replace the individual installation of Apache, PHP, MySQL, and phpMyAdmin. CSDN download link: https://download.csdn.net/download/qiuchi1975/11328814
Other software can be searched and downloaded online for direct use!
How to Install Snort on Windows XP
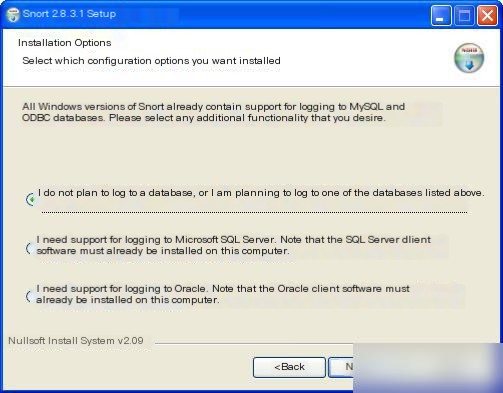
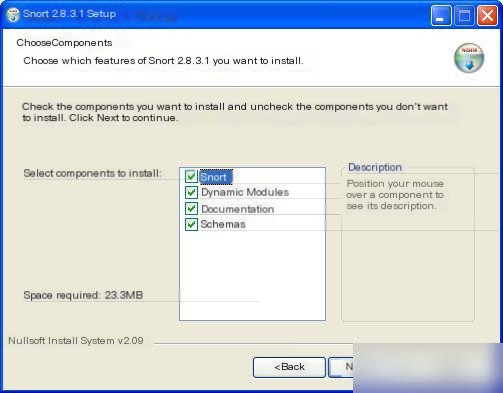
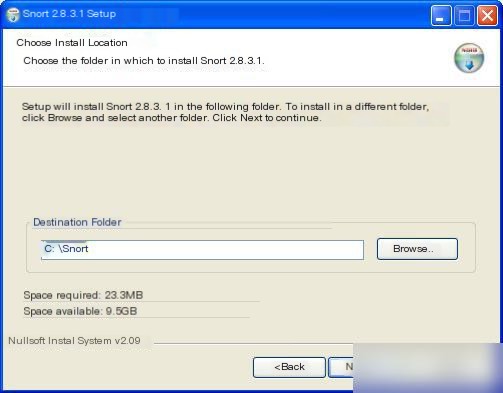
Run snort-2.8.3.1.Installer.exe 
After installing Snort 2.8.3.1, the “rules” folder lacks files. Higher versions of Snort do not include rule libraries as they are only provided to registered or paid users, not free users. [Solution: You can download some free rules from the Snort official website, www.snort.org, or search for downloads using Baidu].
Install WinPcap
This software installation is straightforward, just keep clicking “Next” until it is done!
Install AppServ
Select the installation directory as C:\AppServ
Refer to: http://jingyan.baidu.com/article/91f5db1bf72ac01c7f05e3a7.html [Note:]
(1) Administrator’s Email Address: Enter the email address of the administrator. If IIS is already installed and running on your machine with the Web Server started, there may be a conflict since IIS Web Server listens on TCP port 80 by default, conflicting with Apache Web Server. You can either change the listening port for Apache Web Server or disable/uninstall IIS. Here, set the listening port to 8080, then click “Next”.
(2) After installation, rename the php.ini-dist file in C:\AppServ\php5 directory to php.ini, and start Apache and MySQL (they start automatically by default).
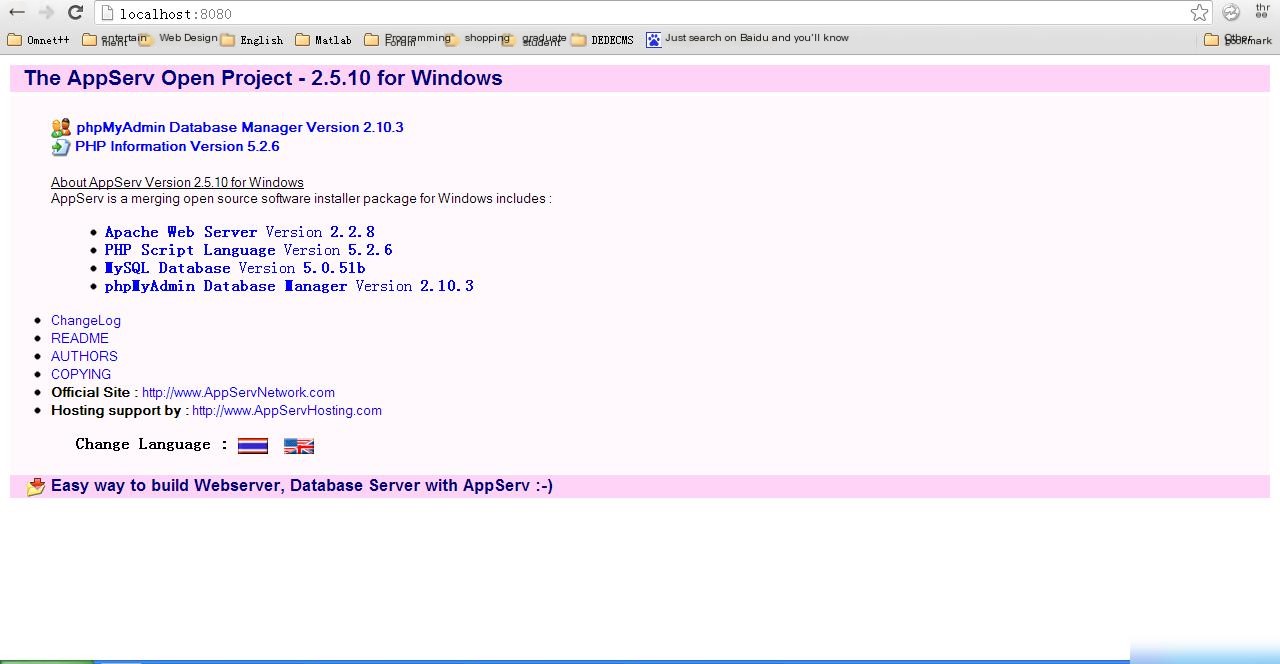
After successfully installing AppServ, enter http://localhost:8080/ in the browser, and you will see the following screen:
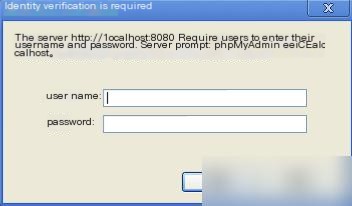
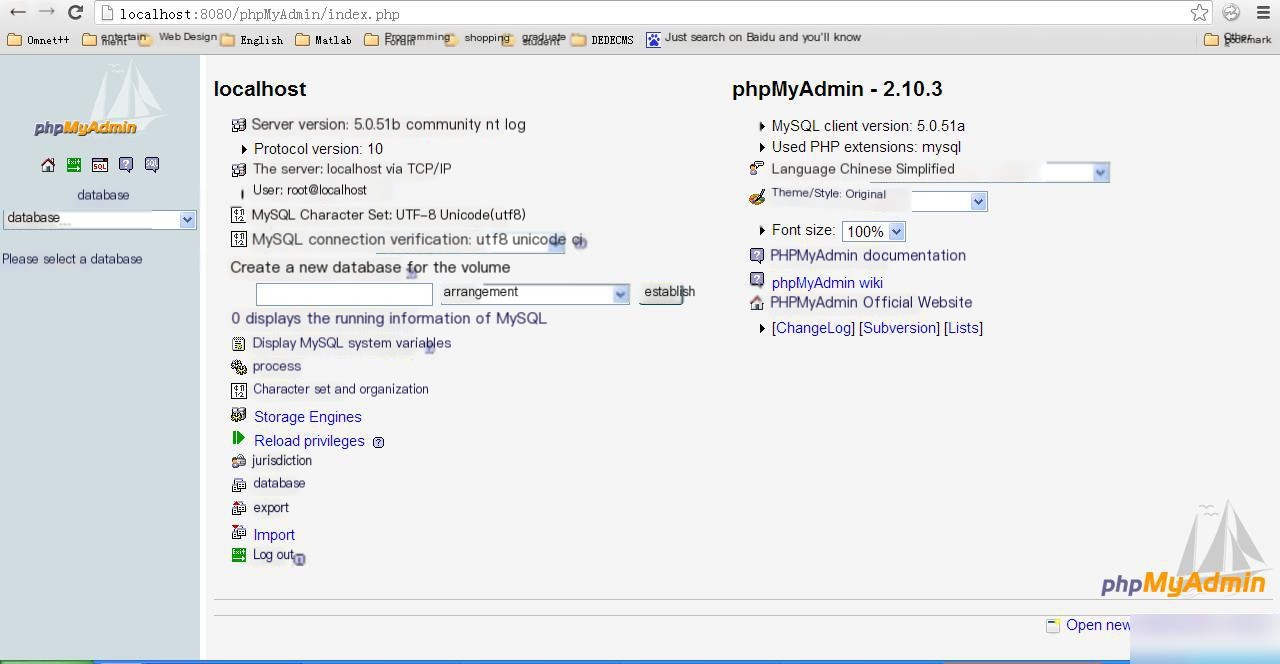
In the browser address bar, enter: http://localhost:8080/phpMyAdmin/index.php, you will see the following screen:
Username: root
Password: The password you set during installation
The interface will look like this:
(3) Configure AppServ
AppServ’s configuration for phpMyAdmin might not be suitable, so some adjustments are necessary.
Step 1: Edit the Apache server configuration file
Open the httpd.conf file located in the Apache2.2\conf directory of your installation directory, ensuring ServerName localhost:8080 and DocumentRoot “C:/AppServ/www”
Step 2: Edit the key file in phpMyAdmin
Open the config.default.php file located in C:\AppServ\www\phpMyAdmin\libraries directory, and it is recommended to make the following changes:
(a) Set the URL of phpMyAdmin, $cfg[‘PmaAbsoluteUri’] = ‘ http://localhost:8080/phpMyAdmin/’; assuming phpMyAdmin is in the root directory of the default site
(b) Set the root password, $cfg[‘blowfish_secret’] = ‘XXXX’; where XXXX is the root password you set.
(c) $cfg[‘DefaultLang’] = ‘zh-gb2312’;
(d) $cfg[‘DefaultCharset’] = ‘gb2312’;
(e) $cfg[‘Servers’][i][‘auth_type’] = ‘config’;
$cfg[‘Servers’][i][‘user’] = ‘root’; // MySQL user
Step 3: Configure PHP Initialization File php.ini
Path (might be C:\WINDOWS\php.ini or C:\AppServ\php5\php.ini. If php.ini is not in C:\WINDOWS, copy it from C:\AppServ\php5):
plaintext
;open_basedir=C:\AppServ\www
magic_quotes_gpc=Off
file_uploads=Off
Step 4: Configure MySQL. First, create the Snort and Snort_archive databases required for Snort to run:
Open cmd and input the following command:
shell
cd C:\AppServ\MySql\Bin
This navigates to the MySQL directory. Then, input:
shell
mysql -uroot -p
Enter your database password. Upon correct entry, you will enter the MySQL database with the prompt changing to mysql>. Proceed to create the databases:
sql
create database snort;
create database snort_archive;
Step 5: Use the create_mysql script in C:\Snort\schemas to establish the required data tables for Snort runtime
We use version 2.8.3 because versions above 2.9 do not offer the create_mysql script, and using it directly may cause numerous issues. First, exit MySQL by typing `exit` and hit enter, then navigate to C:\AppServ\MySQL\bin again to create the tables:
shell
mysql -D snort -u root -p < C:\Snort\schemas\create_mysql mysql -D snort_archive -u root -p < C:\Snort\schemas\create_mysql Upon executing the create_mysql script, users can validate the configuration by running SQL queries like `use snort` (or `use snort_archive`) and then `show tables`. Step 6: Establish ACID and Snort users on the Apache server host (default to localhost) and assign appropriate permissions and access passwords, allowing ACID to access the MySQL backend database files related to Snort.
shell
mysql -uroot -p
Enter your database password, log in, and create users:
sql
grant usage on *.* to “acid”@“localhost” identified by “acidtest”;
grant usage on *.* to “Snort”@“localhost” identified by “snorttest”;
grant usage on *.* to “snort”@“localhost” identified by “snorttest”;
grant select, insert, update, delete, create, alter on snort.* to “acid”@“localhost”;
grant select, insert on snort.* to “Snort”@“localhost”;
grant select, insert on snort.* to “snort”@“localhost”;
grant select, insert, update, delete, create, alter on snort_archive.* to “acid”@“localhost”;
set password for “snort”@“localhost”=password(‘snorttest’);
set password for “acid”@“localhost”=password(‘acidtest’);
These commands create the acid and snort users with passwords acidtest and snorttest, respectively. You can change passwords using the final two lines if needed.
## Install Adodb, JpGraph, and ACID
Extract and copy adodb and jpgraph to the C:\AppServ\php5 directory, creating C:\AppServ\php5\adodb and C:\AppServ\php5\jpgraph directories, respectively. Copy acid to C:\AppServ\www to create C:\AppServ\www\acid (ensure there are no version numbers in folder names!).
Next, modify the acid_conf.php file in C:\AppServ\www\acid:
php
$DBlib_path = “C:\AppServ\php5\adodb”;
$alert_dbname = “snort”;
$alert_host = “localhost”;
$alert_port = “”;
$alert_user = “acid”;
$alert_password = “XXXX”;
$archive_dbname = “snort_archive”;
$archive_host = “localhost”;
$archive_port = “”;
$archive_user = “acid”;
$archive_password = “XXXX”;
After configuration, open a browser and visit http://localhost:8080/acid/acid_db_setup.php. If there are no errors, the ACID database creation interface should appear; click “create database.” If successful, use `use snort` and `show tables` in MySQL to see tables starting with acid.
Configure Snort
Finally, edit C:\Snort\etc\snort.conf. Modify the monitored network segment; if your virtual machine IP is 192.168.220.10, set HOME_NET to:
plaintext
var HOME_NET 192.168.220.0/24
classification.config and reference.config, included in the main snort.conf file, provide info on snort rule classification and reference URLs for alert information, typically located in the same directory as snort.conf. Specify their directories in snort.conf; use absolute paths if moved:
plaintext
include classification.config
include reference.config
To absolute paths:
plaintext
include C:\Snort\etc\classification.config
include C:\Snort\etc\reference.config
Modify include paths:
plaintext
dynamicpreprocessor directory C:\Snort\lib\snort_dynamicpreprocessor
dynamicengine C:\Snort\lib\snort_dynamicengine\sf_engine.dll
Set Snort to output alerts to the MySQL server:
plaintext
output database: alert, MySql, host=localhost user=snort password=snort dbname=snort encoding=hex detail=full
Then, copy downloaded rules to the snort/rules folder.
Begin Testing
Open a browser and visit http://localhost:8080/acid/acid_main.php. If configured correctly, the ACID console graphical interface should appear!
Open cmd, input cd C:\snort\bin to enter the Snort runtime directory, and run the command:
shell
snort -c “C:\Snort\etc\snort.conf” -l “C:\Snort\log” -d -e -X -v -i 2
The final “2” relates to the number of network interfaces used. Ensure Apache and MySQL services are running! If configured correctly, Snort should be running and logging to C:\Snort\log.
Ignore messages like “Not Using PCAP_FRAMES,” ping the virtual machine IP, and check if cmd captures packets.
Add custom rules in local.rules in C:\Snort\rules to display monitored info in the ACID console! Sample rule statements:
plaintext
alert icmp any any -> $HOME_NET any (msg:”icmp Packet”; sid:1234567890; rev:1;)
alert tcp any any -> $HOME_NET any (msg:”Web Access”; sid:11111111;)
alert udp any any -> $HOME_NET any (msg:”udp access”; sid:22222222;)
Monitor icmp, tcp, udp packets respectively.
After pinging, refreshing the ACID console should show 8 alerts for captured ICMP packets.
We’ve successfully completed the setup!
Common Errors
1. Error at http://localhost:8080/acid/acid_db_setup.php
Modify based on error type. If errors relate to acid@localhost or snort@localhost, ensure user creation and permission grants were correct. Retrying with correct case sensitivity may solve it. As an example, two users (snort and Snort) were created due to past issues with this step.If you encounter errors indicating that PHP does not support MySQL, it is likely due to an issue in your php.ini file where the PHP support for MySQL is commented out. You can resolve this by searching for the solution online.
2. Error Not Using PCAP_FRAMES after starting Snort
This error is due to issues with the dynamicpreprocessor directory C:\Snort\lib\snort_dynamicpreprocessor and the dynamicengine C:\Snort\lib\snort_dynamicengine\sf_engine.dll. However, this does not significantly impact the usage!
3. Error indicating a rule issue under the rules directory after starting Snort
Open the file containing the error, comment out the problematic rule indicated by the error, and run Snort again. If the error reoccurs, repeat the process until Snort runs without flagging rule issues.
4. Snort captures packets in cmd, but the acid console does not refresh to display them
This issue arises because you have not set the appropriate rules. Add your own rules in the local.rules file located in the C:\Snort\rules directory. Refer to the sample rules mentioned above.
If other errors occur, feel free to contact me for assistance.
Advanced Features
To log Snort operation files into a database, you can configure Snort to support this. Modify the snort.conf file by uncommenting:
output database: log, mysql, user=snort password=snorttest dbname=snortlog host=localhost
output database: alert, mysql, user=snort password=snorttest dbname=snortalert host=localhost
Enter your database name, password, etc.
The example above assumes you have already created log databases named snortlog and snortalert and input the relevant information.
Create these databases similarly to how you created the snort database. First, create snortlog, then use the create_mysql script to create the necessary tables, and finally use the grant statements to assign permissions for snortlog and snortalert to the snort and acid users, allowing these users to access the log databases.
To view the logs, log into the database, use the snortlog, and then input the command select * from event;
You should see the corresponding log records!
Special thanks to thisnameokbu for their comprehensive tutorial on integrated Snort installation in WinXP, which was immensely helpful! This tutorial heavily references their work. More details on the installation process and solutions to common errors are provided in this article.