
Snort is a powerful multi-platform, real-time traffic analysis, network IP packet logging, and other features network intrusion detection/prevention system, known as NIDS/NIPS.
Installation System: Virtual Machine CentOS7
First, install the web service components LAMP Apache
#apache
yum install httpd httpd-devel

#start apache
systemctl start httpd

#enable startup on boot
systemctl enable httpd

#firewall settings to open port 80
firewall-cmd --permanent --zone=public --add-service=http
firewall-cmd --permanent --zone=public --add-service=https
firewall-cmd --reload

#check port 80
yum install lsof lsof -i:80
Visit the IP, if you see the following page, the installation was successful 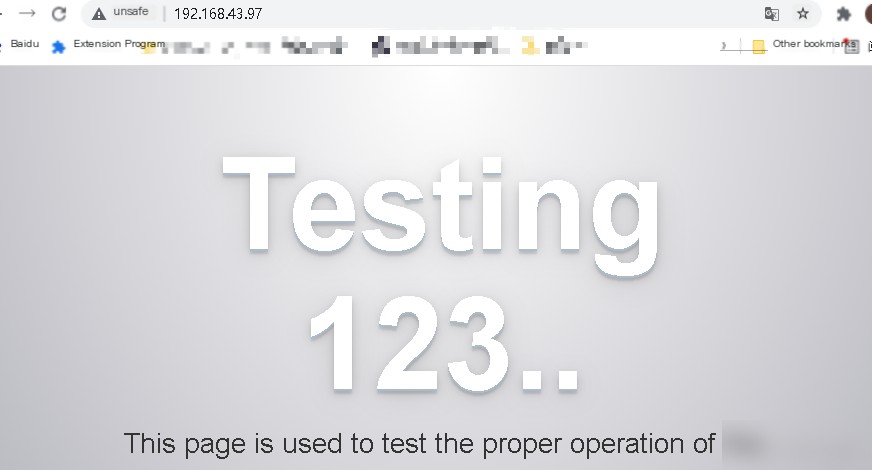
MySQL Installation
yum install wget (no need to install if wget is already installed)
wget http://repo.mysql.com/mysql-community-release-el7-5.noarch.rpm

#install mysql-community-release-el7-5.noarch.rpm package
rpm -ivh mysql-community-release-el7-5.noarch.rpm

#after installation, two yum source files will be added to /etc/yum.repos.d/ directory: mysql-community.repo, mysql-community-source.repo. #navigate to /etc/yum.repos.d/ to install MySQL
yum install mysql-server

#check installation success
rpm -qa | grep mysql

#start MySQL service
systemctl start mysqld.service
systemctl enable mysqld.service

#MySQL security settings
mysql_secure_installation
PHP Installation
yum install php
yum install php-mysql
yum install -y php-gd php-ldap php-odbc php-pear php-xml php-xmlrpc php-mbstring php-snmp php-soap
##restart apache after php installation to take effect
systemctl restart httpd.service
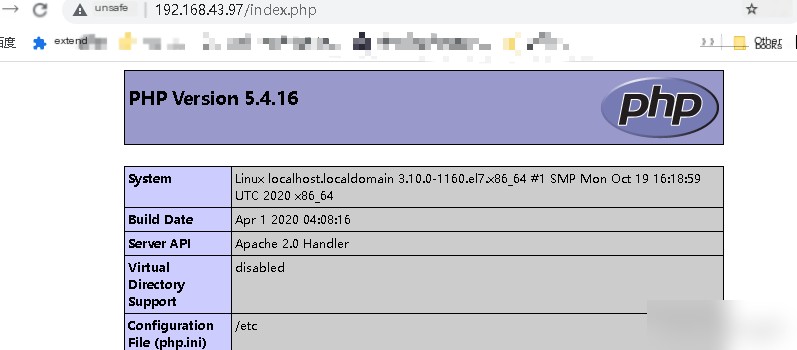
#test php by creating an index.php file in the root directory /var/www/html/
write:
visit ip/index.php, if the phpinfo page appears, the installation is complete
Getting to the Point – Snort Installation Install dependencies
yum install gcc flex bison zlib zlib-devel libpcap libpcap-devel pcre pcre-devel libdnet libdnet-devel tcpdump
yum -y install epel-release
yum -y install nghttp2
DAQ and Snort Installation
yum install https://www.snort.org/downloads/snort/daq-2.0.6-1.centos7.x86_64.rpm
yum install https://www.snort.org/downloads/snort/snort-2.9.9.0-1.centos7.x86_64.rpm
Manual download URL:
https://www.snort.org/downloads
Download these two 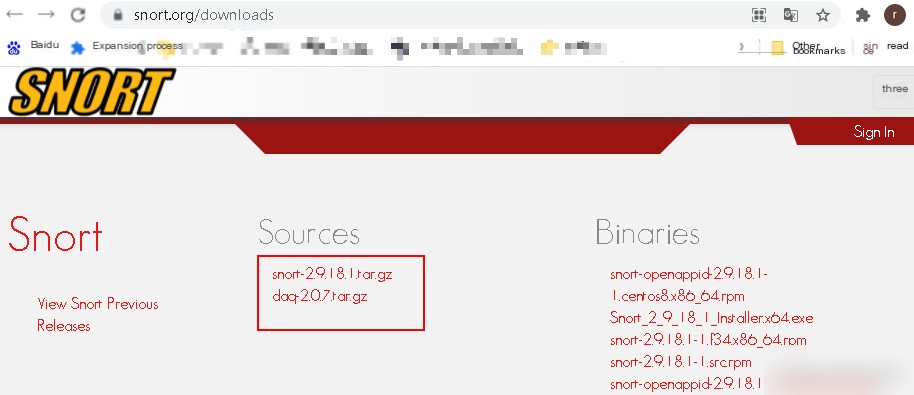

After downloading, extract and compile
tar -xvzf daq-2.0.7.tar.gz
cd daq-2.0.7
./configure
make & make install
tar -xvzf snort-2.9.18.1.tar.gz
cd snort-2.9.18.1
./configure --enable-sourcefire
make & make install
During ./configure, it prompts us that the LuaJIT library is not present. We visit the suggested website to download it 
Click download 
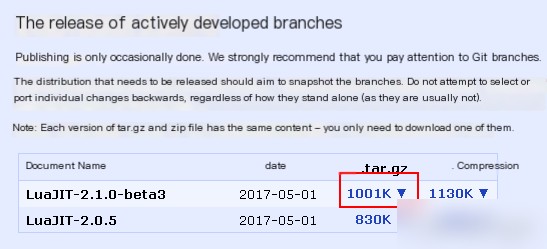
Copy the link address and download with wget
wget https://luajit.org/download/LuaJIT-2.1.0-beta3.tar.gz --no-check-certificate

#extract
tar -xvzf LuaJIT-2.1.0-beta3.tar.gz

##navigate to src directory
cd LuaJIT-2.1.0-beta3/src & make

#then move to the parent src directory for make install
cd .. & make install
After completion, re-enter the snort directory ./configure
cd snort-2.9.18.1
./configure --enable-sourcefire
make & make install
However, it prompts again for a missing openssl library 
Next, download openssl
yum install openssl
yum install openssl-devel
Revisit the snort directory ./configure
cd snort-2.9.18.1
./configure --enable-sourcefire
make & make install
This time the compilation was successful
Test if the installation was successful
snort -V
The following style indicates the installation is complete 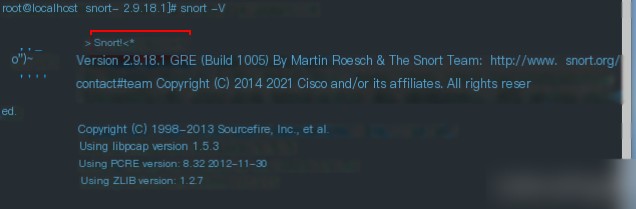 Next, configure Snort to use the environment