

Python API: Man In The Middle
MITM is an acronym for Man In The Middle, meaning a person in the middle, indicating that mitmproxy is a proxy that can intercept requests and capture network traffic. Well-known network capture tools include Fiddler, Charles, HttpWatch, WireShark, BurpSuite, and Postman. In comparison, mitmproxy is not as widely recognized. Its unique advantage over these tools is that it provides a Python API, allowing you to write Python code to record network traffic, collect interface information, and convert it into automated test cases, among other functions. The official mitmproxy documentation not only introduces the use of the mitmproxy tool but also the principles of proxy implementation, which greatly aids in our understanding and mastery of network knowledge.
Installation and Usage of Python API
Installing the Python API via pip
Code language: JavaScriptCopy
pip install mitmproxyMitmproxy is developed in Python and can be installed successfully using pip. Although the official site provides binary installation packages and other methods, I feel that using pip for a Python-developed tool is more Pythonic.
Command Launch
Mitmproxy can be launched using three commands:
- mitmproxy Console
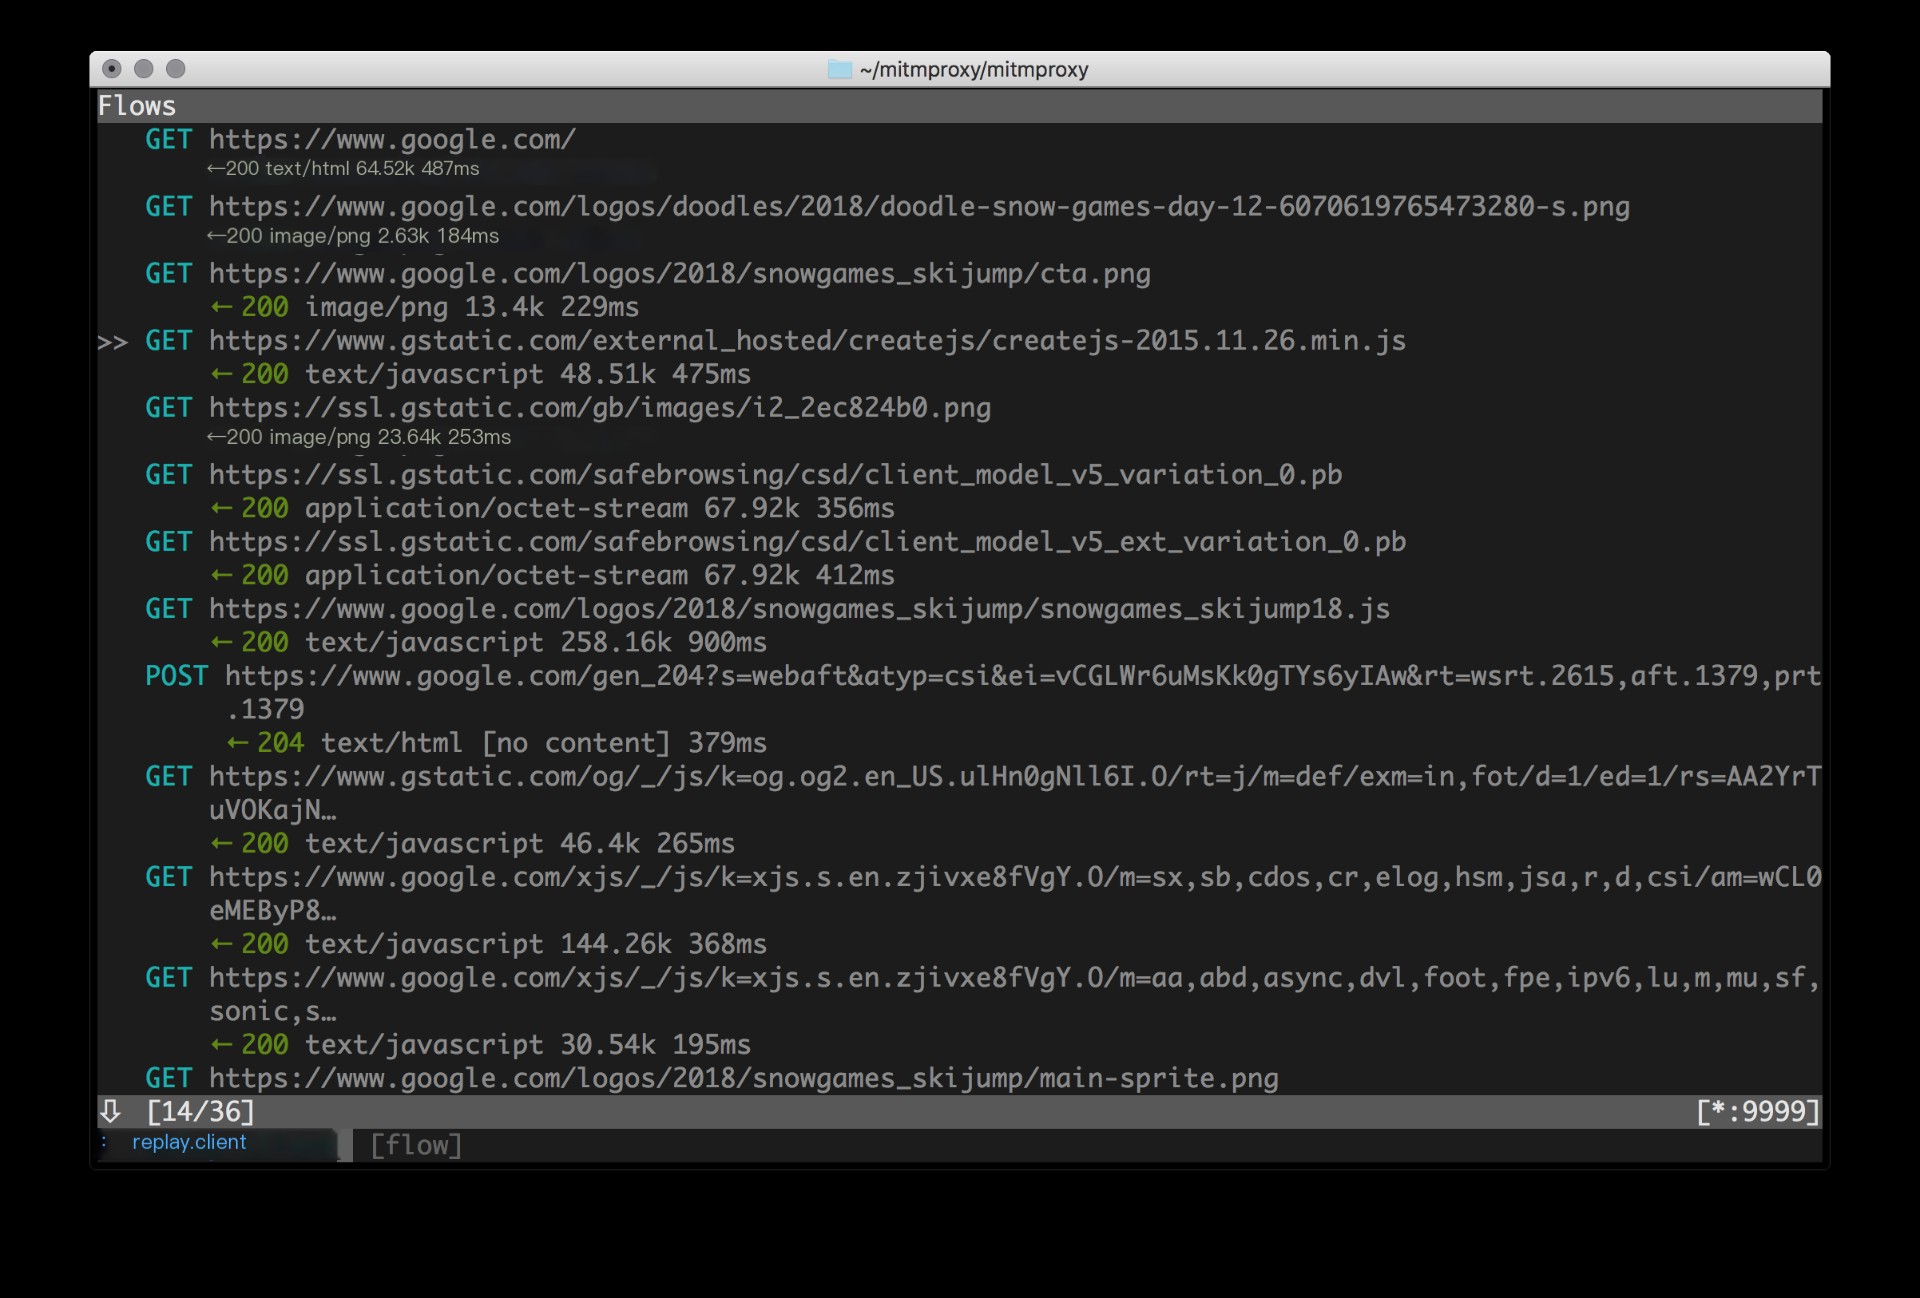 >
>
- mitmweb Web Interface
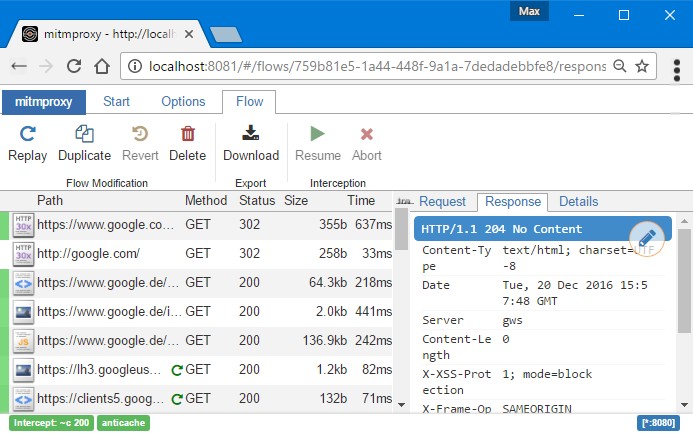 >
>
- mitmdump Command Line
Their functionalities are the same; only the UI differs.
Manual Proxy Setup
After launching, mitmproxy will, by default, listen to http://localhost:8080, requiring proxy settings to redirect to this address.
On Windows, you can set it like this:
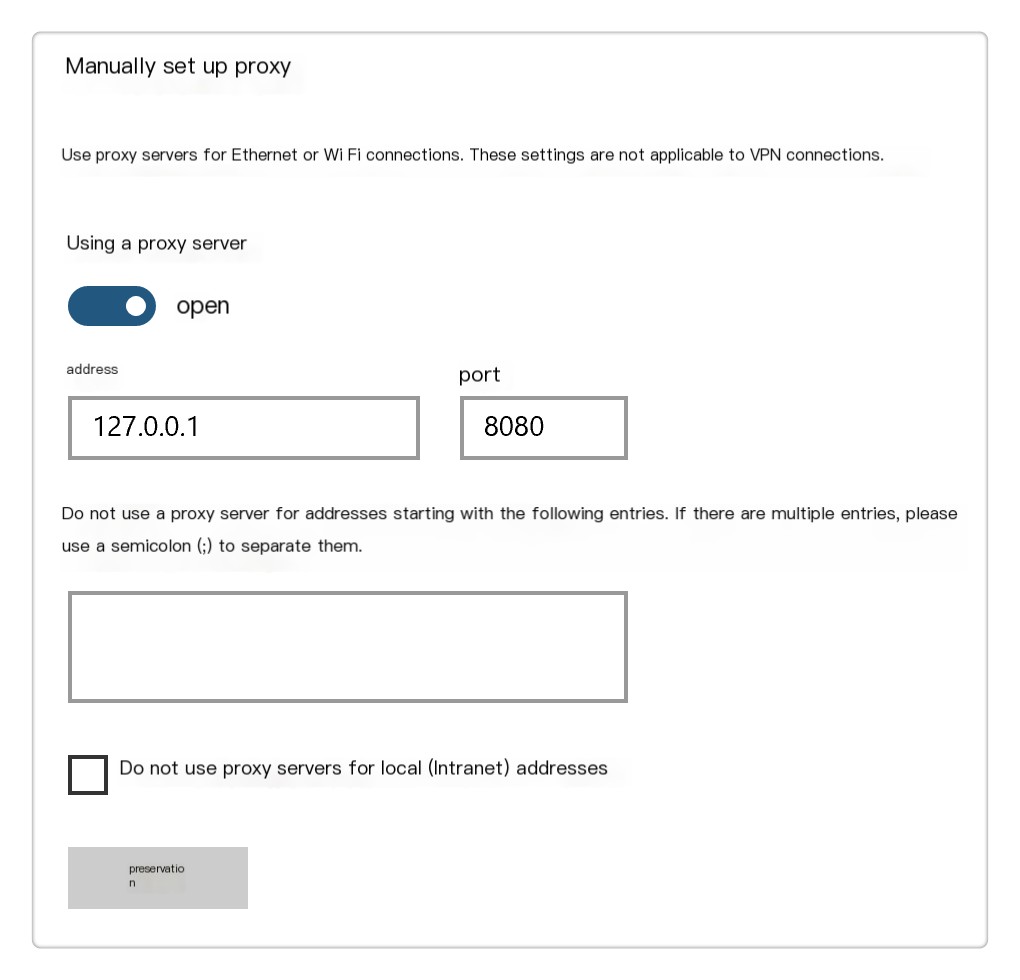
Remember to click the save button after setting; otherwise, the proxy will not take effect.
In fact, other network capture tools like Charles automatically configure the proxy, but mitmproxy requires manual setup because browser versions and configurations often change. The development team recommends searching online for methods to manually set it according to your environment.
Downloading Certificates
Visit http://mitm.it/. If the proxy configuration has not taken effect, the page will look like this upon opening:

If everything is working, a certificate download page will appear:
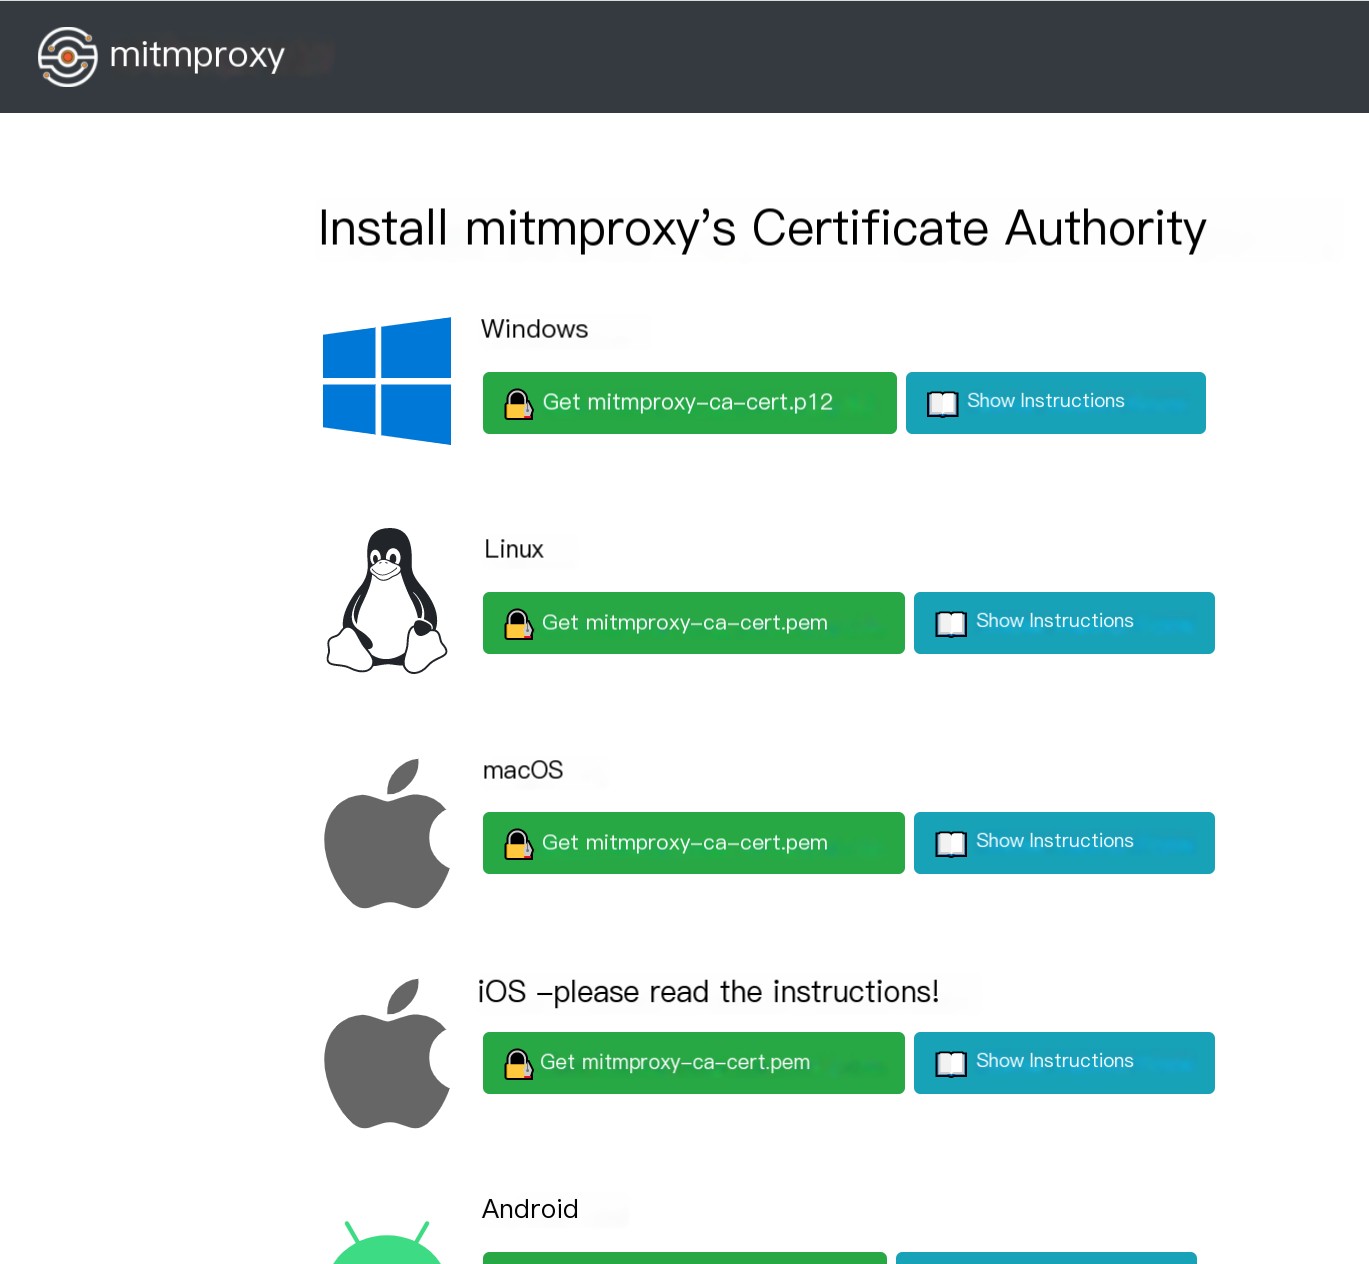
Select the appropriate certificate for your platform and install it.
Usage
Mitmproxy is used similarly to other traffic capture tools.
The official site provides a video demonstration on how to use mitmproxy:
https://docs.mitmproxy.org/stable/mitmproxytutorial-userinterface
and introduces five operating modes:
https://docs.mitmproxy.org/stable/concepts-modes
Readers can read more on their own.
How mitmproxy Works
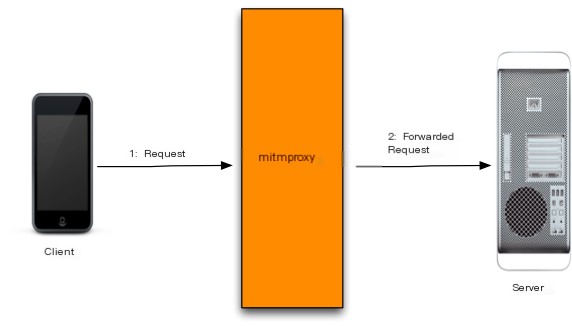
- The client (the machine) connects to the proxy server (http://127.0.0.1:8080), and the proxy server connects to the server.
- The client sends requests to the proxy server, which then forwards the requests to the server.
All requests passing through mitmproxy can be intercepted.
For HTTP requests, they can be transmitted through mitmproxy without issues. For HTTPS, due to SSL/TLS security certification, certificates must be installed for the server to recognize mitmproxy’s requests as trustworthy, thus allowing successful transmission.
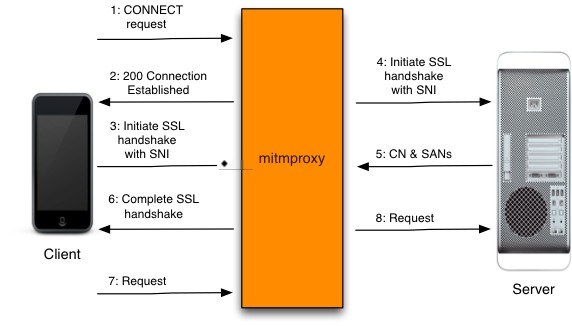
The HTTPS proxy process is more complex, with the client first establishing a connection with mitmproxy (12 steps), performing security certification (36 steps), and finally transmitting the request (7~8 steps).
Reverse Proxy
Assume a Mock service is started locally using FastAPI with the address http://127.0.0.1:5000. Using Postman to call the interface, how can mitmproxy be used to intercept requests? Here, reverse proxy comes into play.
First, run mitmproxy in reverse proxy mode. The server port is 5000, and the listening port is 8000:
Code language: JavaScriptCopy
mitmproxy --mode reverse:http://127.0.0.1:5000 --listen-host 127.0.0.1 --listen-port 8000Then, change the port 5000 in the request http://127.0.0.1:5000/login to 8000, and access:
This way, you can capture requests with mitmproxy:

This allows you to debug intercepted requests with Python code using Mock services locally.
No manual proxy setup is required on the machine when using reverse proxy.
Python API
The Python API is a standout feature of mitmproxy:
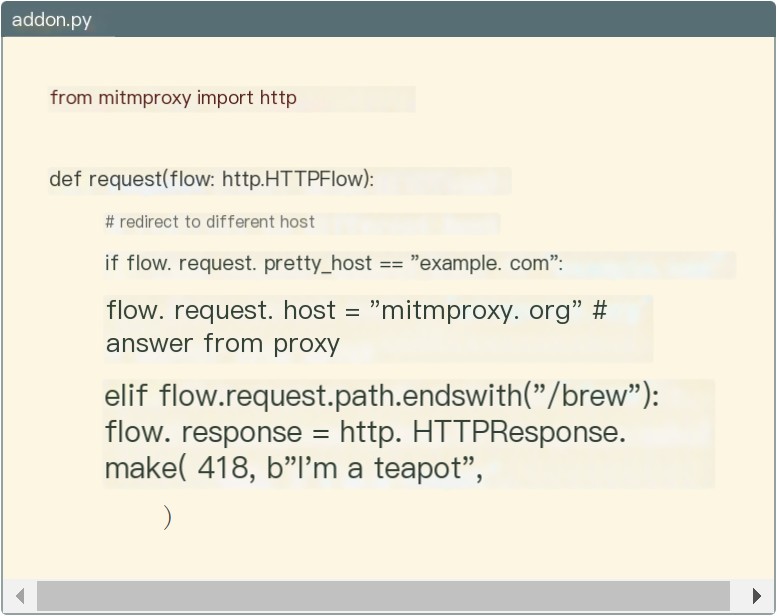
It allows processing of intercepted requests within Python code.
The addons provide many hook functions, such as request:
Code language: JavaScriptCopy
"""Basic skeleton of a mitmproxy addon.Run as follows: mitmproxy -s anatomy.py"""from mitmproxy import ctxclass Counter: def __init__(self): self.num = 0 def request(self, flow): self.num = self.num + 1 ctx.log.info("We've seen %d flows" % self.num)addons = [ Counter()]response:
Code language: JavaScriptCopy
"""Add an HTTP header to each response."""class AddHeader: def __init__(self): self.num = 0 def response(self, flow): self.num = self.num + 1 flow.response.headers["count"] = str(self.num)addons = [ AddHeader()]Use the -s parameter when launching to specify the script:
Code language: JavaScriptCopy
mitmdump -s ./anatomy.pyThe code will take effect when requests are intercepted.
For more hook functions, refer to the official documentation:
https://docs.mitmproxy.org/stable/api/events.html
This explanation will not go into further detail here.
Regarding how to use mitmproxy to record traffic and automatically generate automation test cases, I will integrate it into the next version of tep upon development completion. Please stay tuned for more information.