This post lists various methods to prevent SSH brute force attacks, which can be used to harden Linux servers.
- fail2ban
- pam
- Google Authenticator Two-Factor Authentication (2FA)
fail2ban
Installing Fail2Ban
 sudo yum install epel-release
sudo yum install fail2ban
Configuring Fail2Ban
After installation, you need to configure Fail2Ban. First, copy the default configuration file to create a custom configuration file.
sudo cp /etc/fail2ban/jail.conf /etc/fail2ban/jail.local
Open the /etc/fail2ban/jail.local file, find the [sshd] section, and configure it as follows:
 [sshd]
enabled = true
port = ssh
filter = sshd
#logpath = /var/log/auth.log
logpath = /var/log/secure
maxretry = 5
bantime = 3600
findtime = 600
enabled: Enable SSH monitoring.port: SSH service port, default isssh(22).filter: Use thesshdfilter.logpath: Path to the SSH log file. For Debian/Ubuntu systems, it is/var/log/auth.log, and for CentOS/Fedora, it is/var/log/secure.maxretry: Maximum retry attempts before triggering a ban.bantime: Ban duration (in seconds).findtime: Time window within which themaxretryattempts must occur to trigger a ban.
Starting and Enabling the Fail2Ban Service
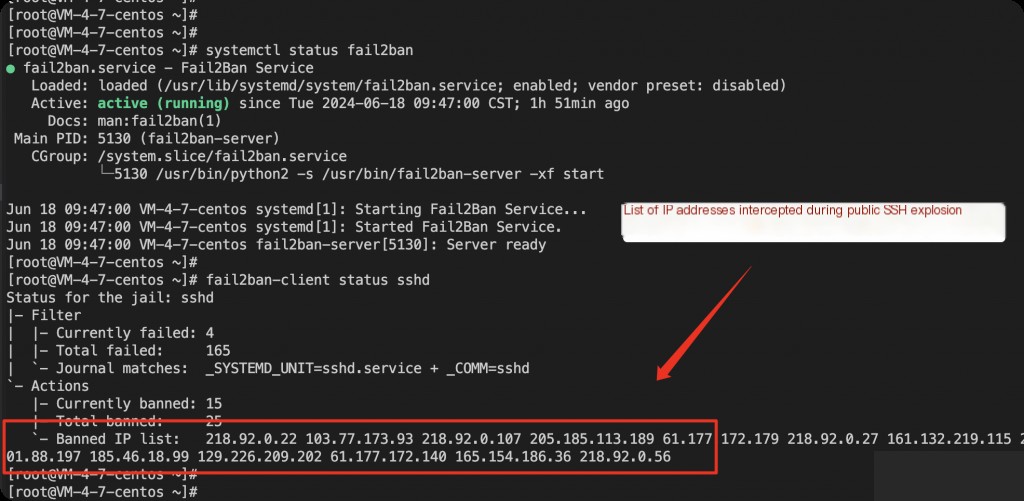
 sudo systemctl start fail2ban
sudo systemctl enable fail2ban
sudo systemctl status fail2ban
fail2ban-client status sshd
Services and Programs Supported by Fail2Ban
Fail2Ban works by monitoring log files for failed login attempts and banning suspicious IP addresses based on configured policies. Therefore, Fail2Ban is a very flexible tool, supporting various services and applications besides the SSH service (sshd). Here are some common services and components that Fail2Ban can protect:
- Web Servers:
- Apache
- Nginx
- Mail Servers:
- Postfix
- Exim
- FTP Servers:
- vsftpd
- Database Servers:
- MySQL
- MariaDB
- Other Services and Applications:
- OpenVPN
- Common Security Logs:
- syslog
- auth.log
- secure
Fail2Ban uses “filters” to parse log files for patterns to detect potential attacks. Each service has its specific filter files located in the /etc/fail2ban/filter.d directory.
PAM
Using PAM (Pluggable Authentication Modules) to prevent SSH brute force attacks is an effective method. Here are the steps to configure PAM to limit SSH login attempts:
Installing PAM Modules
sudo yum install pam -y
Configuring PAM to Limit Login Attempts
Edit the PAM SSH configuration file /etc/pam.d/sshd and add the following line at the top of the file:
auth required pam_tally2.so deny=5 onerr=fail unlock_time=600
pam_tally2.so: This is the PAM module used to track login attempts and enforce lockouts.deny=5: Maximum allowed login attempts. Exceeding this number will lock the account.onerr=fail: Lock the account by default if an error occurs.unlock_time=600: Lockout duration (in seconds). Here, it is set to 600 seconds (10 minutes).
Modifying SSH Configuration File and Restarting SSH Service
Ensure that PAM is enabled in the SSH configuration file /etc/ssh/sshd_config. Find and make sure the following line is not commented out:
UsePAM yes
Restart: After modifying the PAM or SSH configuration files, restart the SSH service to apply the changes:
systemctl restart sshd
Checking and Unlocking Users:
If a user is locked out, you can use the pam_tally2 command to view and unlock users. For example, to view login attempt statistics for all users:
sudo pam_tally2 --reset
To unlock a specific user, use the following command:
sudo pam_tally2 --user=username --reset
Where username is the username to unlock. With the above configuration, if a user attempts to log in more than the set number of times, they will be temporarily locked out, effectively preventing SSH brute force attacks. This method directly limits authentication attempts at the PAM module level, enhancing system security.
Limitations of PAM
Using PAM alone to block brute force login attempts can lead to locking out the root account, which is often the target of most brute force attacks. This could affect legitimate user logins.
Therefore, I do not recommend using PAM alone to prevent SSH brute force attacks. However, combining PAM and Fail2Ban can be effective. Configuring PAM to use Fail2Ban and using Fail2Ban alone can both effectively prevent SSH brute force attacks, but their working methods and configurations differ slightly.
Using Fail2Ban Alone
- Log Monitoring: Fail2Ban monitors log files (such as
/var/log/auth.logor/var/log/secure) to detect failed login attempts. - Triggering Bans: When it detects failed login attempts exceeding the set number, Fail2Ban uses firewall rules (such as iptables) to ban suspicious IP addresses.
Configuring PAM to Use Fail2Ban
- Integration with Authentication Process: Integrating Fail2Ban into the PAM framework allows Fail2Ban’s banning logic to be triggered directly upon authentication failure.
- Real-Time Response: PAM can call Fail2Ban instantly upon authentication failure, without relying on periodic log file scans.
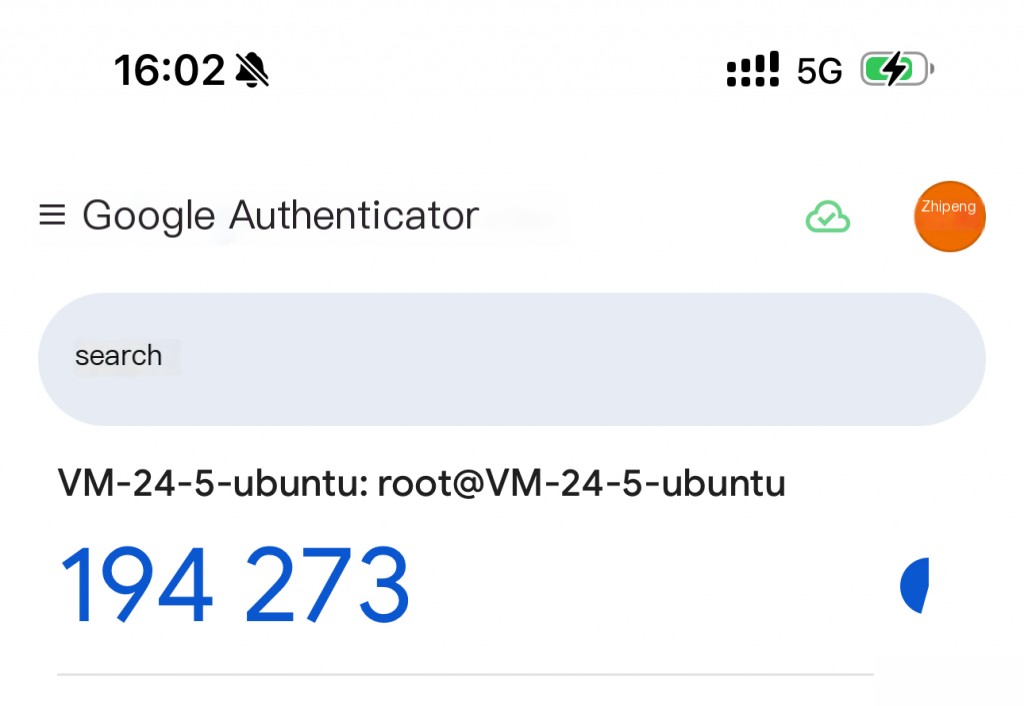
Google Authenticator Two-Factor Authentication (2FA)
Testing shows that using Google Authenticator on CentOS has issues; it is recommended to switch to Ubuntu.
Installing Google Authenticator
sudo apt install git gcc make autoconf automake libtool qrencode libqrencode-dev libpam-google-authenticator -y
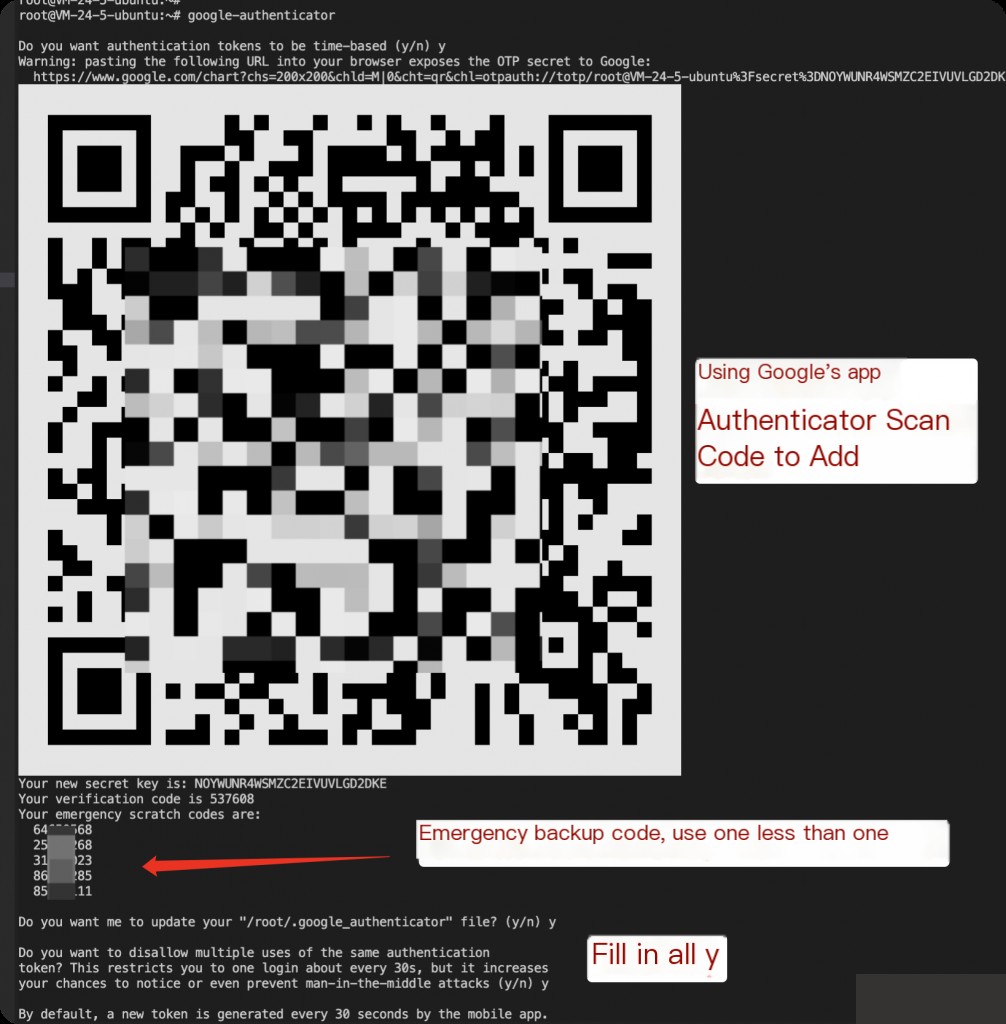
Then run google-authenticator.
google-authenticator
Modifying SSHD and PAM Configuration
Modify /etc/ssh/sshd_config.
 UsePAM yes
ChallengeResponseAuthentication yes
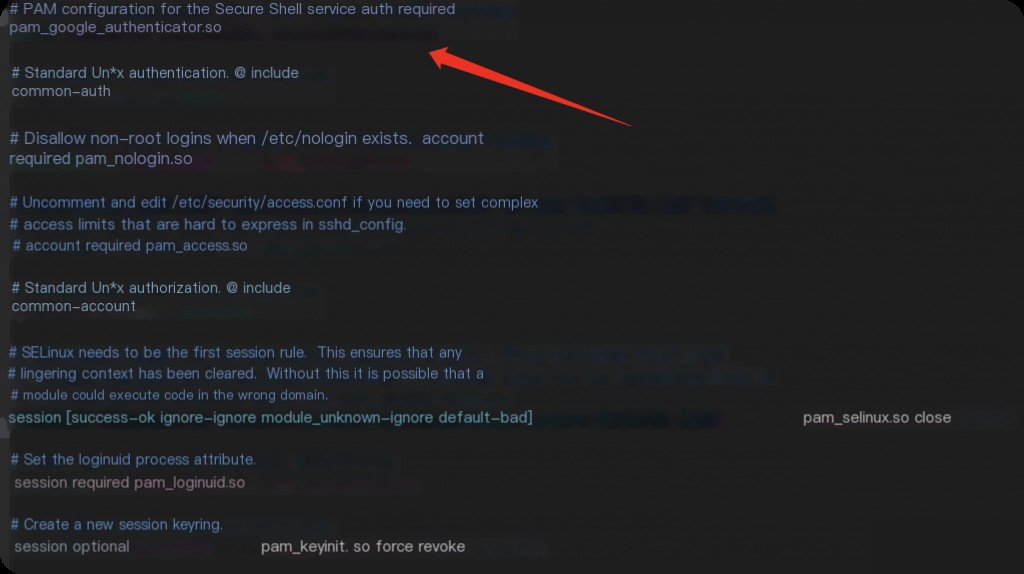
Add the following line at the top of /etc/pam.d/sshd.
auth required pam_google_authenticator.so
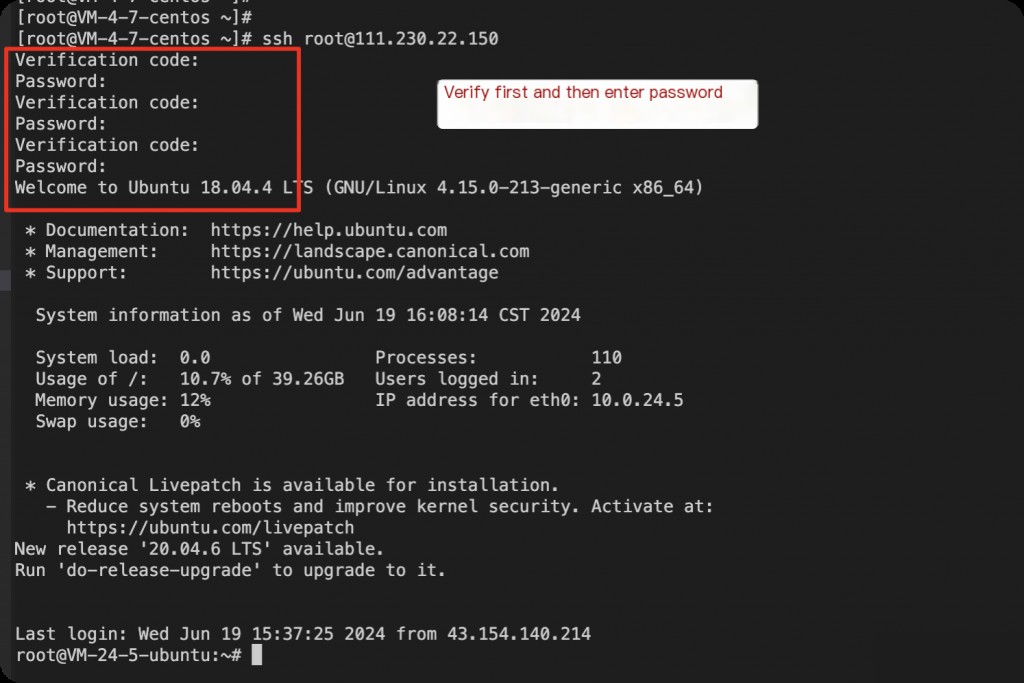
Restart SSHD and Test Login
systemctl restart sshd