
1. Install Snort
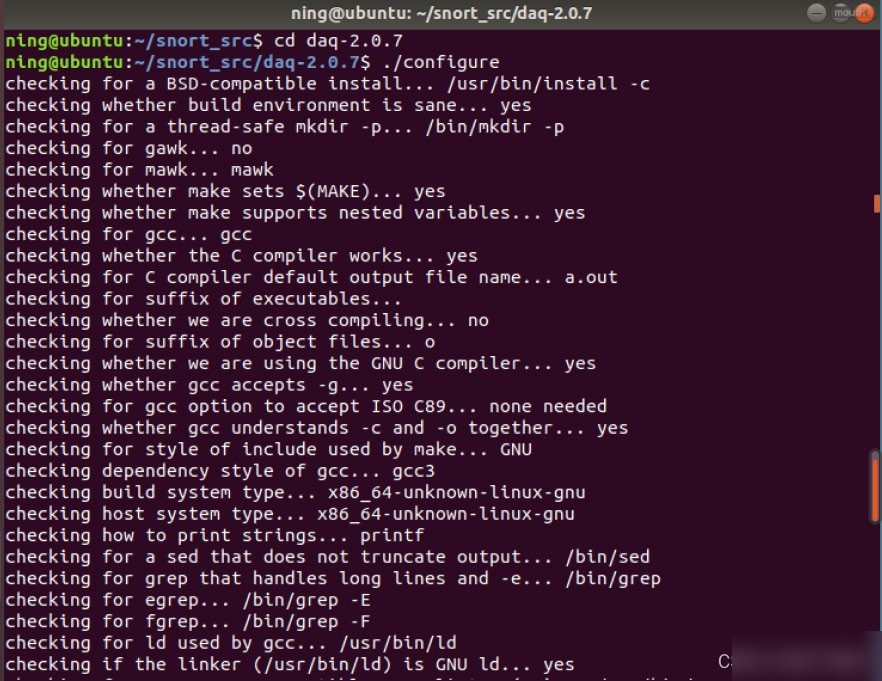
- Install DAQ


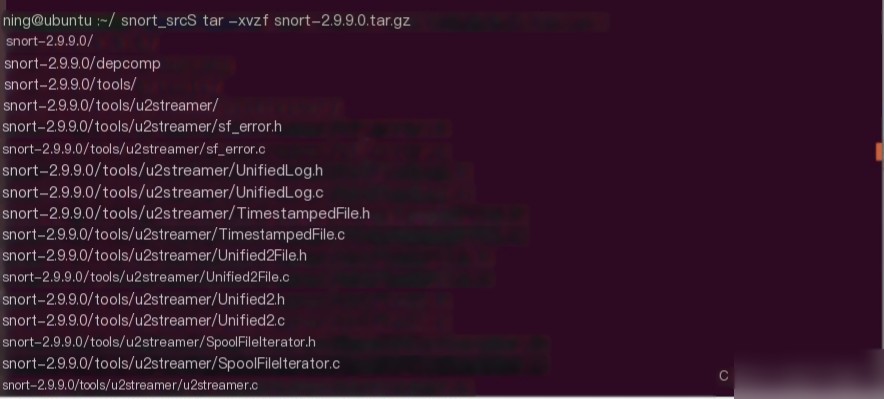
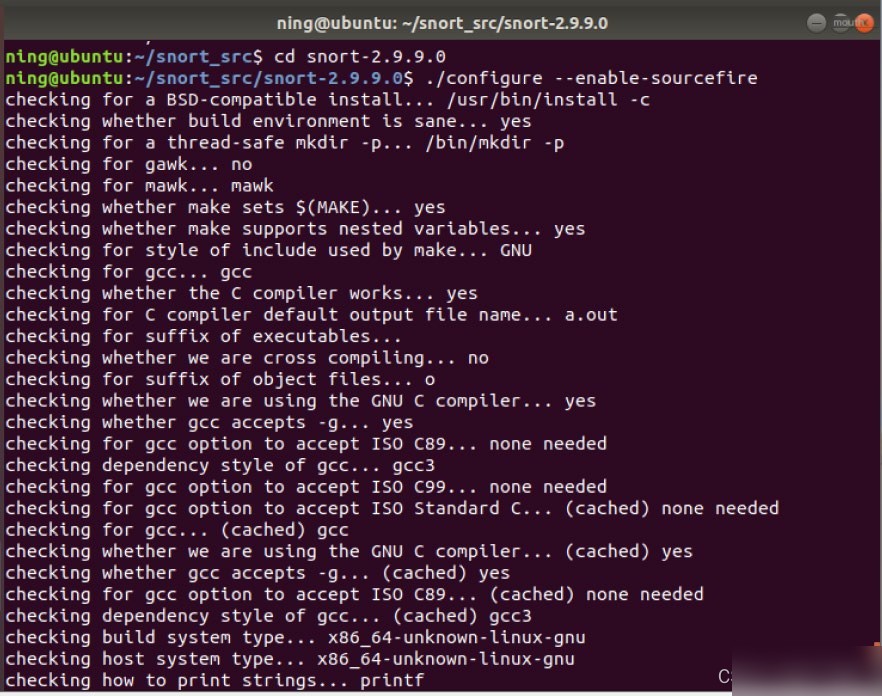
- Install Snort
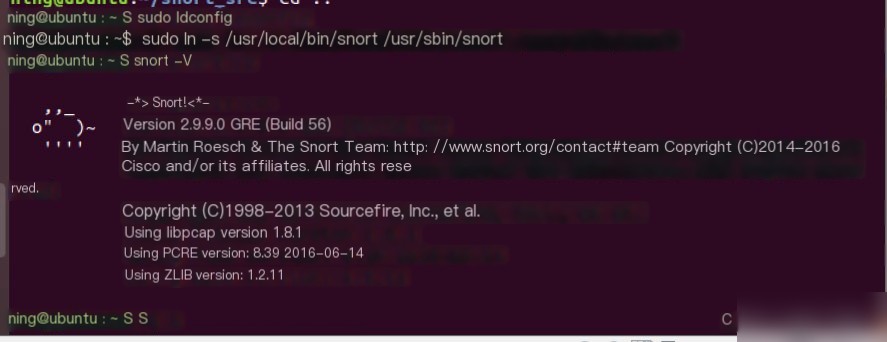
- Test Installation
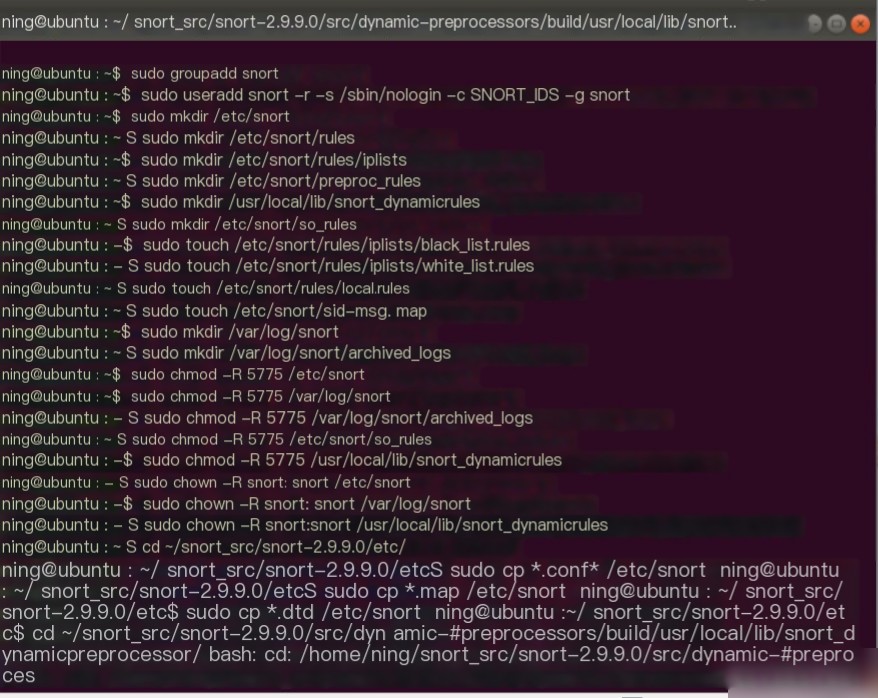
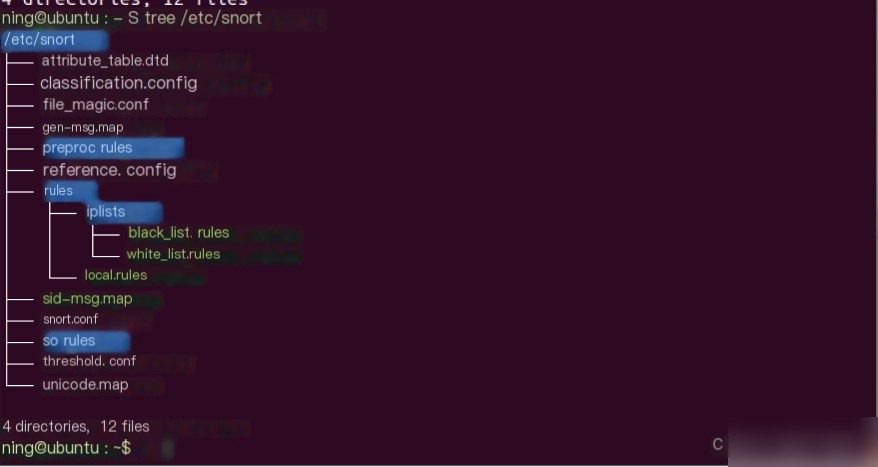
4) Create User Environment, Configuration Directory, & Copy Configuration Files
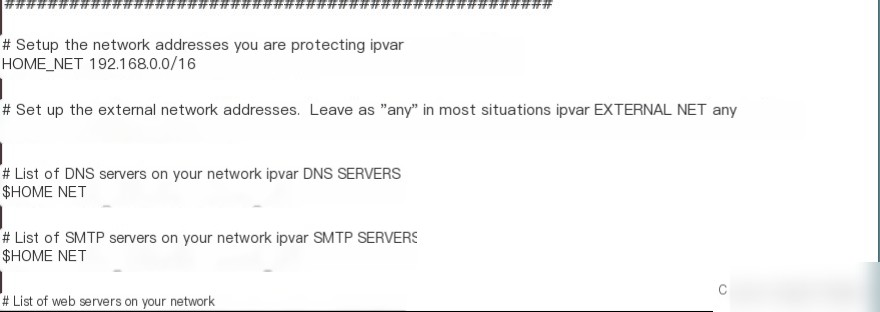
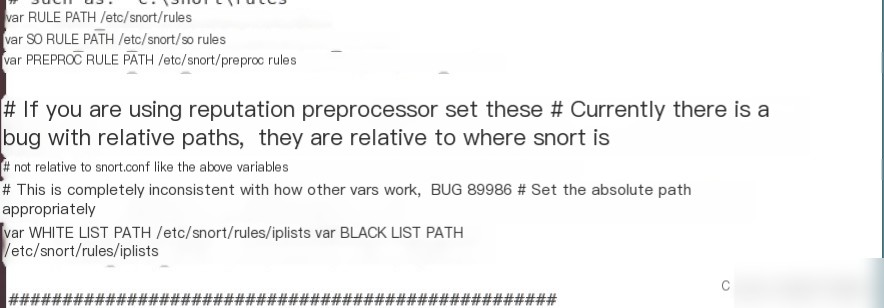
5) Manually Edit `snort.conf` Configuration File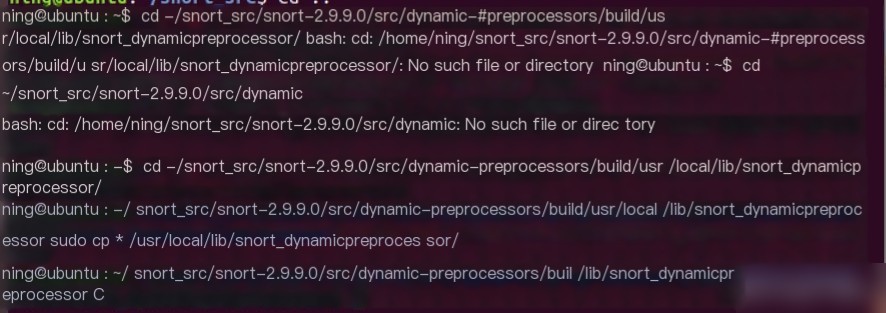

6) Add Local Rules
1. sudo vi /etc/snort/rules/local.rules
2. alert icmp any any -> $HOME_NET any (msg:"ICMP Test detected!!!"; classtype:icmp-event; sid:10000001; rev:001; GID:1;)
3. sudo vi /etc/snort/sid-msg.map
4. #v2
5. 1 || 10000001 || 001 || icmp-event || 0 || ICMP Test detected || url,tools.ietf.org/html/rfc792
- Test Configuration File
- Test Functionality
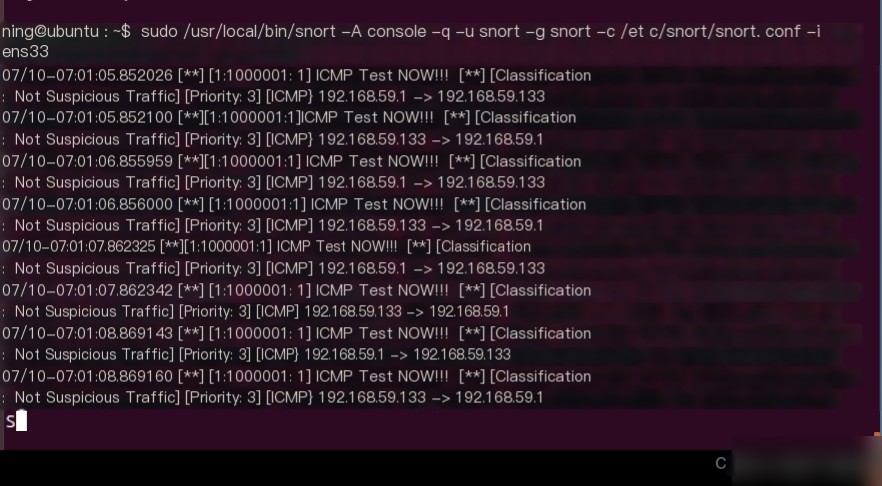
sudo snort -A console -q -u snort -g snort -c /etc/snort/snort.conf -i ens33
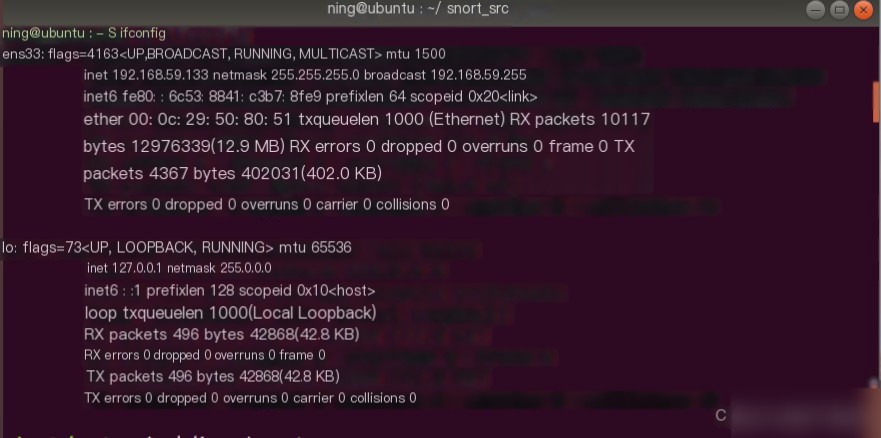
Check the IP address of the host.
At this point, if you ping from outside to the IP of interface `ens33`, Snort will log the attack. The details are stored in `/var/log/snort`, with the file name `snort.log.xxx`.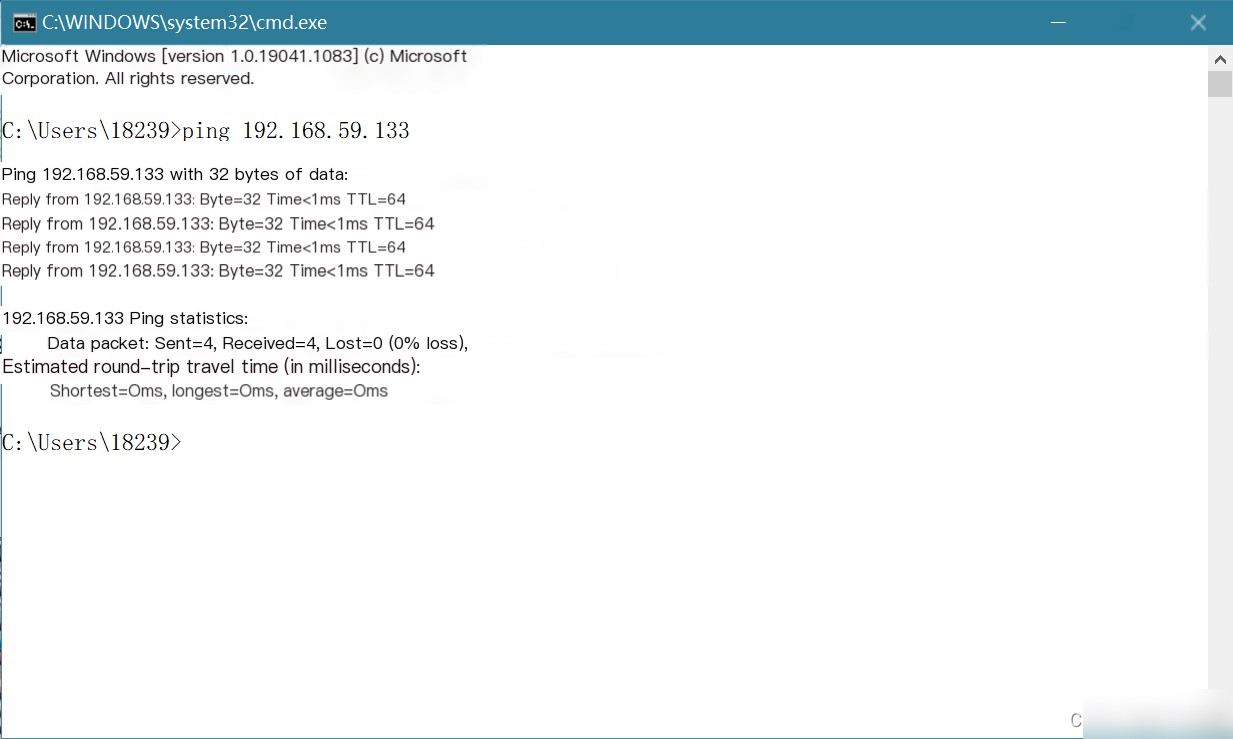
2. Install Barnyard2
- Install MySQL
1. sudo apt-get install -y mysql-server libmysqlclient-dev mysql-client autoconf libtool
- Extract and Compile
2. ./configure --with-mysql --with-mysql-libraries=/usr/lib/x86_64-linux-gnu
3. ./configure --with-mysql --with-mysql-libraries=/usr/lib/i386-linux-gnu
4. sudo make && sudo make install
Here is the translated content, retaining the original formatting, HTML tags, and style:
1. Start Snort and Send Ping Packets to `eth1`
bash
sudo snort -q -u snort -g snort -c /etc/snort/snort.conf -i ens33
3. Start Barnyard2 and Log Data to the Database
– (1) Continuous Mode: Use `barnyard2.waldo` as a bookmark.
bash
sudo barnyard2 -c /etc/snort/barnyard2.conf -d /var/log/snort -f snort.u2 -w /var/log/snort/barnyard2.waldo -g snort -u snort
– (2) File Processing Mode: Handle a single log file.
bash
sudo barnyard2 -c /etc/snort/barnyard2.conf -o /var/log/snort/snort.log.xxx
4. Check Database Entries
Run the following command to see if the event count has increased:
bash
mysql -u snort -p -D snort -e “select count(*) from event”
3. Install PulledPork
1. Extract and Install
bash
tar xzvf pulledpork-v0.7.3.tar.gz
cd pulledpork-v0.7.3/
sudo cp pulledpork.pl /usr/local/bin
sudo chmod +x /usr/local/bin/pulledpork.pl
sudo cp etc/*.conf /etc/snort
2. Test Installation
bash
ubuntu@ubuntu:~$ pulledpork.pl -V
PulledPork v0.7.3 – Making signature updates great again!
3. Configuration
bash
sudo vi /etc/snort/pulledpork.conf
– Line 19: Enter the `oinkcode` generated from your registered account (comment out if unavailable).
– Line 29: Uncomment to enable rules for emerging threats.
– Line 74: Change to:
bash
rule_path = /etc/snort/rules/snort.rules
– Line 89: Change to:
bash
local_rules = /etc/snort/rules/local.rules
– Line 92: Change to:
bash
sid_msg = /etc/snort/sid-msg.map
– Line 96: Change to:
bash
sid_msg_version = 2
– Line 119: Change to:
bash
config_path = /etc/snort/snort.conf
– Line 133: Change to:
bash
distro = Ubuntu-12-04
– Line 141: Change to:
bash
black_list = /etc/snort/rules/iplists/black_list.rules
– Line 150: Change to:
bash
IPRVersion = /etc/snort/rules/iplists
bash
sudo vi /etc/snort/snort.conf
– Line 548: Add:
bash
include $RULE_PATH/snort.rules
4. Update Rules
bash
sudo /usr/local/bin/pulledpork.pl -c /etc/snort/pulledpork.conf -l
5. Test Rules
bash
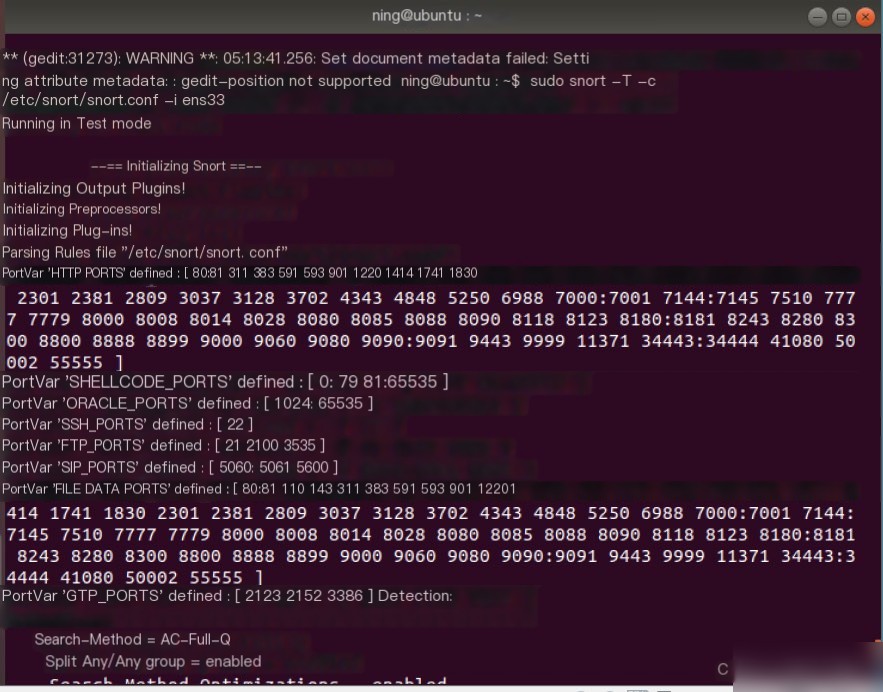
sudo snort -T -c /etc/snort/snort.conf -i eth0
4. Create Services
1. Create Snort Service
bash
sudo vi /lib/systemd/system/snort.service
ini
[Unit]
Description=Snort NIDS Daemon
After=syslog.target network.target
[Service]
Type=simple
Restart=always
ExecStart=/usr/local/bin/snort -q -u snort -g snort -c /etc/snort/snort.conf -i ens33
[Install]
WantedBy=multi-user.target
bash
sudo systemctl enable snort
sudo systemctl start snort
sudo systemctl status snort
2. Create Barnyard2 Service
bash
sudo vi /lib/systemd/system/barnyard2.service
ini
[Unit]
Description=Barnyard2 Daemon
After=syslog.target network.target
[Service]
Type=simple
Restart=always
ExecStart=/usr/local/bin/barnyard2 -c /etc/snort/barnyard2.conf -d /var/log/snort -f snort.u2 -q -w /var/log/snort/barnyard2.waldo -g snort -u snort -D -a /var/log/snort/archived_logs –pidpath=/var/run
[Install]
WantedBy=multi-user.target
bash
sudo systemctl enable barnyard2
sudo systemctl start barnyard2
sudo systemctl status barnyard2
5. Install BASE
1. Extract Archive
bash
tar xzvf base-1.4.5.tar.gz
sudo mv base-1.4.5 /var/www/html/base/
2. Configuration
bash
cd /var/www/html/base
sudo cp base_conf.php.dist base_conf.php
sudo vi /var/www/html/base/base_conf.php
Update the following lines:
php
$BASE_Language = ‘simplified_chinese’; # Line 27
$BASE_urlpath = ‘/base’; # Line 50
$DBlib_path = ‘/usr/share/php/adodb/’; # Line 80
$alert_dbname = ‘snort’; # Line 102
$alert_host = ‘localhost’;
$alert_port = ”;
$alert_user = ‘snort’;
$alert_password = ‘123456’; # Line 106
//$graph_font_name = “Verdana”;
//$graph_font_name = “DejaVuSans”;
//$graph_font_name = “Image_Graph_Font”;
$graph_font_name = “”;
Set appropriate ownership and permissions:
bash
sudo chown -R www-data:www-data /var/www/html/base
sudo chmod o-r /var/www/html/base/base_conf.php
sudo service apache2 restart
3. Access BASE
Open your browser and navigate to `http://localhost/base`. Follow the prompts for final configuration and proceed to the main page.
Let me know if additional translation or assistance is needed!