
Basics and Usage of Metasploit
1. Experiment Introduction
1.1 Experiment Overview
This experiment primarily introduces the foundational knowledge of the Metasploit Framework, focusing on its core concepts, primary attack methods, and basic usage techniques. Metasploit, as a penetration testing framework, offers various interfaces, options, variables, and modules for effective vulnerability detection. While beginners may initially find these components overwhelming, gaining familiarity with commonly used tools and methods makes it easier to build upon these foundational skills.
Note: The cloud host used for the experiment is limited to reduce costs and may restrict the number of attempts. Each experiment can be conducted no more than six times.
1.2 Experiment Knowledge Points
This experiment will detail the basics of the Metasploit framework, its core concepts, and fundamental usage methods. Toward the end of the experiment, a few commonly used toolsets will also be discussed. The main knowledge points covered in this experiment include:
- Metasploit basic framework
- Core concepts of Metasploit
- Fundamental usage methods
- Collection of attack tools
- Scanning the target host
1.3 Experiment Environment
This experiment is conducted within the Lab Environment, where users log into Kali via SSH and perform necessary operations. The target host provided for this experiment is Metasploitable2. Through practicing with Metasploit, users can become better acquainted with the environment, thereby mastering the penetration testing workflow.
2. Introduction to Metasploit
Metasploit is an open-source vulnerability detection tool designed to assist security and IT professionals in identifying security issues, validating vulnerability mitigations, and managing expert-driven security assessments. Its features include intelligent development, code auditing, web application scanning, and social engineering. It promotes collaboration through its framework and comprehensive reporting capabilities to detail findings. The tool includes hundreds of known vulnerabilities and is frequently updated, earning its nickname from the security community as the penetration framework “capable of hacking the entire universe.”

2.1 The Core of Metasploit
Metasploit is designed with modularity in mind to enhance code reusability. The framework is developed using Ruby programming language and integrates scripts in languages such as Perl, C, Assembly, and Python. Although initially tailored for Linux operating systems, its command structure closely resembles Linux shells, and it now supports all major operating systems such as Windows, Solaris, and Mac.
2.2 Overview of the Metasploit Framework
Metasploit provides three interface modules for executing exploits: console, command-line, and web. While all three interfaces are quite similar in functionality, the console is the most comprehensive and powerful of the three.
2.2.1 Basic Knowledge Overview
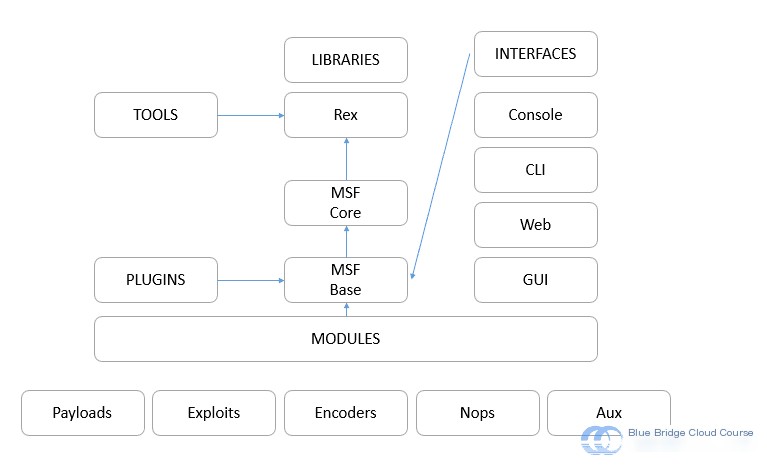
Founded by HD Moore, Metasploit is an open platform for vulnerability research and penetration code development. The MSF Terminal (msfconsole) is one of its most popular user interfaces due to its flexibility and robust functionality. In this experiment, we will use the msfconsole to conduct tests. The Metasploit framework is composed of five primary components:
- Modules
- Interfaces
- Plugins
- Utility Programs
- Core Library Files
The module section is the most commonly used, which is further divided into auxiliary modules, exploit modules, payload modules, NOP modules, encoder modules, and post-exploit modules.
Exploit Modules: These are scripts or programs designed to exploit a target’s vulnerabilities and initiate attacks.
Auxiliary Modules: These include a wide range of support tools, such as scanning modules, fuzz-testing tools, and network protocol spoofing modules.
Encoder Modules: Encoders obscure payload codes to bypass security mechanisms like antivirus software or firewalls.
2.3 Basic Usage Methods
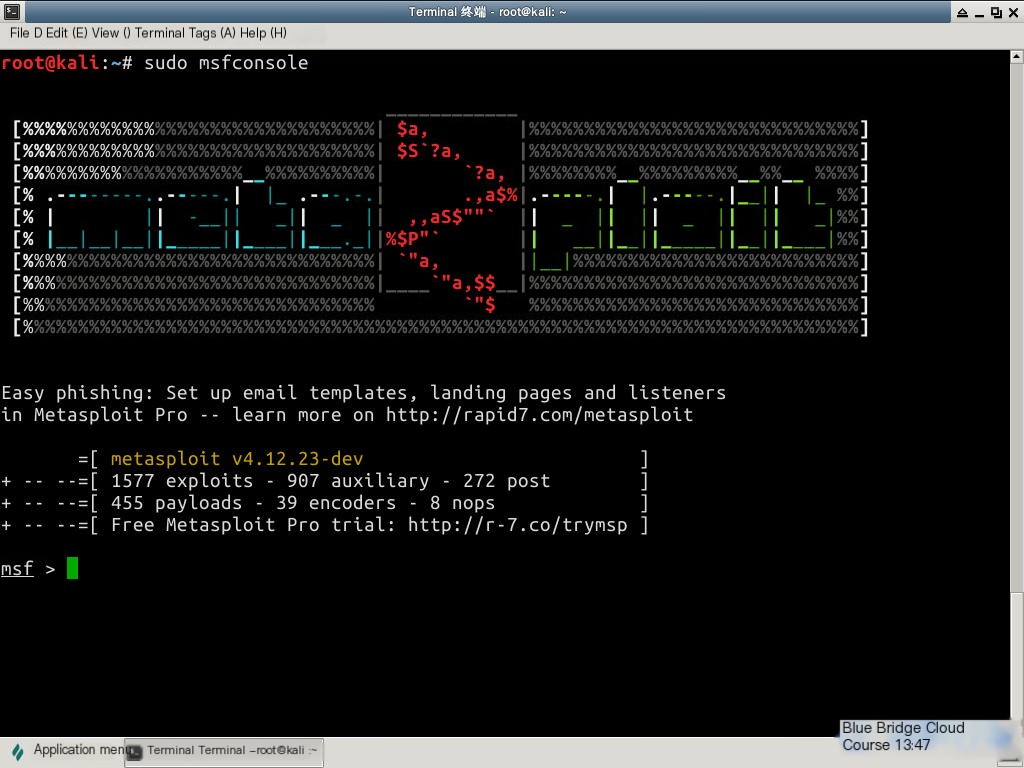
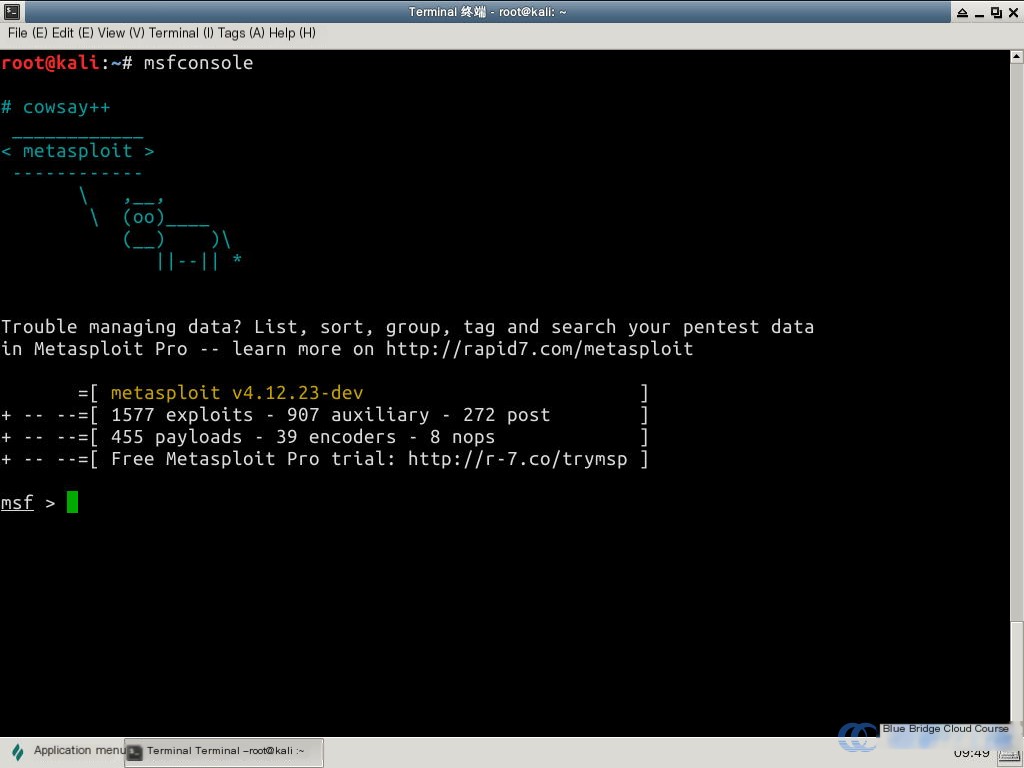
The MSF Terminal (msfconsole), Metasploit’s most popular user interface, provides an interactive input experience with excellent usability. Below, we guide you through an experiment using the msfconsole. To start, enter the following command into the terminal. Note that launching msfconsole may take approximately two to three minutes due to the numerous modules being loaded. If successful, you should see:
sudo msfconsole 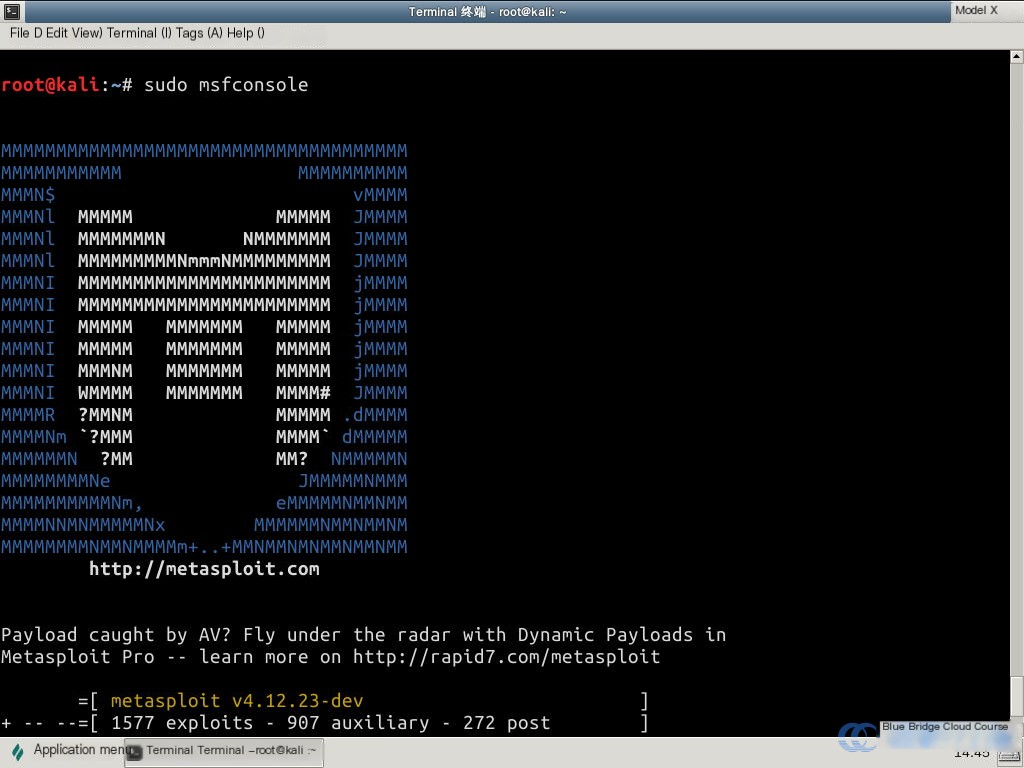
2.3.1 help Command
In the MSF Terminal, enter the following command:
help Alternatively, you can type a question mark ? for the same result. Here, Command indicates the command name, and Description provides a brief description of the command.
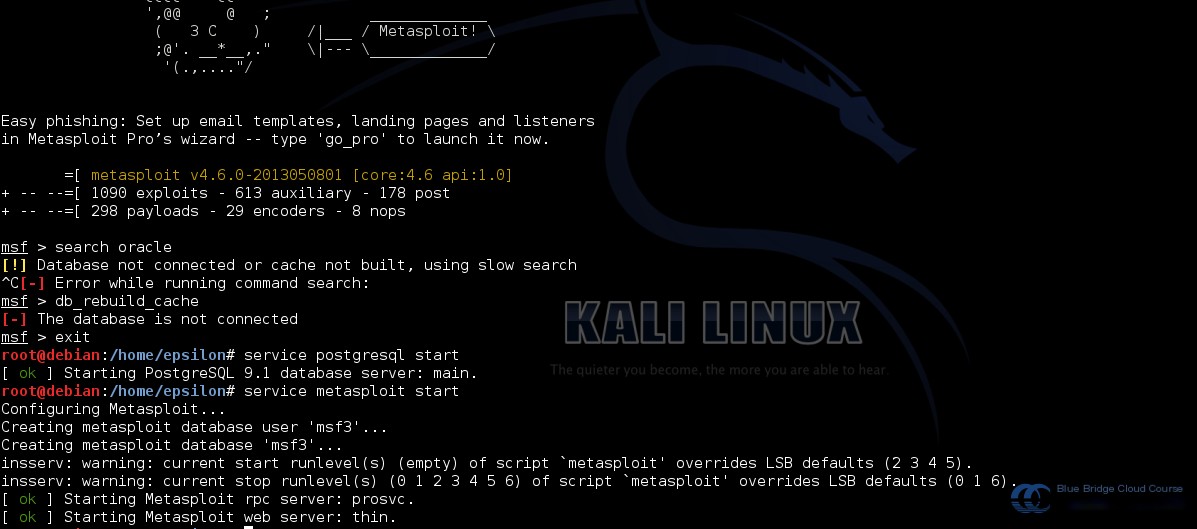
2.3.2 search modules Command
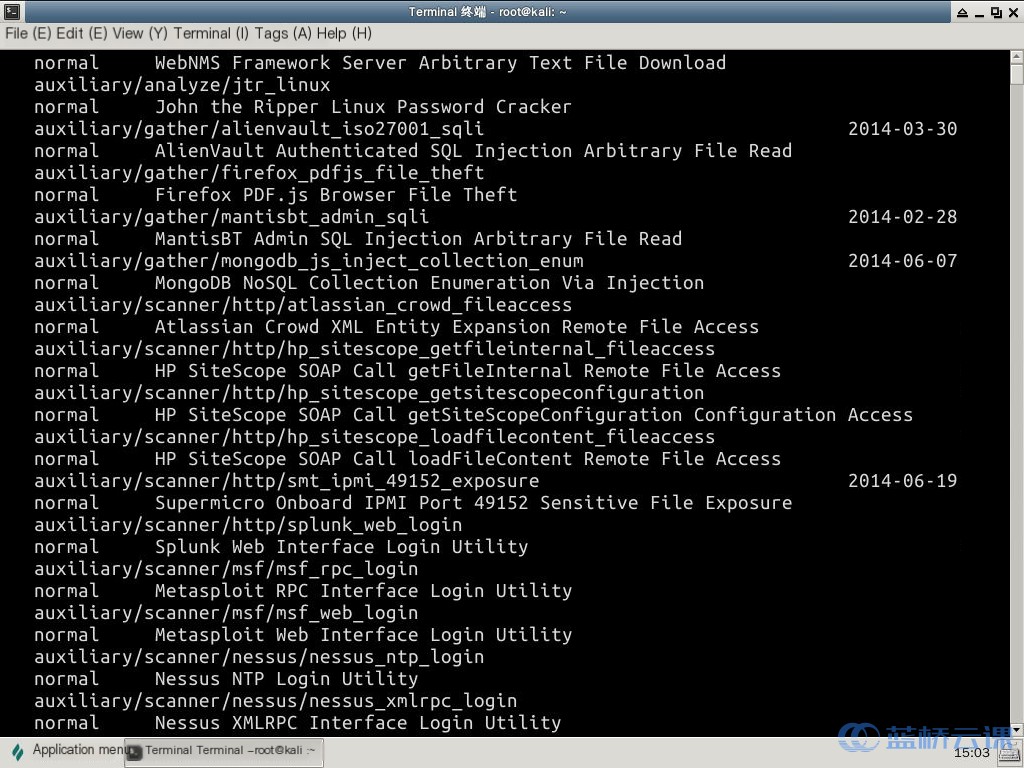
The ‘search modules’ command is used to locate available modules. For example, in the Lab’s MSF Terminal, if you enter the following command:
search linux Due to the extensive number of files, searching for modules related to ‘linux’ may take about one minute . If successful, you will see:
If the screen is large enough, you’ll notice that the parameters are displayed neatly:
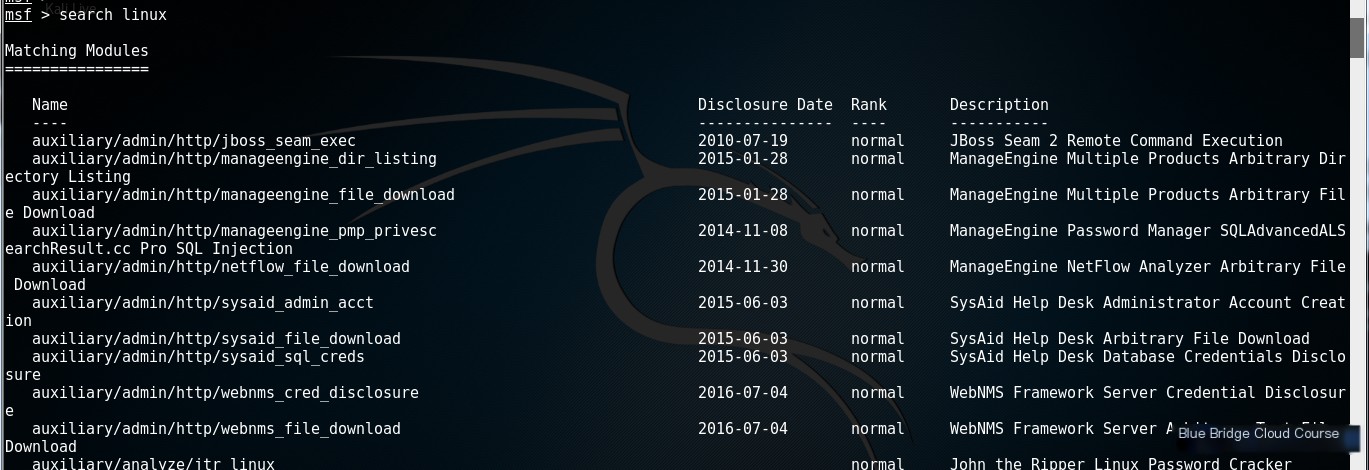
The parameters displayed in the image include Name, Disclosure Date, Rank, and Description, which represent the name, disclosure date, status, and functionality description, respectively.
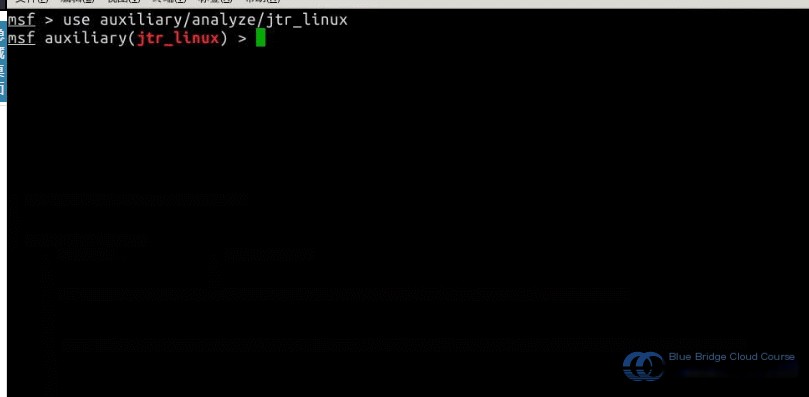
2.3.3 The use Command
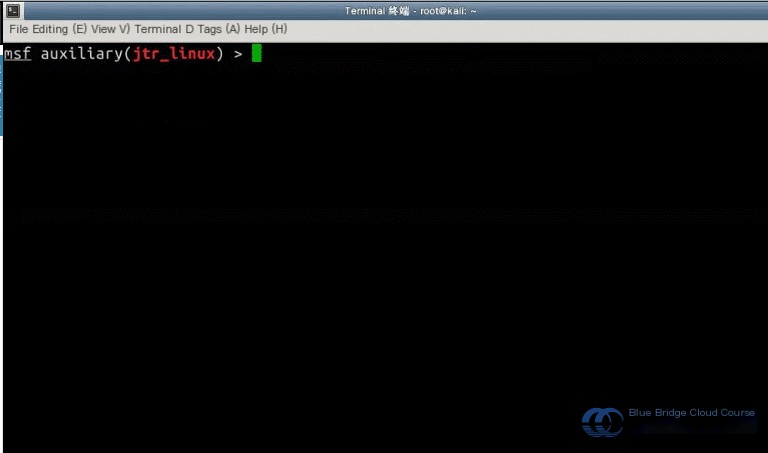
In the MSF console, enter the following command to use the jtr_linux password-cracking module:
use auxiliary/analyze/jtr_linux
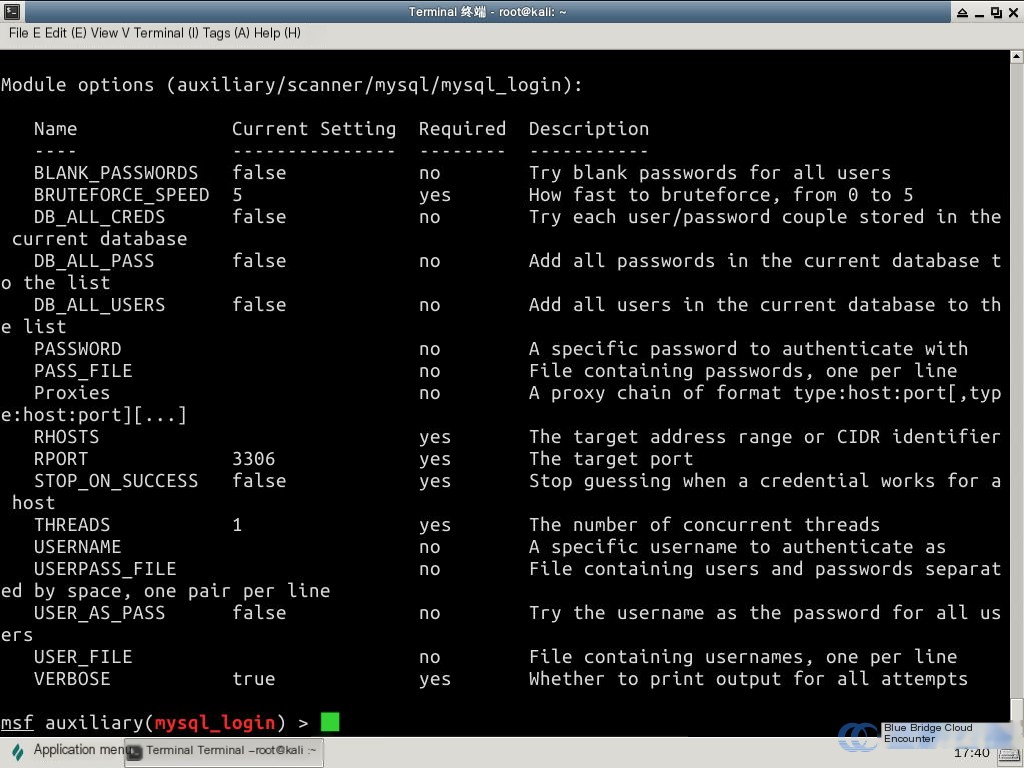
2.3.4 The show options Command
Use the show options command to view the valid options of the module library. Inside the MSF console, enter the command, and if everything is configured correctly, you should see the following:
 # View parameter options

show options
Alternatively, you can use the info command to get more detailed information:
 # Display more detailed information

info
2.3.5 The setg and set Commands
The setg command is used to assign a value to an object with a global scope, meaning the value will persist even when switching between modules. On the other hand, the set command only assigns a value to the specified object locally.
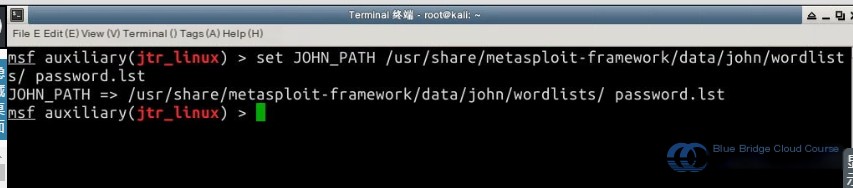
For instance, in the terminal, you can enter the following command to set JOHN_PATH:
set JOHN_PATH /usr/share/metasploit-framework/data/john/wordlists/password.lst
2.3.6 The exploit Command
The exploit command is used to launch a penetration testing module. This command will be demonstrated later when performing an attack on a MySQL server.
2.3.7 The run Command
The run command is used to start an auxiliary module after all required options have been set.
2.3.8 The back Command
The back command is used to cancel the currently selected module and return to the previous command interface. Enter the following in the terminal:
back
3. Attack Methods
3.1 Primary Attack Methods in Metasploit
3.1.1 The Exploit Module
The Exploit module is the core attack module, and there are exploit modules available for most modern operating systems within the Metasploit Framework.
Exploits are malicious codes designed to take advantage of specific vulnerabilities in a computer system. Metasploit provides exploits for various operating systems and applications, offering multiple methods to infiltrate a target machine. You can use tools like Nessus combined with Nmap for vulnerability scanning and leverage Metasploit for exploitation.
3.1.2 The Payload Module
Payloads are code executed on the target system after it has been compromised, such as creating user accounts or obtaining shell access.
3.2 Basic Usage
3.2.1 Logging into the Metasploit Console
First, log into Kali, and then open the terminal. Enter the following command to check if you can successfully ping the target host:
ping 192.168.122.102
Next, open a terminal and enter the command to check the status of postgresql:
 # Check the status of postgresql
sudo service postgresql status
If it is active (Active exited), press Ctrl + c to exit. If it’s inactive, activate it using the following command:
sudo service postgresql start
Then initialize the database. The initialization process will take around 10 minutes.
msfdb init
Next, open the terminal again and use the following command to launch the Metasploit console:
sudo msfconsole
Since there are many modules to load, this process will take around 2–3 minutes. If it seems to freeze for a while, don’t worry—it’s not an issue with your computer. Be patient. If everything runs smoothly, you should see the Metasploit console login interface:
In the console, rebuild the data cache by entering the following command:
db_rebuild_cache
3.2.2 Attacking the MySQL Database Server
Here’s a demonstration of the general process for attacking a MySQL database server:
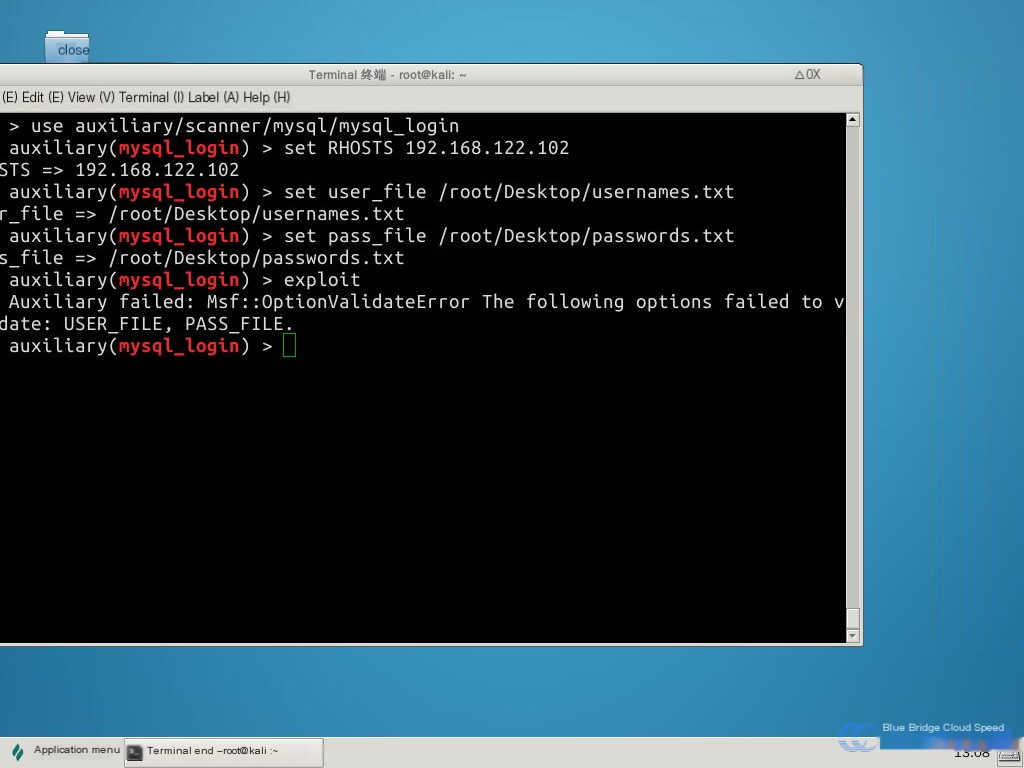
1. Use the mysql_login module for vulnerability detection.
use auxiliary/scanner/mysql/mysql_login
2. View the valid options for the module library using “show options” for vulnerability detection.
show options
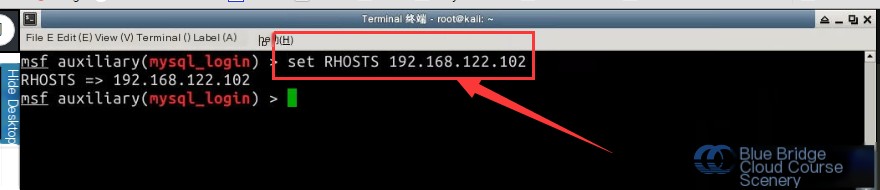
3. Set the target host for vulnerability detection and attack:
set RHOST 192.168.122.102
# Attack Command
exploit
This concludes the entire attack process.
7. Attack Principle
Metasploit tries all username and password combinations contained in two files. Once successful, it produces a username-password pair. The principle involves exploiting a MySQL vulnerability on the target machine. After selecting the MySQL login exploit module, we configure the options and execute the exploit, allowing us to brute-force MySQL credentials. During this process, Metasploit uses username and password files provided to attempt logins. Collecting accounts and passwords relies on consistent data-gathering efforts, such as phishing websites used to trick users into registering. This is the same idea.
3.3 Scanning the Target Host
3.3.1 Using the Nmap Scanning Tool
The Metasploit Framework integrates the Nmap component. Before launching an attack on the target system, it is usually necessary to gather basic information, such as identifying active hosts in the network and discovering open ports on those hosts.
Run the following command in the terminal:
nmap 192.168.122.101
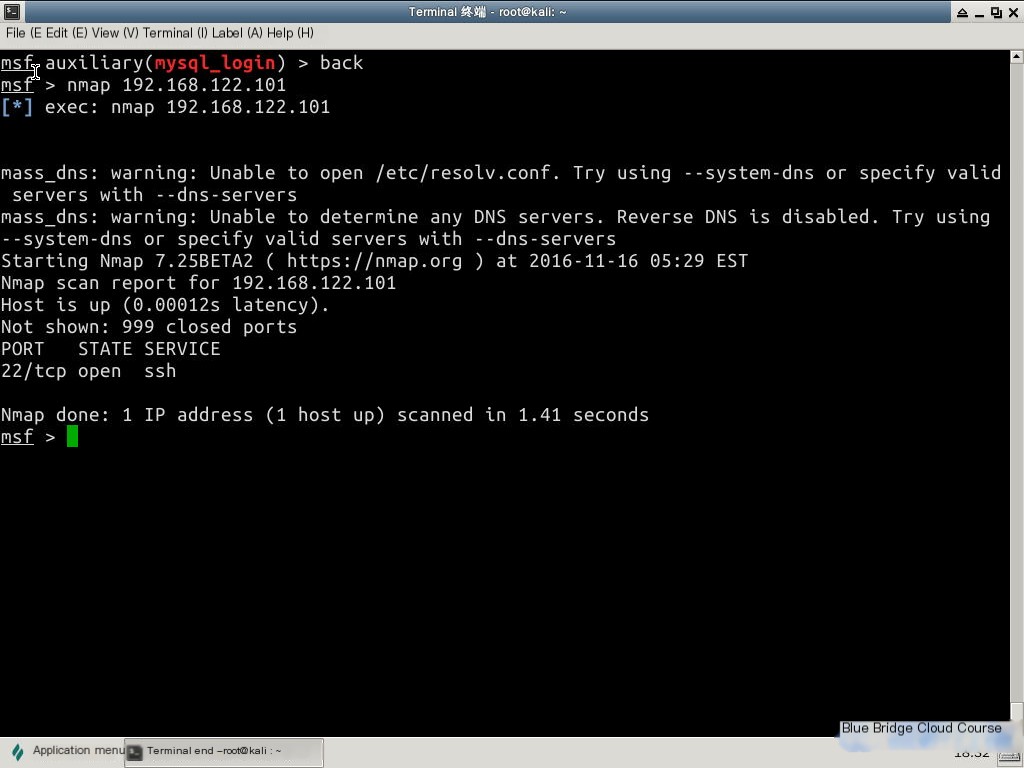
The scan reveals that PORT 22/tcp is in an open status.
3.3.2 Nessus
Nessus is one of the most widely used vulnerability scanning tools. It adopts a client-server model where the server performs security checks, and the client handles configuration and management. The server also utilizes a plug-in system, enabling users to add custom plugins for specific tasks, enabling faster and more complex security checks.
4. Development Customization
4.1 Development Customization
Meterpreter plugins are implemented as dynamic library files. You can choose your preferred programming language to create additional functionality adhering to Meterpreter’s interface standard. After implementation, compile it into a dynamic library and place it in the appropriate directory.
5. Summary
In this experiment, we gained an introductory understanding of the Metasploit framework. The topics covered include:
- Basic Metasploit framework
- Core concepts of Metasploit
- Basic usage
- Collection of attack tools
- Scanning the target host
6. Assignments
6.1 Experiment Assignments
Follow the steps in this tutorial to become familiar with the Metasploit workflow, practice using commands like `search`, `use`, and `show options` and `set`. Ensure you understand the attack process thoroughly.