
This article provides an overview of the Security Onion installation process, which will be used to centrally manage logs generated by endpoint EDR and network NDR sensors.
There are many platforms that can act as SIEMs, for instance, using native Elastic or Splunk. The advantage of Security Onion is that it can easily integrate network-side alerts (e.g., Suricata, Zeek, honeypots) as well as endpoint-side alerts (e.g., Sysmon, Elastic). It also integrates a lot of practical security features, such as threat hunting functions, integration of the ATT&CK Matrix, and case management capabilities. This saves beginners a lot of integration and configuration work. Of course, for those with high demands for flexibility, you can integrate bit by bit from native data processing platforms like Elastic and Splunk.
SO Download
It is recommended to download the latest version. At the time of my installation, the latest version was Security Onion 2.4.60, here. Due to technological iterations, the earlier 2.3 version was based on the CentOS system, which has stopped maintenance. Therefore, the older versions of Security Onion have also ceased maintenance. The new version is based on Oracle Linux 9.3, as shown in the following image: 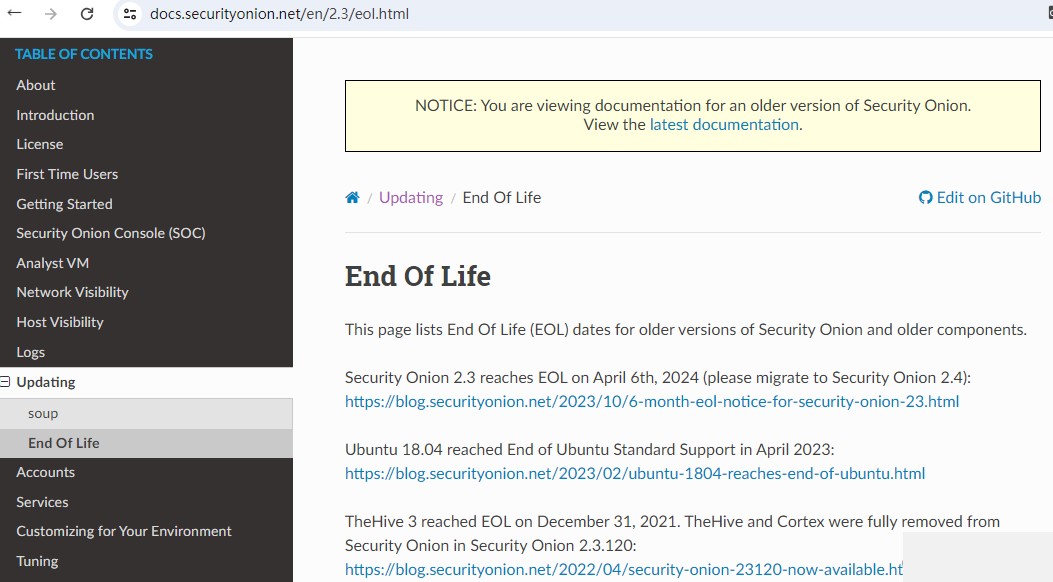
Software Installation
Since Security Onion is essentially a Linux system, it can be installed on a virtual machine or directly on a host. For beginners, it is recommended to install it on a standalone machine to avoid many network disconnection issues. I installed the standalone version on a virtual machine, which can meet most of the demands of home networks. For VM configuration, allocate more than 100GB of memory, a 4-core CPU, and more than 8GB of memory. This configuration should be noted. When installing on the virtual machine, if any issues arise, you can shut down and start over. Below are the minimum configuration requirements for various types of Security Onion:  The configuration I installed for the standalone version is as follows, and it is most important to have two network cards, as shown:
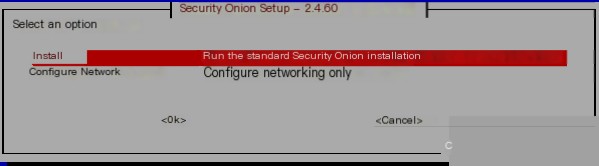
  By default, the first option, i.e., the production version 2.4.60, will be selected. Then, enter the installation screen below. After selecting “yes” to continue, enter the username and password. The username and password can be set as needed. For those with higher level requirements, it is recommended to use a random password.
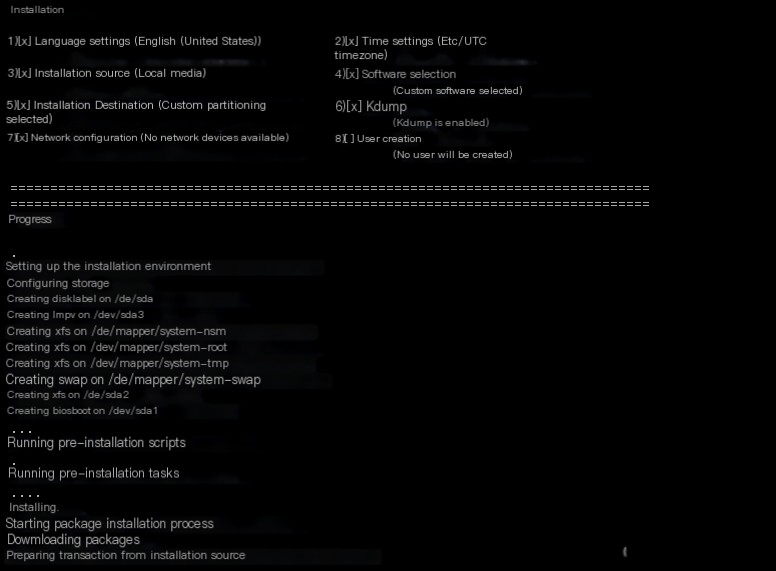
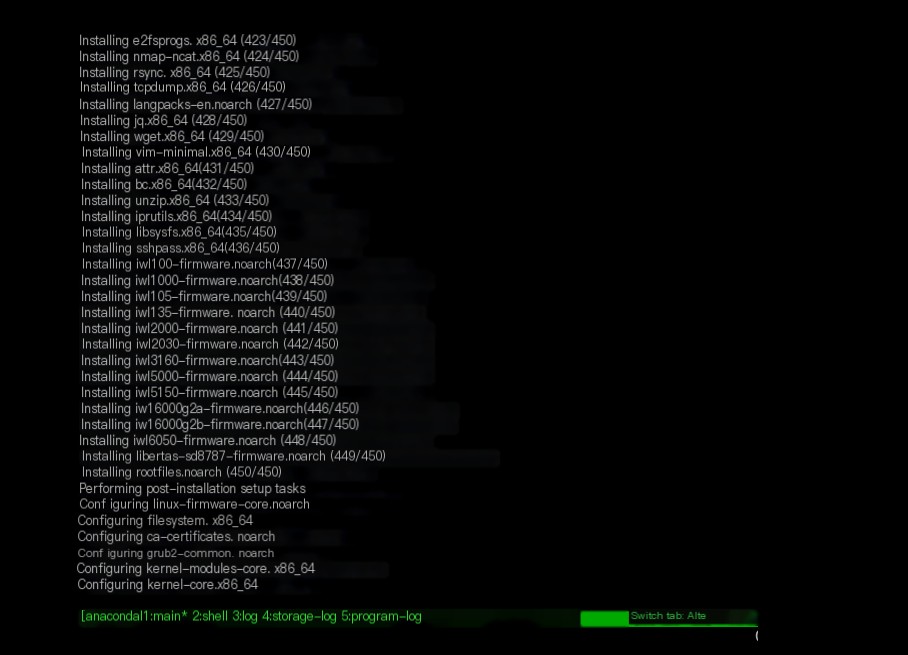
 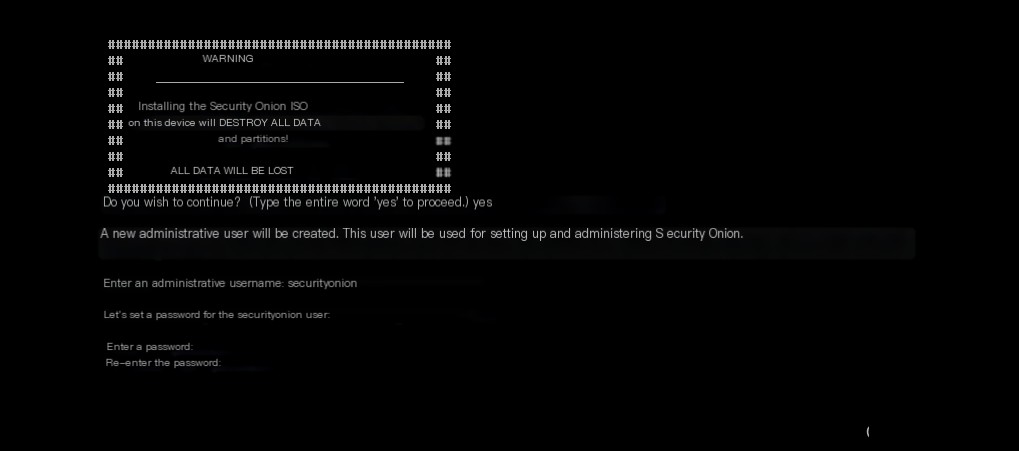 There will be an automated installation configuration process, mainly installing the Linux system and software dependencies, so this part needs about 10 minutes, as shown:
 Then press enter to reboot and enter the configuration phase for the higher-layer software of Security Onion, as follows:
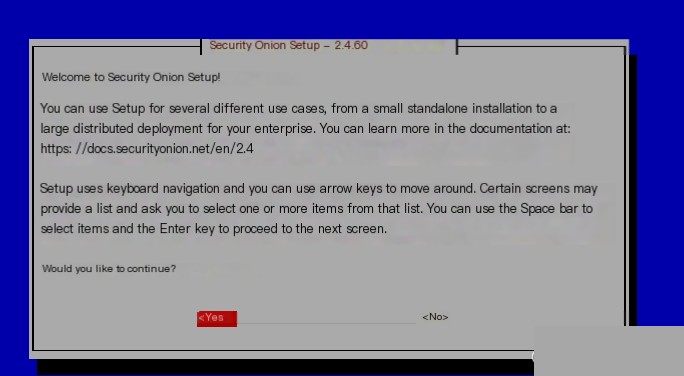
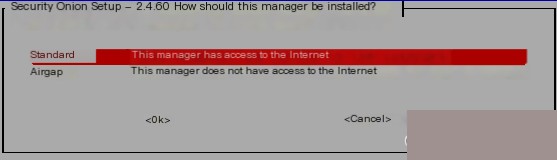
 For the differences between the different types, see here. For beginners, it is recommended to use the standalone version.
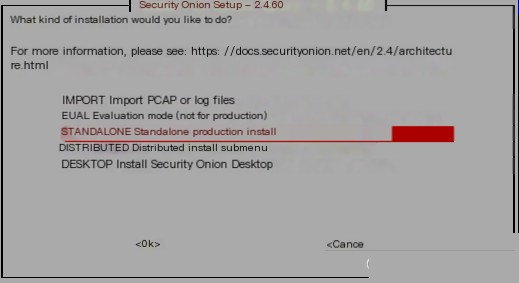
 It is recommended to set a meaningful hostname because it can be identified through it if it is under management systems like firewalls.
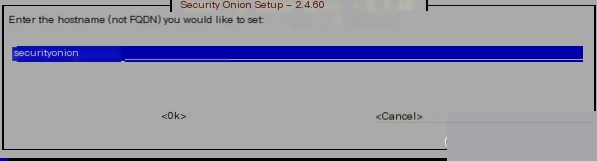
 Select the corresponding network card to connect as the SOC management side (webUI access address):
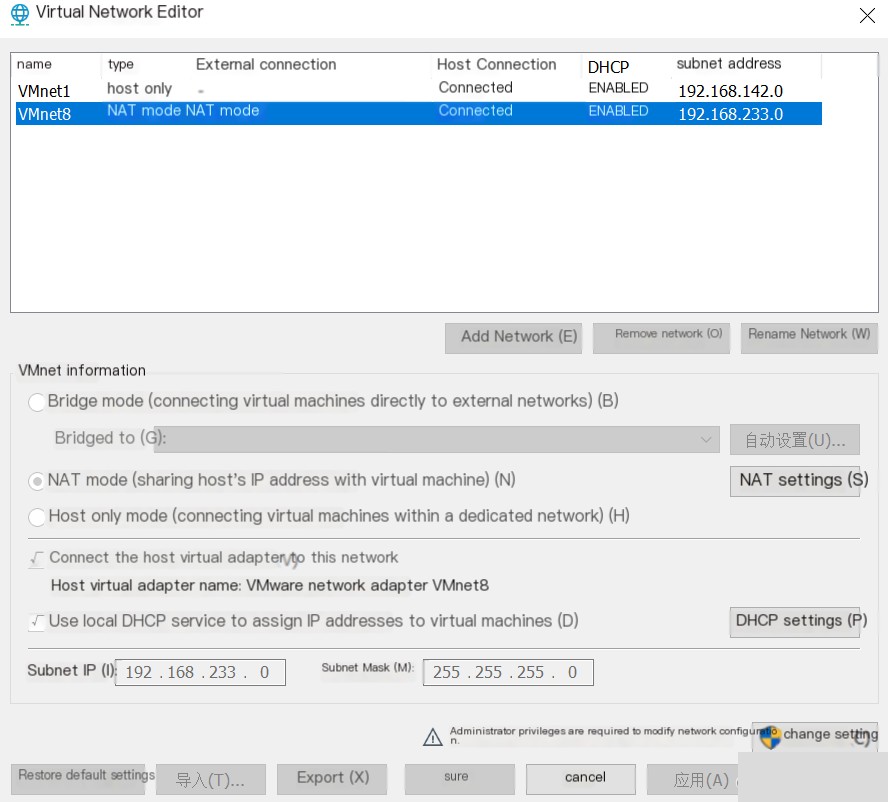
 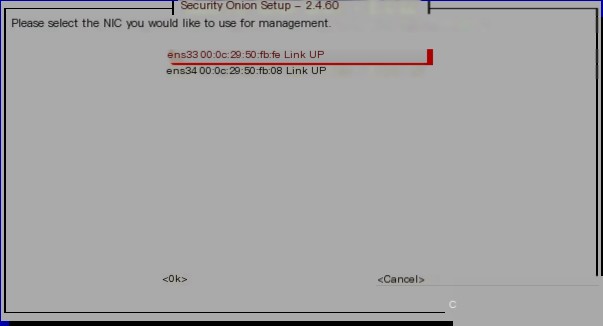 At this point, you can configure a static IP address or a dynamic IP address. The advantage of a static IP address is that the address is fixed each time it is accessed. However, for users installing via a virtual machine, it is recommended to use DHCP for dynamic IP assignment because the IP address of the virtual machine is allocated by the virtual DHCP server in VMware, as shown in the image below. For beginners, using DHCP can avoid many network disconnection issues between the host and the virtual machine, such as accessing the internet during installation. Once the installation is successful, you can then change the corresponding IP to a static IP address, making it convenient to log in via SSH for viewing.
 Do not configure a proxy, just use the default:
 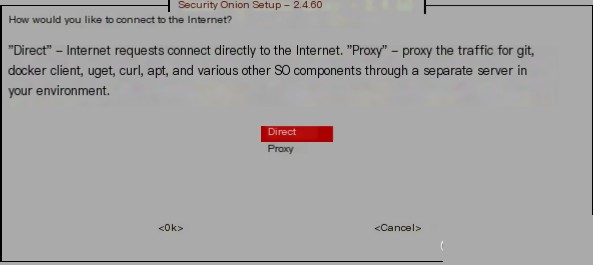 Since Security Onion installs many Docker services, the default IP can be used for Docker:
 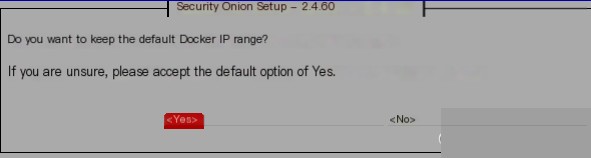 Select the corresponding network card as the monitoring interface with the space bar, because Security Onion is capable of monitoring traffic. Choose this card for traffic monitoring purposes, and then continue
 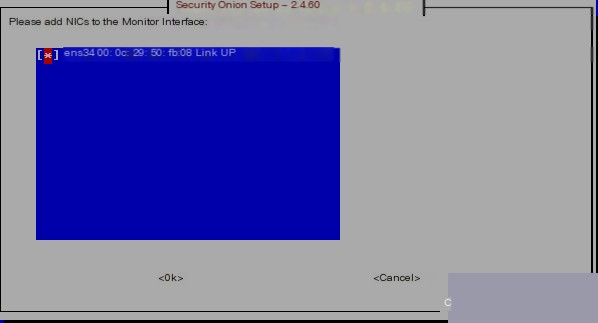 Since Security Onion will need to send some alert reports and notifications by email, enter the email to continue:
  As the web interface uses email for login, set the corresponding password for the email account:
 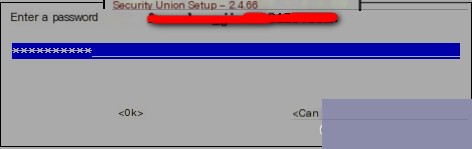 You can use the default IP to access the web page, but based on later experiences, using the hostname is actually more convenient.
 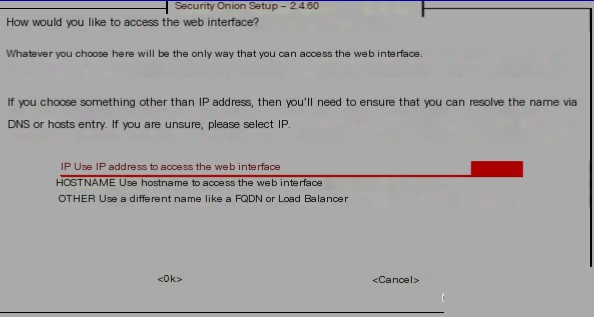 Allow updates through web installation:
 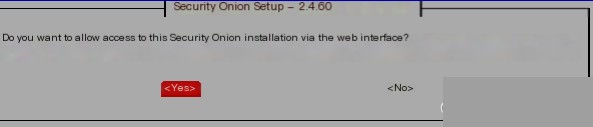 Who can access Security Onion? Here, I set it as 0.0.0.0/0, meaning all IPs can access, although in an actual production environment you may want to restrict access.
 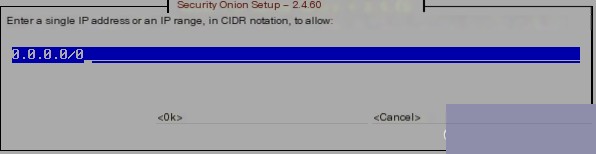 Check the configuration as below:
  Proceed to a long installation wait of about an hour, during which files will be downloaded from the internet, hence setting up DHCP earlier is crucial to avoid network issues. The successful installation screenshot is as follows:
 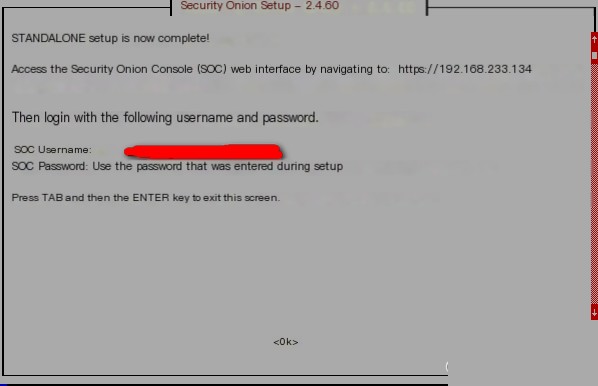 If there is an error prompt during installation, check the reason in /root/errors.log. For example, I encountered an issue with downloading the Yara component, possibly due to network reasons; therefore, simply re-executing the command should suffice.
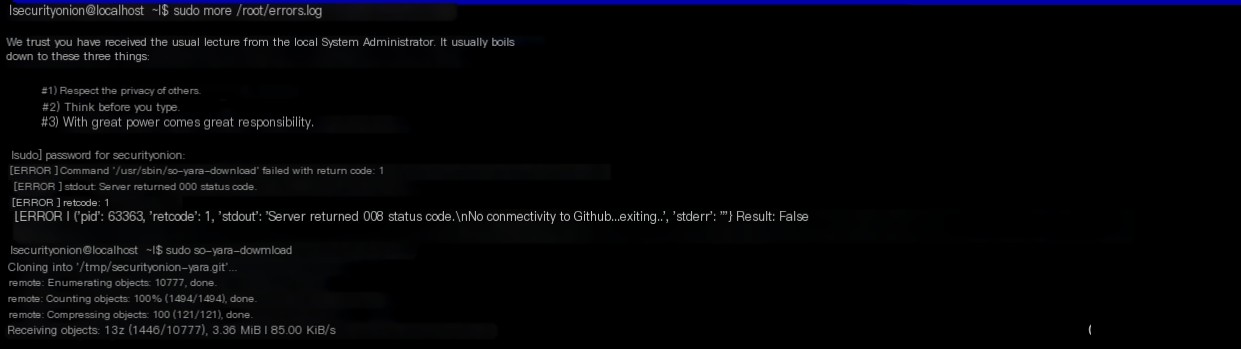
SO Web Interface
After successful installation, visit the web page as shown: 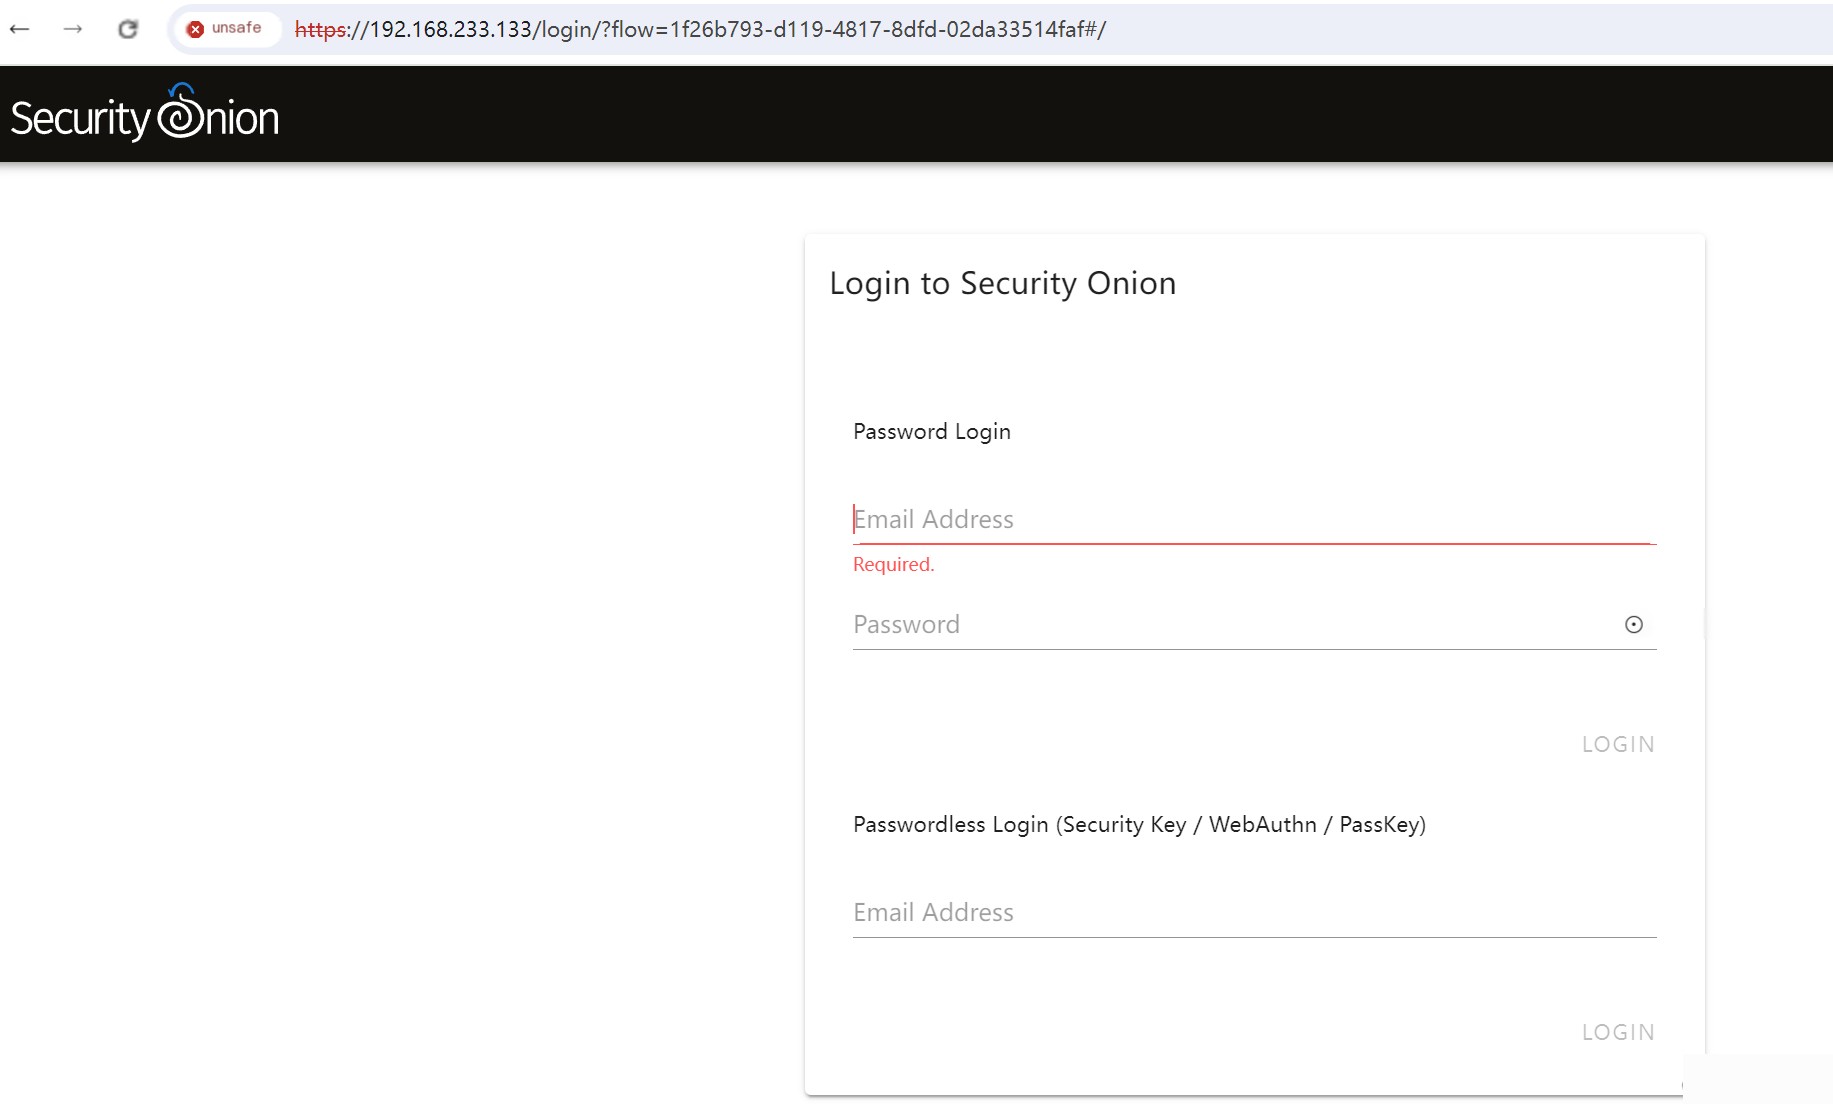 Check if all services are running correctly, as shown:
 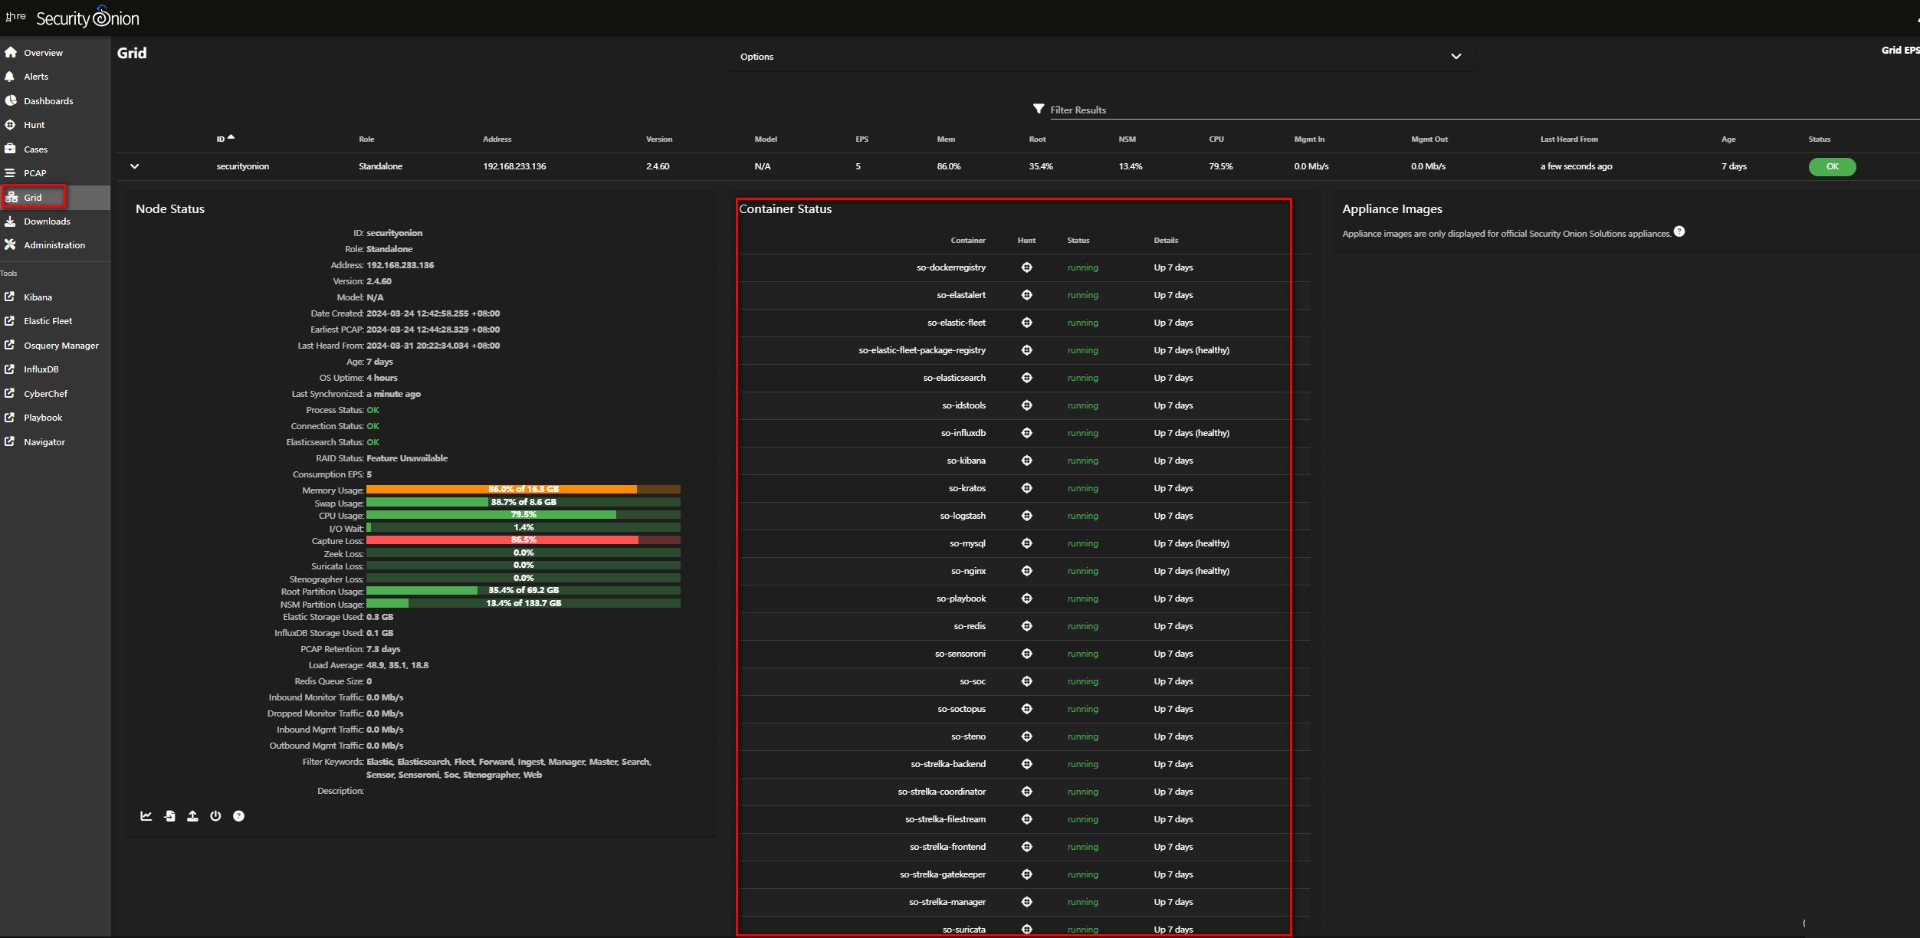 The above describes the Security Onion installation process. Next, I will introduce the integration of Security Onion with other sensor logs.
This article is an original piece by CSDN user “Village Young”, and it’s not allowed to be reproduced without permission. Blogger’s link here.